Cold and snow can cause a lot of damage to your camera gear. Something as simple as shooting outside and taking your camera inside can cause hidden damage that won’t show up until days or weeks later. The simple steps in this article could save you hundreds of dollars in repair bills.
This is the seventh in an ongoing series of articles on winter photography (links below).
Shooting in the cold can be quite deadly for your camera and lenses, although it isn’t the actual cold that is the problem. The real enemy in the cold weather is moisture, usually in the form of condensation. Never take an unprotected camera and lens from cold air into warm air.
Modern cameras have become little computers inside with circuit boards and all kinds of fancy electronic circuitry. When you bring a cold camera back inside a warm room (or a warm car) the same condensation that forms on your glasses can form inside your camera and lenses. Over time the moisture from that condensation starts to eat away at the inside of your camera. You won’t notice it at first. Like rust over a period of time, it is in there slowly eating away. Weeks later things start to fail. You are now talking hundreds of dollars to replace everything that has been damaged inside your camera. Sometimes the cost is so high or the damage so great that your camera is a total loss. This all goes for the insides of your lenses too.
This simple trick can save you hundreds in repair bills. After shooting outside in the cold, put your camera and lenses in your camera bag and zip it closed before you go inside or get in a warm vehicle. Once inside don’t open the camera bag for an hour or two. Inside the camera bag the camera and lenses slowly warm up to room temperature so no condensation forms. If you are using a small camera, another option is to zip it up in a Ziploc bag before bringing it inside.
It is a very good idea to put a desiccant pack inside the camera bag or Ziploc bag along with your camera before you zip the bag up and bring it inside. The desiccant pack will absorb moisture. You still need to give the bag an hour or two to come up to room temperature before you open it up. You can get 5 gram desiccant packs in a bag of 50 from Amazon.com (purchase link below).
If you take a warm camera outside and it is snowing, snow melting on your camera and lenses can also be a problem. The snowflakes melt and seep down between the zoom and focus rings on the lens and down around the camera controls and if enough moisture gets down in there you have a problem. Some high end (i.e. high dollar) cameras and lenses have weather sealing which provides a measure of protection, but caution is still a good idea. Weather sealed cameras are nice to have but they are not water proof.

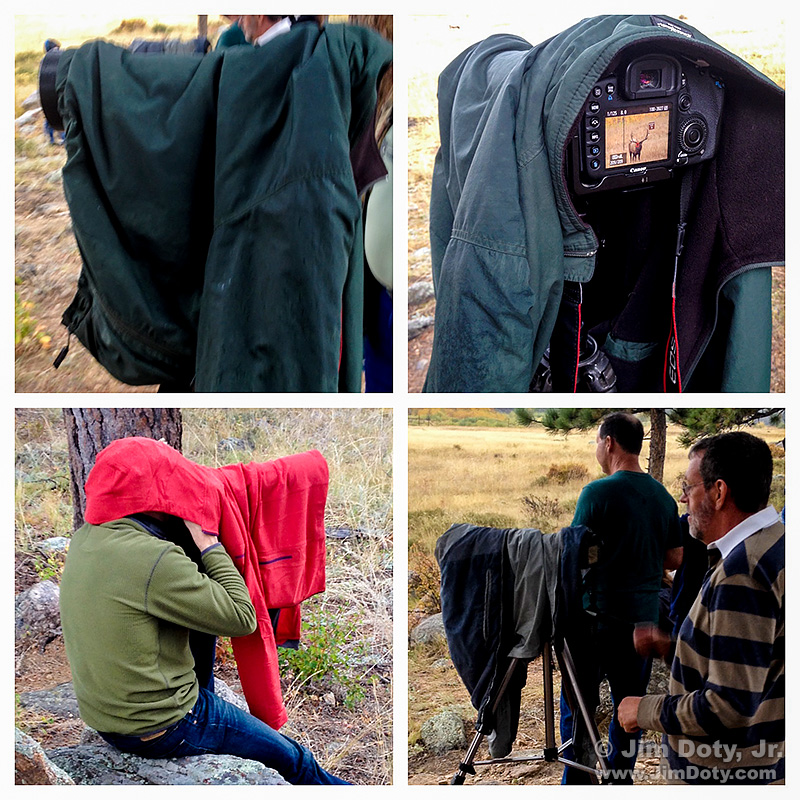
Photographers in a drizzle using coats, jackets, sweaters, hoodies, and anything else to keep their cameras and lenses dry. Rocky Mountain National Park.
I carry a piece of cloth in my camera backpack that I drape over my camera and lens to keep the snowflakes off until the camera and lens come down to the outside temperature. Just about any piece of cloth will do, including a small towel or items of clothing, to keep off a light dusting of snowflakes.
If some snow lands and melts on an extended zoom lens, do not contract the lens or you will drag the moisture inside the lens. Use a piece of cloth, towel, or paper towel to dry off the lens before you contract the lens. That is another reason I keep a piece of cloth in my camera bag.
Once the camera and lens are below freezing, the cloth (sweater, jacket) is no longer needed since the snowflakes no longer melt and can be brushed off with a piece of cloth or blown off with an air bulb blower (which is a good item to carry in your camera bag year around). Do not blow the snow off your camera or lens with your breath or the moisture in your breath will freeze on the camera and lens.
Even when there is no snow falling, when you are shooting in really cold weather do your best not to breathe on the camera. Before you put your face up to the viewfinder, hold your breath.
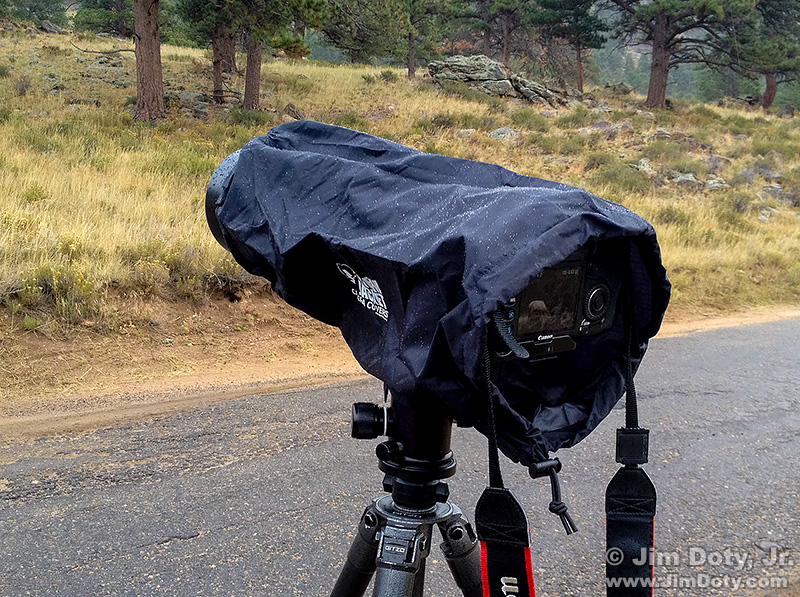
If the weather is really bad, I use a Storm Jacket Camera Cover to protect my camera and lens from the snow. In spring, summer, and fall I usually haul out the camera cover when a drizzle turns into rain, but it is also valuable for a wet, heavy snow when temperatures are around freezing and your camera and lens never get cold enough to keep the snow from sticking and melting. The Storm Jacket is made by Vortex Media Pro. There are drawstring openings at the front and back plus an opening on the bottom for when your camera is tripod mounted. Be sure to get the right size. Put your lens on your camera and measure from the back of the camera to the front of the lens. Links below.
Most modern cameras and lenses do quite well in the cold and function well so long as you have spare batteries that you keep warm. The cold quickly zaps the battery in your camera so you have to swap it out with one you keep warm somewhere close to your body. When you take a cold, tired battery out of your camera, put it in a pocket next to your body to warm it back up. Once warmer, the battery will recover somewhat and you can use it again when your back up battery gets cold and tired.
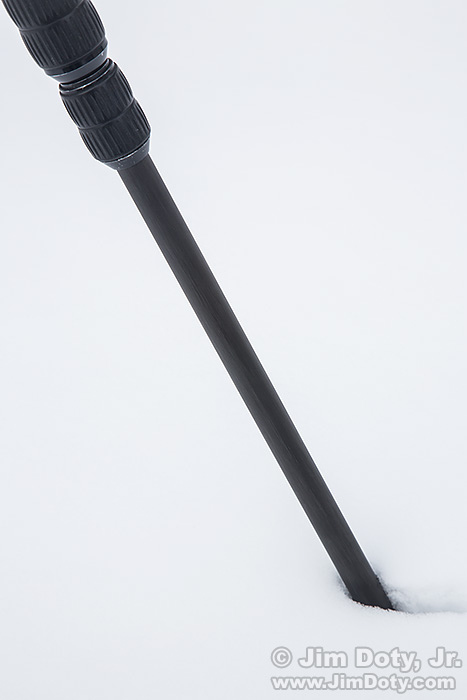
Tripods don’t have delicate electronic circuitry, but you do want to keep moisture and especially grit out of the leg locks which is also where the smaller leg sections slide inside the larger leg sections. If grit gets up into the leg locks or between the leg sections, it can grind away and make a mess of things. It is not the end of the world, but you will need to take everything apart and clean all of the individual pieces, dry them off, and put them back together. I’ve done that after shooting sessions when I needed my camera low to the ground (or with the camera just above a stream with the tripod legs down in the steam), but it is time consuming to clean up the mess so I avoid getting the legs locks in snow and water whenever possible.
It is always a good idea to extend the smallest, bottom leg sections when shooting in the snow to keep the leg locks above the snow. When you don’t need to extend all of the leg sections, the conventional wisdom is to extend the bigger leg sections first. This is sound advice because it makes your tripod steadier, but when your tripod is in the snow (or a stream), extend the bottom leg sections first to protect the leg locks.
When you are done shooting, do not retract the wet or icy bottom leg sections up into the other leg sections or you will have another “dismantle and clean session” on your hands. Keep a cloth towel or a roll of papers towels in your vehicle (I keep both in my vehicle) to dry off any wet leg sections before collapsing the tripod legs.
These simple steps will keep your gear in good shape while you capture beautiful images in the cold and snow.
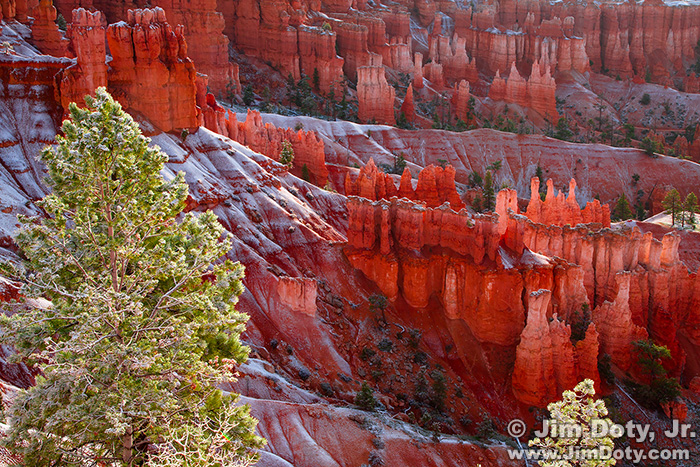
Photo Location. The photo at the top of this article was taken in the morning at Sunset Point, Bryce Canyon, Bryce Canyon National Park, Utah. If you only have one morning sunrise to spend at Bryce Canyon, go to Sunset Point (not Sunrise Point). If you have more than one morning sunrise, you can try some of the other locations on your other mornings. I highly recommend you stay at Ruby Inn which is just north of the entrance to the park. Info links below.
Bryce Canyon Photo Data: Canon 5D. Canon EF24-105mm f/4L IS USM lens at 40 mm. 1/10 sec, f/16, ISO 100.
(Originally posted February 12, 2015. Revised and updated January 11, 2016.)
Series Links
“How To” Series: Winter Photography – An Overview
Metering Daytime Winter Scenes
Metering Wildlife in the Snow, Part One
Metering Wildlife in the Snow, Part Two
Metering Evening Winter Scenes
Metering Nighttime Winter Scenes
Testing Your Camera’s Snow Exposure Latitude
The Sunny f16 Rule Isn’t Reliable in Winter
More Links
5 Gram Desiccant Packs in a bag of fifty from Amazon.com.
Storm Jacket Camera Cover – size small. For a DSLR and small lens measuring 9 inches or less from the back of the camera body to the front of the lens.
Storm Jacket Camera Cover – size medium. For a DSLR and medium lens measuring between 7 and 15 inches from the back of the camera body to the front of the lens.
Storm Jacket Camera Cover – size large. For a DSLR and long lens measuring between 14 and 23 inches from the back of the camera body to the front of the lens.
Storm Jacket Camera Cover – size extra large. For a DSLR and extra long lens measuring between 14 and 27 inches from the back of the camera body to the front of the lens.
Location Links
Bryce Canyon National Park – the official NPS site.


