In a single exposure your camera can’t capture everything your eyes see in high contrast situations with a wide range of tonalities. HDR photography gives you more options.
Update, November 18, 2017: An updated version of this article is posted here.
High Dynamic Range (HDR) photography is no more complicated that taking several different exposures of the same scene to capture the full range of tonalities, and combine two of more of those exposures in the computer. You end up with one image that shows everything your eyes saw.
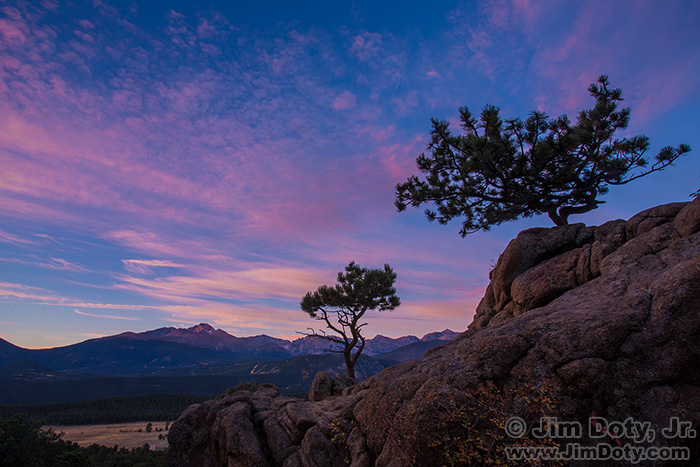
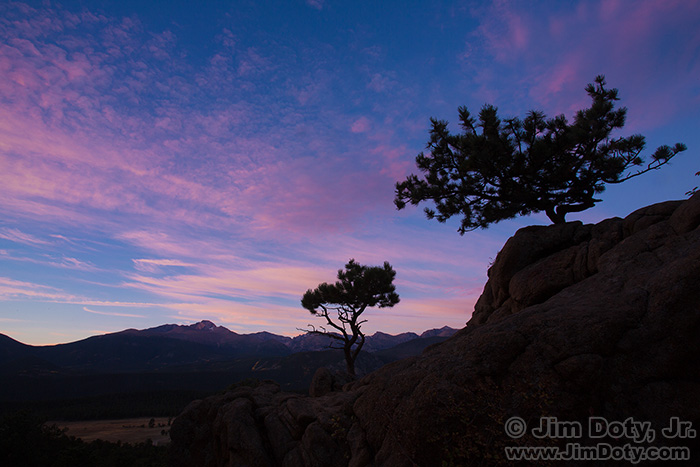
The photo at the top of this article is true to what I saw going on in the sky, but not for the foreground rocks which were nicely lit be the early moring light. So I did a bracketed series of exposures beginning with a good exposure for the sky and ending with a good exposures for the rocks in the foreground.
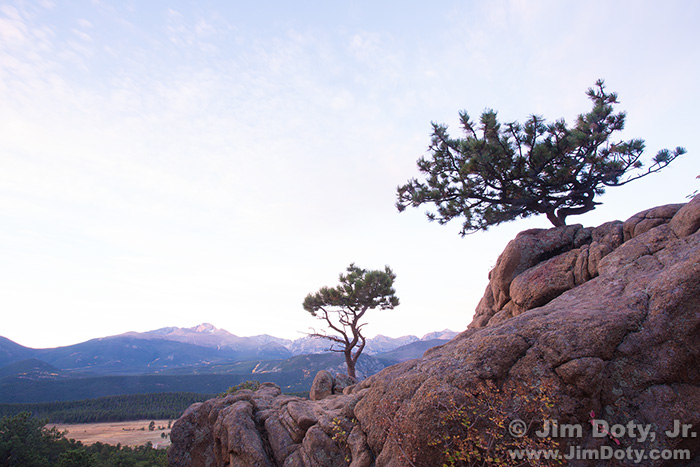
This exposure for the rocks is true to how the rocks looked to my eyes, but the sky is washed out. The limited dynamic range of a digital camera just can’t handle the broad range of tonalities that you find in a lot of real world situations. If you want to capture it all you will need to take several different exposures.

Dawn, scenic overlook. Rocky Mountain National Park, Colorado. Combined exposures for one HDR image.
When I got back to my computer I combined the sky and rocks exposures above (along with two more exposures in between) to create an HDR image. This image is true to what my eyes saw. I used Adobe Camera Raw (ACR) to put the images together but I also like Photomatix.ACR comes with Adobe Photoshop Elements (under $100), Adobe Lightroom ($150), and Adobe Photoshop (subscription only). For $9.99 per month you can get both Adobe Photoshop and Adobe Lightroom and all updates are included.
I rather like the high contrast image with dark rocks at the top of this article, and I also like the image just above which is what the scene actually looked like. The point is I gave my self options. If I stopped with the first exposure at the top, I would not have the realistic image below. If you are at a great location, make the most of it and give yourself lots of options.

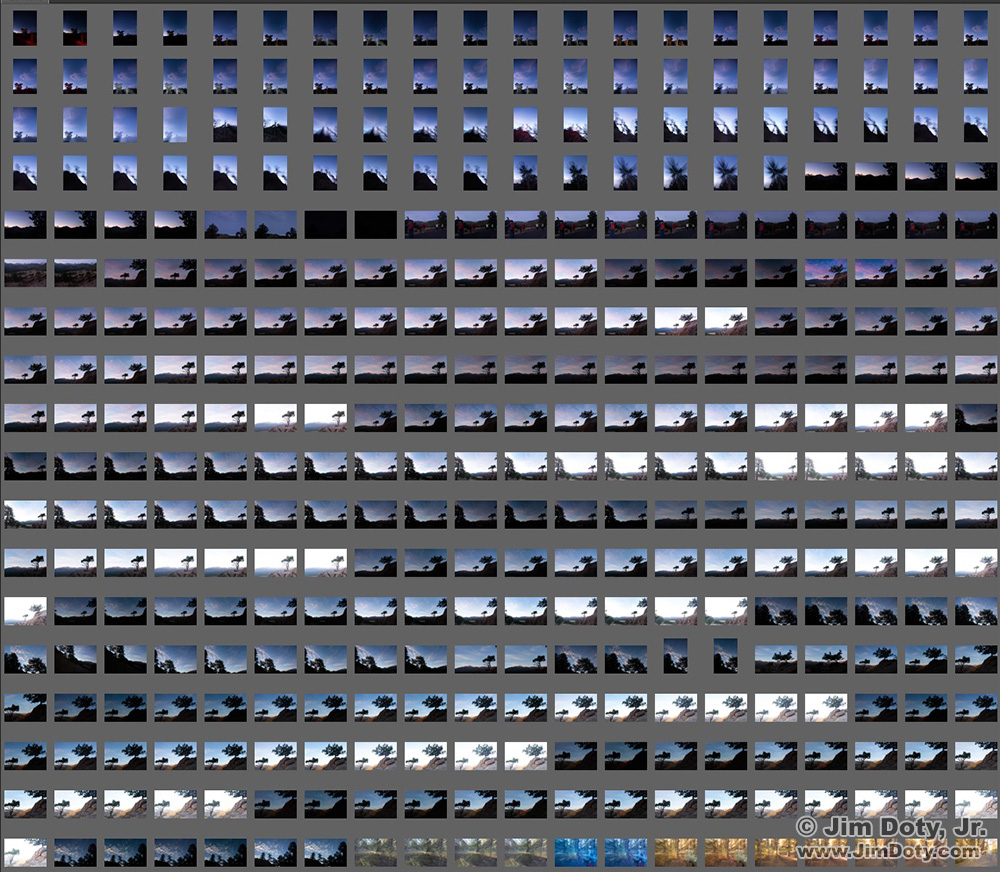
Adobe Bridge. Screen capture of the early morning part of the photo shoot. Click for a larger version.
Don’t limit yourself to just one version of the scene. I tried multiple variations on the scene, placing the two trees in different locations in the scene, using just one of the trees, adding more trees, and using different trees altogether. As you can see from the Adobe Bridge screen capture, I did lots of different exposures of each variation on the scene. I gave myself a lot of options. If you have ever watched a video of a National Geographic photographer at work, you know how important this is. It doesn’t cost a penny to click the shutter. It only costs you money (and not very much) if you save all the photos to your preferred form of digital storage.
When shooting for HDR photography, how widely should you bracket the image and in what increments? I shoot in 2/3 stop increments, just to be sure I have enough coverage of all the tonalities of the scene.
I shoot a wide enough bracket so the lightest part of the scene is too dark (in this case the sky) and the darkest important part of the scene is too light (the rocks). You don’t want to get home and figure out you didn’t shoot a wide enough bracket of images.
Links
Article: Getting Started with HDR Photography
I highly recommend Photomatix Pro HDR software to combine your images. It is stand alone software that will do its own thing without needing any other software. If you use Adobe software you do have the option of using Photomatix as a plug in for Lightroom and/or Photoshop. You can buy Photomatix here:
If you get or already have Photomatix software, get the book Fine Art Photography: High Dynamic Range: Realism, Superrealism, & Image Optimization for Serious Novices to Advanced Digital Photographers by Tony Sweet.
Article: The Best Image Editing Software
A series of articles: The Best of the Best: Recommendations For The Best Photo Equipment, Books, DVDs, Software, and Online Photo Labs
You need to understand metering, manual exposure, depth of field, and hyperfocal distance charts if you want to get the best results in your HDR imaging. I recommend my own book, Digital Photography Exposure for Dummies. It is one of the highest rated photography books at Amazon.com. It is highly recommended by photography magazines, professional photographers, advanced amateurs, and beginning photographers. Learn more here and order it at Amazon.com.


