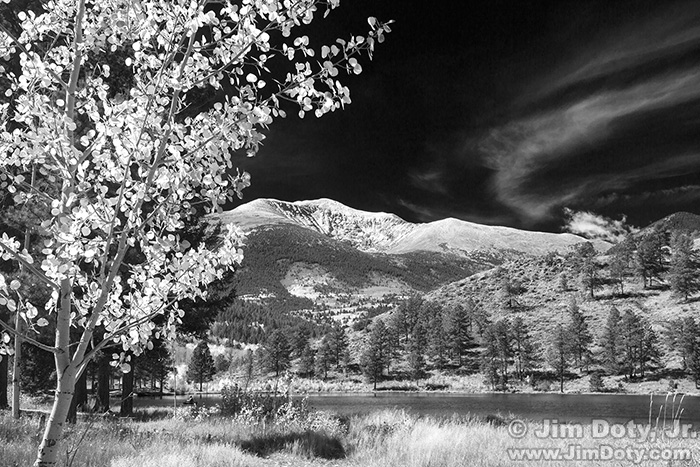
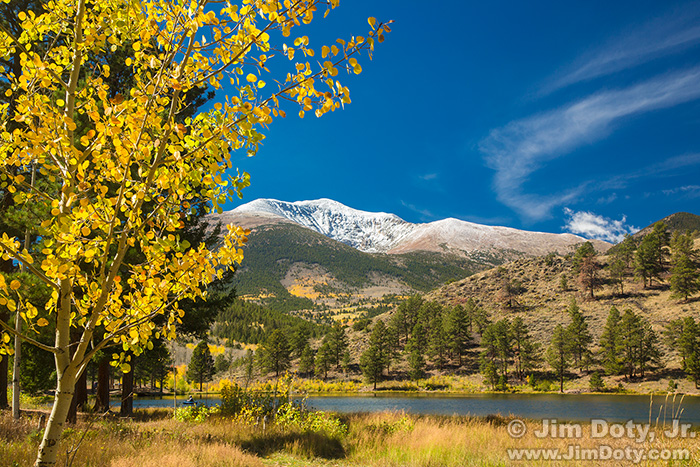
You have heard it said a lot, and maybe said it yourself: “This picture doesn’t do it justice.” That is often true and for several reasons. One is that digital cameras do not capture reality. No matter how fancy or inexpensive, digital cameras simply do not capture what your eyes see. That is also true with film cameras. All color photographic films have different color characteristics. Some have better reds, others have better greens or blues. Some are more saturated and others less saturated. But none of them are totally color realistic. Why don’t cameras give you realistic images and what can you do about it?
Note: This article has been updated here.
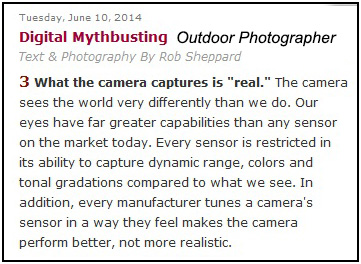
Rob Sheppard wrote about this in Outdoor Photographer and gave some of the reasons why (screen capture above). He went on to write “If you want realistic or even naturalistic, you’re often going to have to do some processing of the image whether that’s something like a RAW file in Lightroom or a carefully setup processing of JPEG files in your camera.”
Setting up your camera to give you one realistic JPEG image would take some time and you would have to change the camera settings every time you pointed your camera at something different.
For example, you point your camera at a distant mountain, take a picture and then tweak all the camera settings (taking another picture each time you change a setting) until you get an image that looks like the mountain as your eyes see it. With 4 or 5 different variables to test, each one having 5 to 10 different settings, it is going to take you a while to try from a total of 20-50 different combinations until you find the best one. Once you do, you have one realistic JPEG. Now point your camera down at the flowers near your feet and take another picture. Then tweak all the camera settings again (taking another picture each time you change a setting) until you get a realistic image that looks like the flowers at your feet. Very few people are going to spend 5-10 minutes tweaking several camera settings, just to get one realistic JPEG photo that matches what their eyes see.
It is a much better idea, or at least certainly faster, to shoot a RAW file and tweak it with Adobe Camera Raw (ACR) until it looks like what your eyes saw.
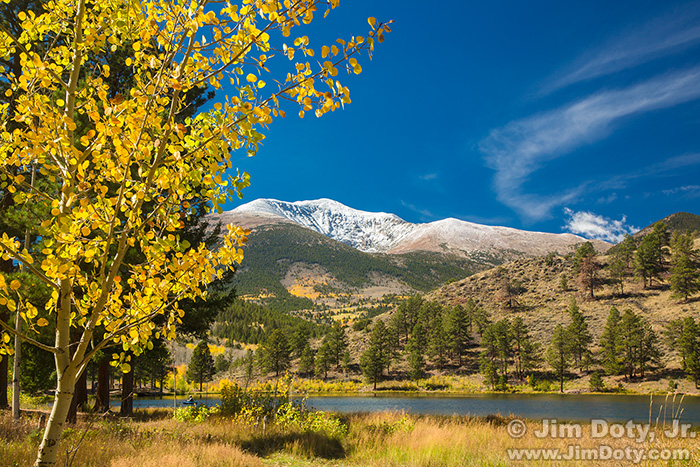
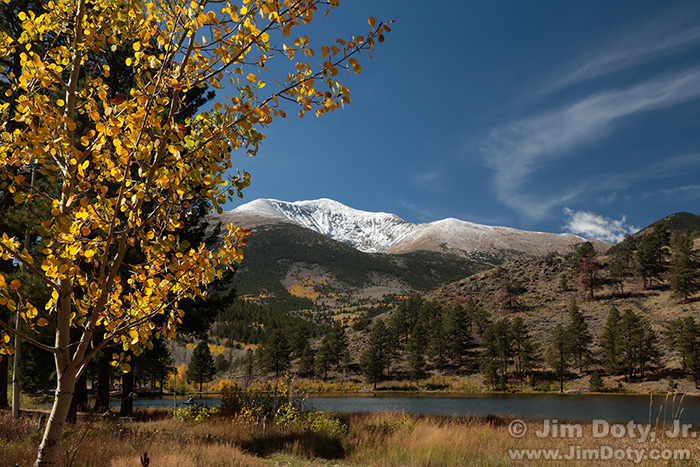
Take the image immediately above. It took me about 60 seconds to make the right adjustments on my camera to insure a RAW file that would give me all the information I would need to process the image later in ACR. I clicked the shutter and saw a pretty bland image on the LCD compared to the vivid scene right before my eyes.
Yes the sky is blue, the aspen leaves are gold, and the bushes are green, but not the same blue, gold, and green my eyes were seeing. In real life the sky was bright and blue, the leaves were a vivid gold, and the grasses and green bushes in the foreground really popped.
My eyes saw a great scene, but that is not what my camera gave me. And that is ok. The magic is the potential that is stored in the RAW file. Sure, I could spend several minutes tweaking settings for saturation, color, contrast, and sharpness, and bracketing the white balance in several different color directions trying to get a realistic looking JPEG file, but all of those changes would be baked in to the JPEG file and I couldn’t unbake them later. That is important. You can’t unbake an overbaked JPEG file. Besides, during the time I would have spent tweaking the settings to get one realistic JPEG file, I was wandering around shooting more photos.
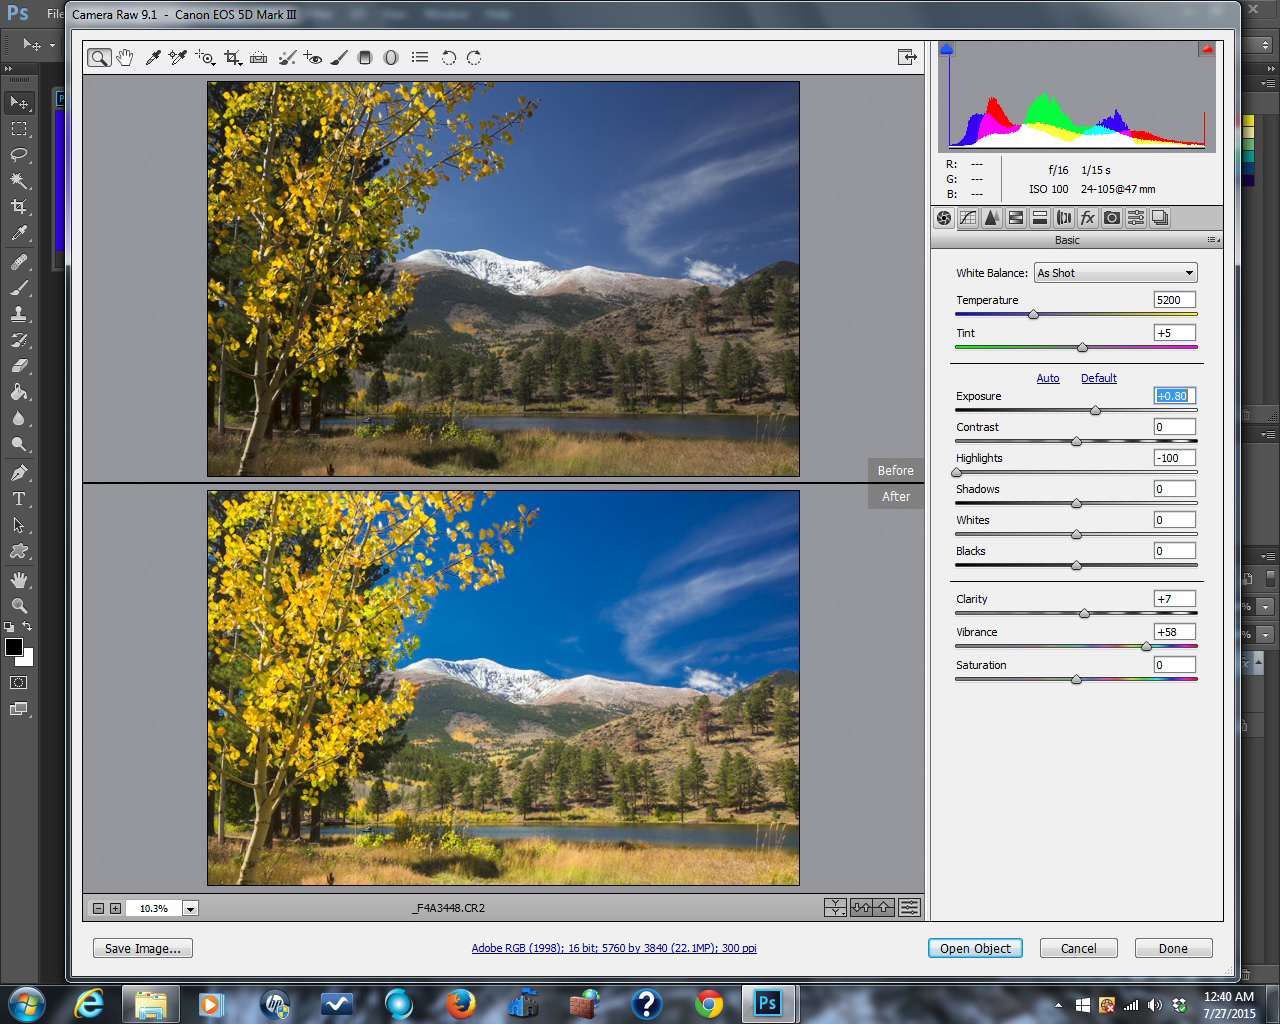
So I opened the RAW file in ACR and spent less than two minutes dragging the sliders in the panel at the right. The “before” image is what the camera gave me. The “after” image is what my eyes saw once the photo was corrected. And I can come back any time, as often as I want, and re-bake the RAW ingredients should I want a different interpretation of this scene. A RAW file is like unbaked ingredients that you can tweak and bake any way you want, and as many times as you want.
Why re-bake the scene? You don’t always have to do a realistic interpretation of a scene. You may want jazzier colors, or more subtle colors, or even black and white. They are your images, after all. The anti-Photoshop police won’t haul you away.
If you want an image that captures reality, you have two obvious choices.
Shoot a JPEG and put in the time to check among 20-50 variables (with a photo for each variable) and choose the one that is closest to what your eyes saw. And as if that isn’t complicated enough, keep in mind the LCD on the back of your camera is not a reliable guide to image tonality so you won’t really know if you nailed the image until you open the JPEG files on your computer.
Or you can shoot a RAW file (taking care to get an exposure that will capture the maximum amount of information in the scene), and spend about two minutes on your computer getting a realistic photo by adjusting your RAW file with ACR.
Where do you get ACR? It comes free with Adobe Photoshop Elements (less than $100), Adobe Lightroom (about $150), and Adobe Photoshop (a $10 per month subscription fee and Lightroom is included).
Incidentally, movie cameras don’t capture reality either.
Article Links
ACR and RAW: Two of the Best Things You Can Do For Your Images
The Best Imaging Editing Software
Before and After: Color Grading a Movie. The color grading examples by GradeKC are impressive. Color grading a movie is very much like using ACR and Photoshop to adjust the look of a RAW camera file. The final result can be close to visual reality or something quite different.

