Winter is your opportunity to photograph Snowy Owls. When it is cold and snowy there are a lot of snowy owl sightings across the northern U.S. Don’t delay. If the winter turns warmer the owls will head farther north. On the other hand, if the winter turns colder they may move even farther south.
This is the first in an ongoing series of articles on Snowy Owl photography. Originally posted January 25, 2016. Revised and updated Dec. 24, 2017.
Â
FINDING SNOWY OWLS
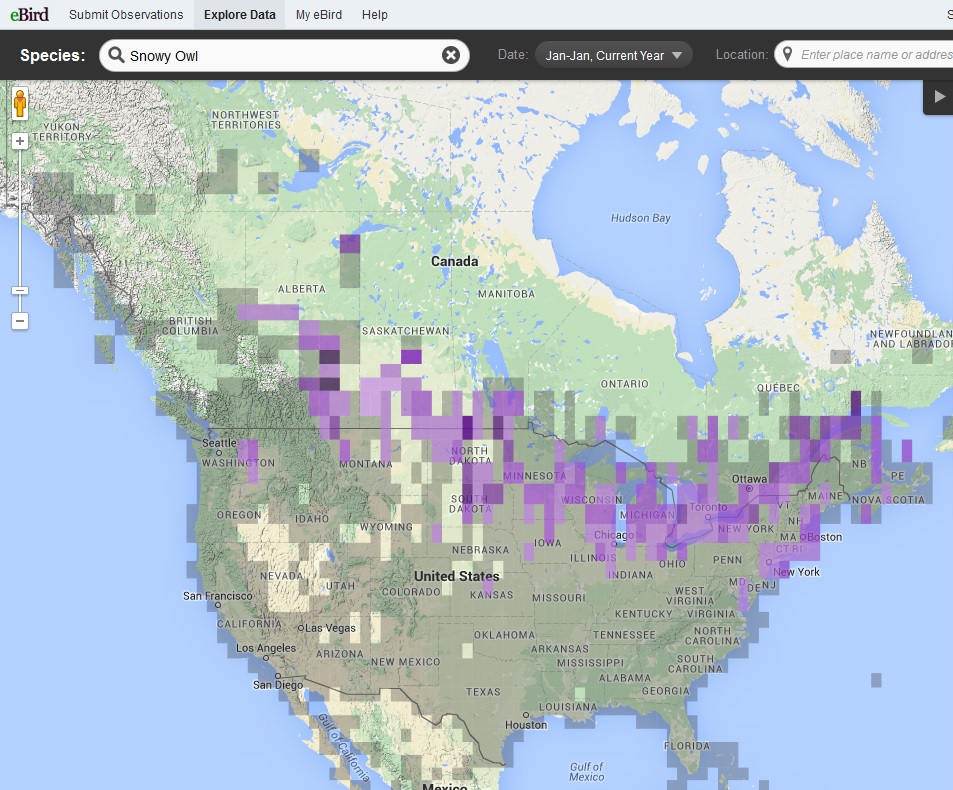
Head north for the purple colors on the Snowy Owl sighting map (the darker the purple the better) and check out the locations for recent sightings. Set the map date for the current month of the “Current Year†to limit the map to recent sightings.

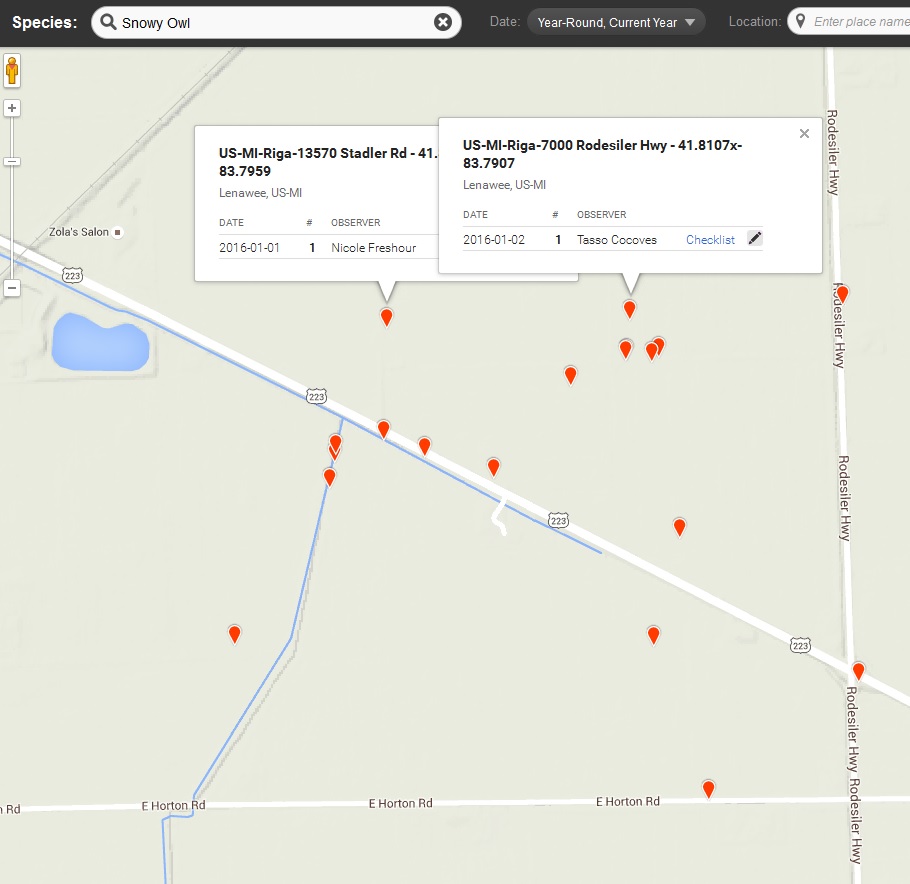
Snowy Owl sightings, Grand Rapids-Muskegon Michigan area, January 2016. Two hotspot pins were clicked to see a list of sightings.
Pick a dark purple area and zoom in on the map until you see the red pins for snowy owl sightings. Click on the red pins for details. This map from the Grand Rapids-Muskegon area in Michigan is an example of the information you can get. The more red pins the better. Pick a target area that has a lot of red pins with recent sightings. If there haven’t been any sightings in the last few days, find another area.
On this map I found a bunch of sightings clustered in an area east of Adrian Michigan, but they were all much too old for the date I checked the map (Jan. 25, 2016). It was way too late to go there.
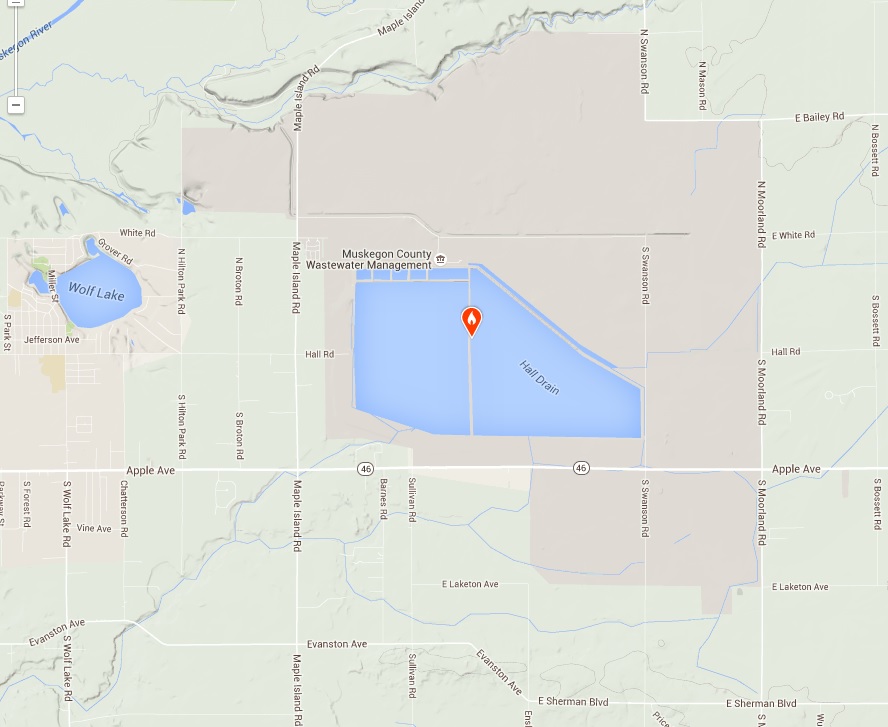
Near St. Louis Michigan there were 8 recent sightings with one sighting on the day I checked the map. It was still a live area worth exploring.
Once you have picked one or more target areas, save the location maps to your laptop or smart phone so you can find the locations when you get there.
When you arrive at your target areas drive the roads where there were sightings and other nearby roads. If you don’t find any snowy owls go to another target area. You may need to go back online and check the Snow Owl sighting map again to pick one or more new target areas. Depending on the weather the owls may have moved farther north.
PHOTOGRAPHING SNOWY OWLS
Exposure Tips
A white bird against a snowy white background is a recipe for underexposure if your camera is in auto exposure mode. With a white subject and a white background, some “plus exposure compensation” is in order. Set your camera’s exposure compensation scale somewhere between +1 and +2. A white bird against a dark background is even trickier for auto exposure with the risk of a seriously overexposed bird. Best to switch to manual mode and meter an 18% gray card, a neutral toned subject, or use an incident light meter.
These articles go into more detail:
Metering Wildlife in the Snow, Part One
Metering Wildlife in the Snow, Part Two
Approaching Snow Owls
Have your camera and lens ready to go on the seat beside you. Set the metering in advance to the existing conditions. If the light changes, pick some snow and re-meter.Stay in your car. When you spot an owl, slow down, turn off your radio, and roll down the window you will be shooting out of. Take your time driving up to the owl. Watch the owl. If it gets nervous, stop and wait. No sudden movements. When the owl calms down, slowly pick up your camera and take a picture. Then drive a little closer. Every bird is different. Some will allow you to get closer than others. When you are as close as you can get with your car, make the most of it and take enough pictures so you are sure you have the best possible shot. Only then should you think about getting out of your car to approach the owl on foot.
Read this article for advice on approaching an owl on foot.
Equipment
Long lenses are the rule for photographing birds. 300-400mm or longer are preferred (35mm equivalent). If you don’t want to break the bank on a 300, 400, or 500mm prime (single focal length) lens, look at the 100-300mm, 100-400mm, 55-250mm and similar telephoto zoom lenses lenses that are available. Some of the superzoom point and shoot cameras have lenses that zoom out to 500mm and longer (35mm equivalent).
The Snowy Owl Series
“How To†Series: Snowy Owl Photography – An Overview
How to Find and Photograph Snow Owls
Snowy Owl Photography: Control the Background for Better Images
Snowy Owl Photography: Solving A Photo Problem (And the Right Way to Exit Your Vehicle)
eBird Link
Snowy Owl sighting map at eBird.org
The Snow Owl Series is also part of the Winter Photography Series.
The Winter Photography Series
“How To” Series: Winter Photography – An Overview
Metering Daytime Winter Scenes
Metering Wildlife in the Snow, Part One
Metering Wildlife in the Snow, Part Two
Metering Evening Winter Scenes
Metering Nighttime Winter Scenes
Protect Your Camera Gear in the Cold and Snow
Testing Your Camera’s Snow Exposure Latitude
The Sunny f16 Rule Isn’t Reliable in Winter
How To Work With A Model When The Windchill is 4°
How to Find and Photograph Snow Owls
The Best National Parks to Photograph in Winter
Winter Photography Safety Essentials
More Links
How to Find Wildlife, The Best Books
How To Photograph Wildlife, The Best Books
How to Be A Better Wildlife (and Nature) Photographer
How to Use Your Camera’s Exposure Compensation Scale
Great Gray Owl at Whitefish Point
Why Is Exposure So Important? The first in a series of articles covering the basics of exposure with links to the rest of the articles.
If you want to master exposure, read Digital Photography Exposure for Dummies, one of the highest rated photography books at Amazon.com. It covers basic, intermediate and advanced exposure techniques all in one book so you won’t need to buy another book on exposure as your skills advance. It also introduces you to wildlife, landscape, flower photography, people, portraits, and event photography, plus closeup and low light photography. Learn more here and order it at Amazon.com.


