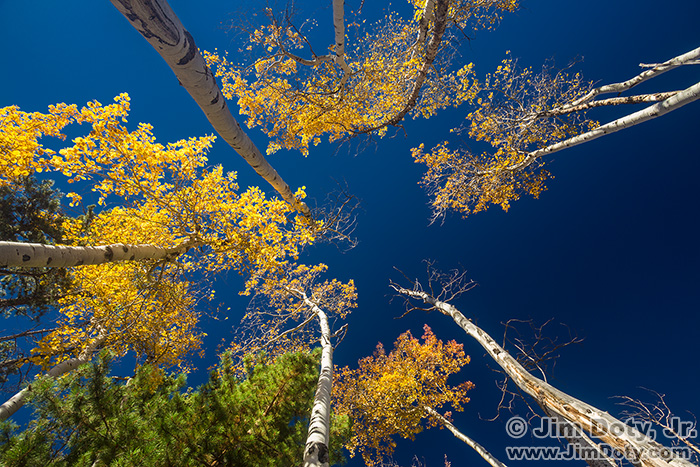
There are times when you shoot in the direction of the sun that direct rays from the sun enter your lens even though the sun isn’t in the photo. Whenever this happens you have the possibility of sun flare. The sunlight bouncing around inside your lens can create ghost shapes, add a light haze to the image, and rob the photo of color.
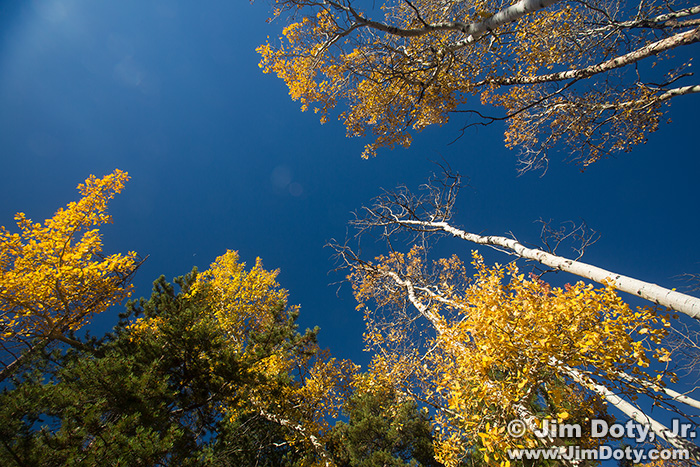
I created this image without blocking the sun’s direct rays so you can see the sun flare in the photo. The sun isn’t in the photo but the rays of the sun are hitting the front lens element and bouncing around inside the lens. You can see the ghost images of the aperture opening between the tree tops and the hazy sky at the upper left. Compare the sky in this image to the photo at the top.
Lens hoods were invented to help eliminate this problem but the lens hood may not stick far enough out from the front of lens to do that, especially with zoom lenses. One way to eliminate this problem is to block the sun’s rays from hitting the front of your lens.
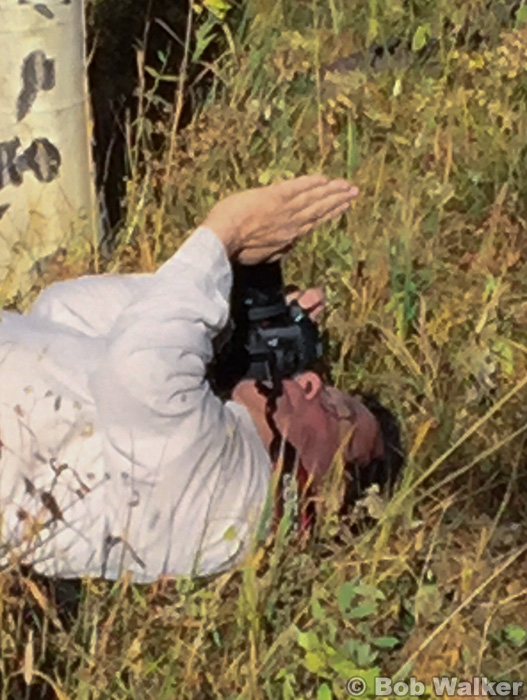
One of the things I tried was to put my hand next to the front of the lens like a human lens hood. This eliminated the sun flare. I had to be careful not to get my hand in the photo.
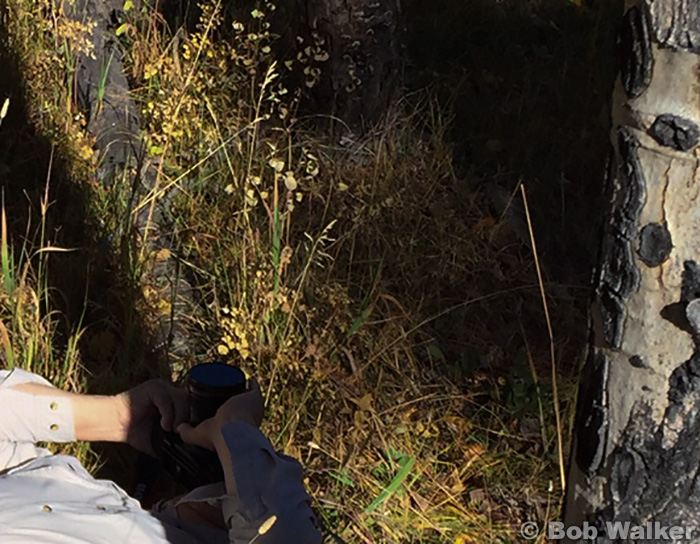
My other solution was to use one of the tree trunks in the photo to block the sun. Of course this changed the composition of the image. You can block the sun with flag poles, light poles, buildings, a person, or anything else in your photo provided it doesn’t mess up the composition.
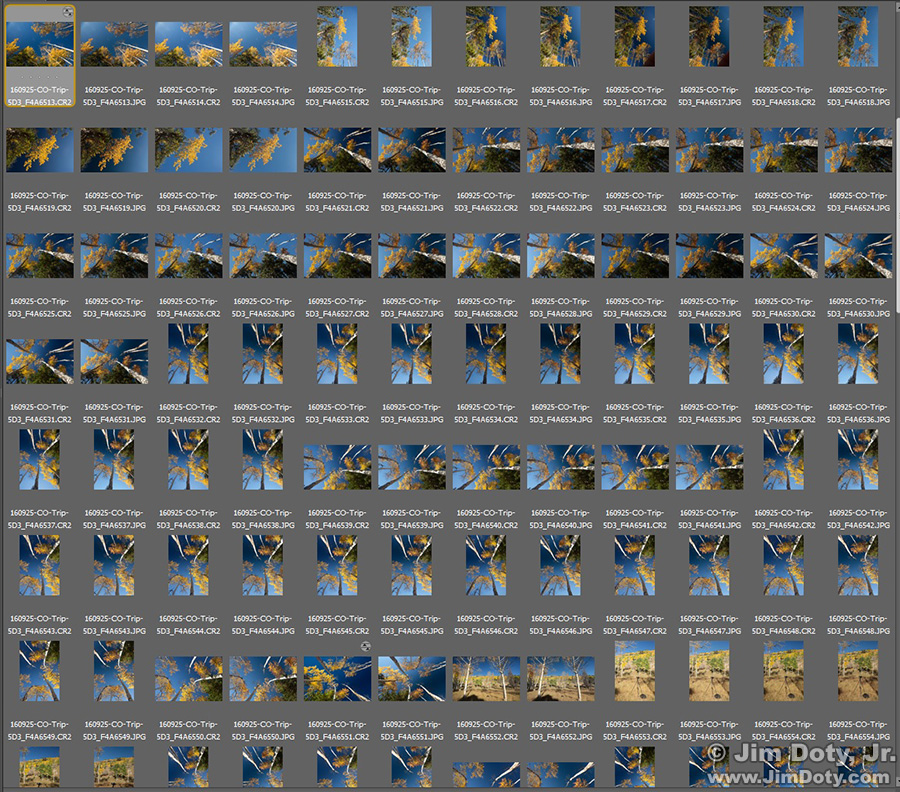
As you can see in this screen capture from Adobe Bridge, I experimented a lot with composition, changing my location on the ground, emphasizing different trees, rotating the camera, and changing the angle of the lens as I pointed it up through the trees. When I could, I hid the sun behind one of the trees. When I couldn’t I used my hand to block the sun.
I made my final choices of composition on the computer. The image at the top of this article is one of my favorites out of this set of photos.
I used a polarizing filter in all of the images to darken the blue sky and make the golden aspen leaves pop.
The polarizing filter takes away two stops of light which put my shutter speed at 1/15 second at my preferred aperture of f/11 at ISO 100. (f/11 gave me the depth of field I needed.) 1/15 is slower than I prefer to shoot a handheld landscape, even with a wide angle lens. So I boosted the ISO to 200 to give me a shutter speed of 1/30 second. Noise at ISO 200 is negligible. I almost always use a tripod for landscape photos but I was moving around on the ground so much I opted to shoot handheld.
Thanks to Bob Walker, my brother-in-law and photo buddy, for grabbing the illustration shots with his iPhone.
Photo Data: Canon 5D Mark III, Canon EF 17-40mm f4L lens at 17mm. Singh-Ray polarizing filter. f/11, 1/30 sec, ISO 200.
Links
To learn more about landscape photography, using your photo gear, controlling depth of field, exposure, shutter speeds to stop camera movement, and a whole lot more, read Digital Photography Exposures for Dummies, one of the highest rated photography books at Amazon.com. Learn more here. It is currently out of print but you can order a new or used copy from one of Amazon’s third part sellers.
Nature Photography Books: The Three Essentials. If you only read three nature photography books, put these on your “must read†list.
My Favorite Introduction to Landscape Photography. If you only read one book on landscape photography, this should be it.

