You have heard it said a lot, and maybe said it yourself: “This picture doesn’t do the scene justice.” That is often true and for several reasons. One is that digital cameras do not capture reality. No matter how fancy or expensive, digital cameras simply do not capture what your eyes see. That is also true with film cameras. All color photographic films have different color characteristics. Some have better reds, others have better greens or blues. Some are more saturated and others less saturated. But none of them are totally color realistic. So why don’t digital cameras give you realistic images and what can you do about it?
Originally posted December 16, 2015. Revised, expanded, and re-posted May 4, 2018. Updated October 31, 2018.
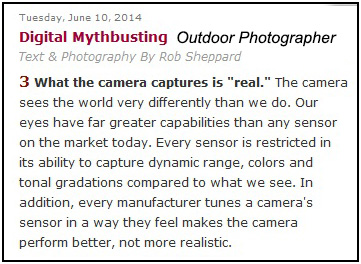
Rob Sheppard wrote about this in Outdoor Photographer and gave some of the reasons why (screen capture above). He went on to write “If you want realistic or even naturalistic, you’re often going to have to do some processing of the image whether that’s something like a RAW file in Lightroom or a carefully setup processing of JPEG files in your camera.”
The Problem with JPEG Settings
Setting up your camera to give you one realistic JPEG image would take a lot of time and you would have to change the camera settings every time you pointed your camera at something different.
Theoretically it is possible to get a JPEG file that is a realistic version of the scene, but practically speaking it is almost impossible. Here’s why.
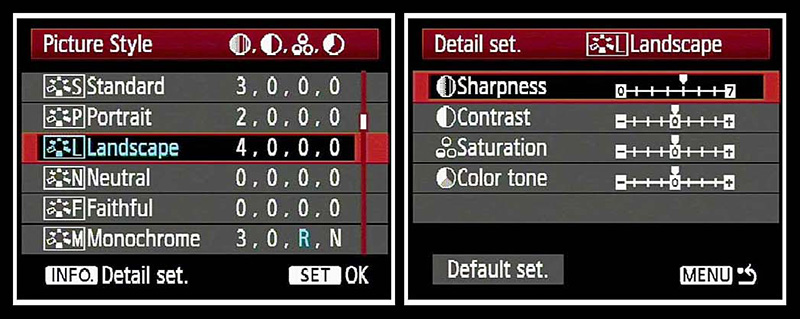
Your camera probably has several picture styles choices (your camera may call them picture controls, creative styles, or some other name) and several image parameters, each of which has 5 to 10 different settings. That gives you hundreds if not thousands of different combinations of image parameters to choose from when you shoot a JPEG image. And every new scene will require a different set of parameters to give you a truly realistic version of the scene. And you will need to be spot on with the exposure. If you don’t nail the exposure, the colors will shift and you won’t get accurate colors.
For example, you point your camera at a distant mountain. Which set of parameters will work best? You won’t know unless you start trying them to find out which one works best. You won’t be able to tell by looking at the back of the camera because the LCD on the back of the camera is NOT a reliable guide to image tonality. You won’t really know if you nailed the image until you open the JPEG files on your computer. So you will need to experiment.
With my camera there are over 2,000 possible parameter combinations. That is just too many to try. What if you simplify things by just trying a high, medium and low setting for each of the four parameters: sharpness, contrast, saturation, and color tone? That still gives you 81 different combinations to try out. What if you just try two settings for each of the four parameters? That is still 16 different possible combinations. That is why I have never met a photographer who tries a variety of parameter combinations for every scene in front of their camera.
The few photographers who do change the parameters decide what combination will work for them and use the same combination for all kinds of scenes. Some photographers choose a picture style and leave the parameters alone. Or they don’t make any choice at all, leaving the camera in the default setting. The reality is it just takes too much time to change the parameters for every scene to get a truly realistic version of the scene.
So JPEG files right out of the camera don’t capture reality. To get close to reality you are going to have to process your JPEG files on your computer. Unfortunately, JPEG files have a lot of built in limitations so when you process them the image quality can deteriorate dramatically.
Getting the Right RAW File with Your Camera
It is a much better idea to shoot a RAW file and tweak it with Adobe Camera Raw (ACR) until it looks like what your eyes saw.
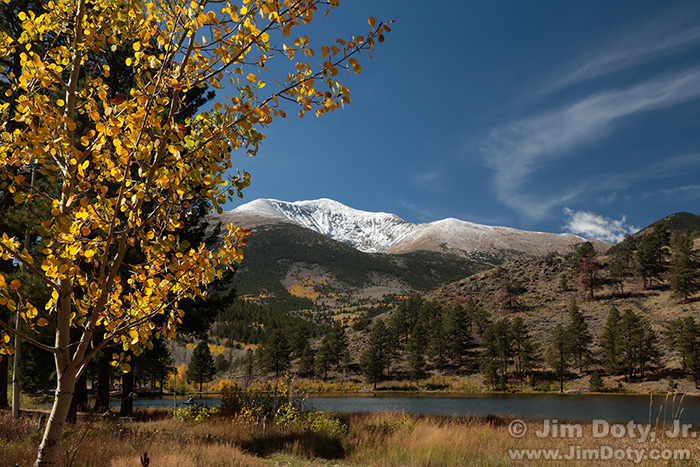
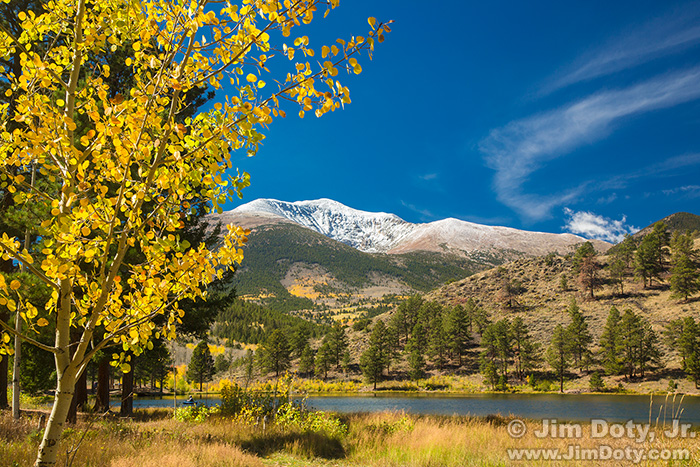
Take the image immediately above. It took me less than 60 seconds to make the right adjustments on my camera and grab two or three bracketed exposures so I could be sure I had a RAW file that would give me all the information I would need to process the image later in ACR.
One of the issues in this scene is the snow. Due to the limited dynamic range of a digital camera, the correct exposure for the foreground and hills would burn out the snow, so I deliberately underexposed most of this scene by about 2/3 of a stop to maintain detail in the snow. I clicked the shutter a few times (different exposures) and saw a pretty bland image on the LCD compared to the vivid scene right before my eyes.
Yes, in the original camera image the sky is blue, the aspen leaves are gold, and the bushes are green, but they they were not the same blue, gold, and green my eyes were seeing. In real life the sky was bright and blue, the leaves were a vivid gold, and the yellow grasses and green bushes in the foreground really popped.
My eyes saw a great scene, but my camera gave me a bland image. That’s ok. The magic is the potential that is stored in the RAW file.
Using ACR to Create a Realistic Image from a RAW File
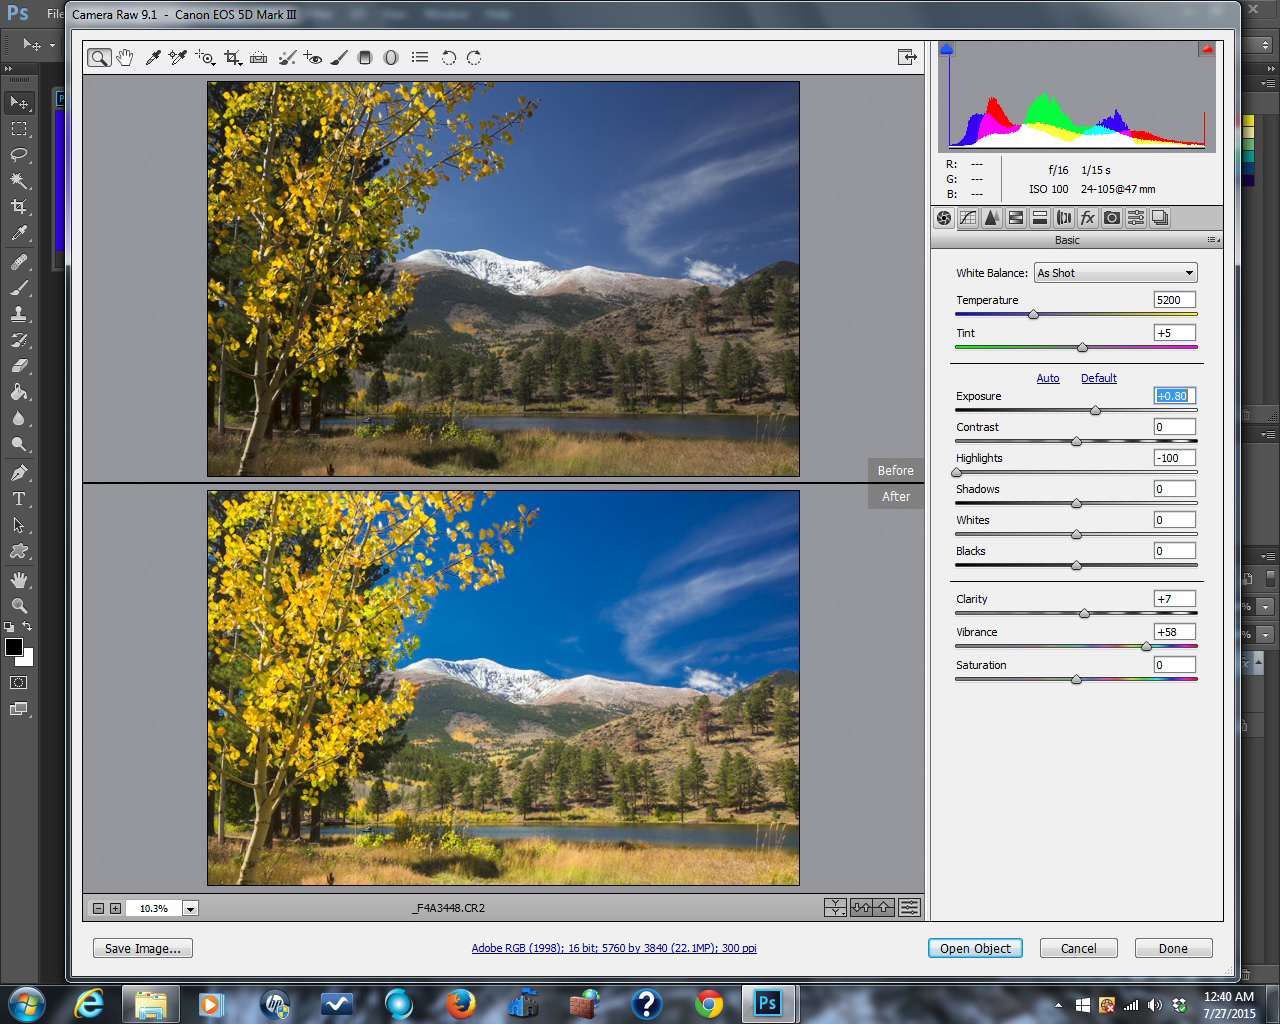
When I got home I opened the RAW file in ACR and spent less than two minutes dragging the sliders in the panel at the right. The “before” image in ACR (top) is what the camera gave me. The corrected “after” image (bottom) is what my eyes saw when I was at the scene.
Here’s how I fixed the image. The first thing I did was to grab the EXPOSURE slider and drag it to the right. This lightened up the underexposed foreground, hill, mountain and sky, but it washed out the snow. Next I grabbed the HIGHLIGHTS slider and dragged it way over to the left to restore tonality and texture to the snow. I dragged the CLARITY slider a little to the right, and dragged the VIBRANCE slider farther to the right. Now I had an image that matched the beautiful scene I saw with my eyes when I was at the scene. I clicked OPEN OBJECT to send the corrected RAW file to Photoshop to save it. You can also click SAVE IMAGE in the lower left corner to save a new version of the RAW file. Your RAW file doesn’t get converted from RAW data to an actual image with colored pixels until you send it to Photoshop (or Photoshop Elements) and save it.
If you want an image that captures reality, your best option is to capture a RAW file with your camera (taking care to get the exposure right) and spend about two minutes on your computer getting a realistic photo by adjusting your file with ACR.
And what if you don’t want an image that matches what your eyes saw? You can go “Ansel Adams” with your RAW file and create any kind of image you want.
Going Ansel Adams
Any time you want, you can open the original RAW file, and re-bake the RAW ingredients any way you want to create a different interpretation of the scene. A RAW file is like unbaked ingredients that you can tweak and mix and bake any way you want, and as many times as you want.
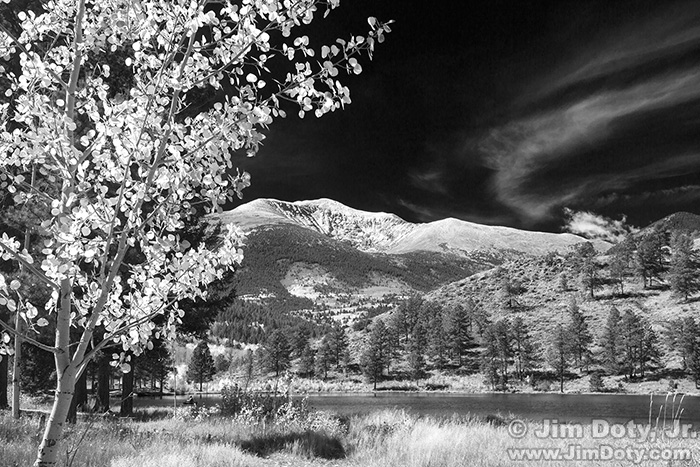
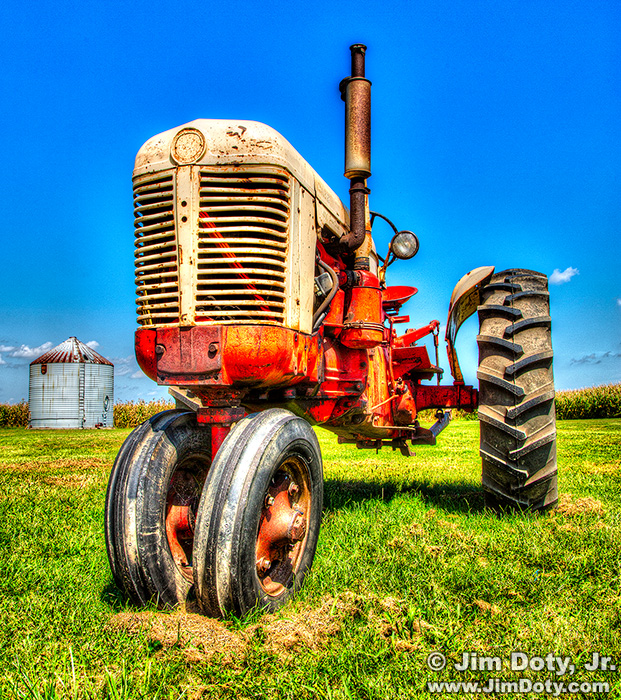
Why re-bake the scene? You don’t always have to do a realistic interpretation of a scene. You may want jazzier colors, or very subtle colors, or over-the-top tone mapped colors, or black and white. They are your images, after all. The anti-Photoshop police won’t haul you away. Play with the ACR sliders all you want. Do fun things in Photoshop. Warp the tonal curves of the image. Ansel Adams would be proud. Some people won’t like your non-realistic images, but so what? Please yourself first! If other people like your images that is just an added bonus.
Adams considered his negative the “score” and his print the “performance”. By dodging and burning the print he would change tonality relationships, making some parts of the scene lighter and some parts darker. He would spends hours in the darkroom, interpreting the scene several different ways until he found the version he liked best. That would be his standard interpretation, at least for a while. Years later he would do the same process all over again with the same negative, coming up with a new standard interpretation. His goal was to create a mood, not recreate the reality of the original scene. You can do the same thing with ACR, Photoshop, and other software like Photomatix.
Where do you get ACR? It comes free with Adobe Photoshop Elements (less than $100), Adobe Lightroom (about $150), and Adobe Photoshop (a $10 per month subscription fee and Lightroom is included).
Incidentally, movie cameras don’t capture reality either.
This article is part of the Ansel Adams series. Link below.
Article Links
ACR and RAW: Two of the Best Things You Can Do For Your Images
The RAW vs JPEG Exposure Advantage
The Best Colors Come From the Best Exposures
The Best Image Editing Software
The Ansel Adams Series – Articles about and inspired by Ansel Adams, including several videoes
Before and After: Color Grading a Movie. The color grading examples by GradeKC are impressive. Color grading a movie is very much like using ACR and Photoshop to adjust the look of a RAW camera file. The final result can be close to visual reality or something quite different.


