Not long after I posted my review of And A Guitar I was asked how long it took to write. I gave a quick answer at the time. As I thought about the question since, the intriguing thing to me was the process of writing an article, as well as the time. So I checked the metadata for the folders and files I created to come up with an answer.
Writing
I started writing at 6:00 am. I did the writing before working on the photos. If I do the photos first and then write, I tend to write about the photos. If I write first, I write about the event without being influenced by the photos. That gives me a more natural result. Back in my sports photography days at a small town newspaper, the sports writer always wrote the story first before seeing the photographs.
I wrote down the ideas I wanted to cover first, and a few specific phrases I wanted to use. Then I arranged those ideas into an order that made sense to me. I usually do this by hand, rather on a word processor. Sometimes, like this time, I do this on a pad of yellow paper. If it is longer and more complicated I use 3×5 cards. 3×5 cards are easier to use when shuffling the order around. I finished writing at about 8:30 so that took 2 1/2 hours.
I logged on to WordPress, dropped the text for the article in to my photo blog, and saved the draft.
Downloading, Renaming and Keywording Photos
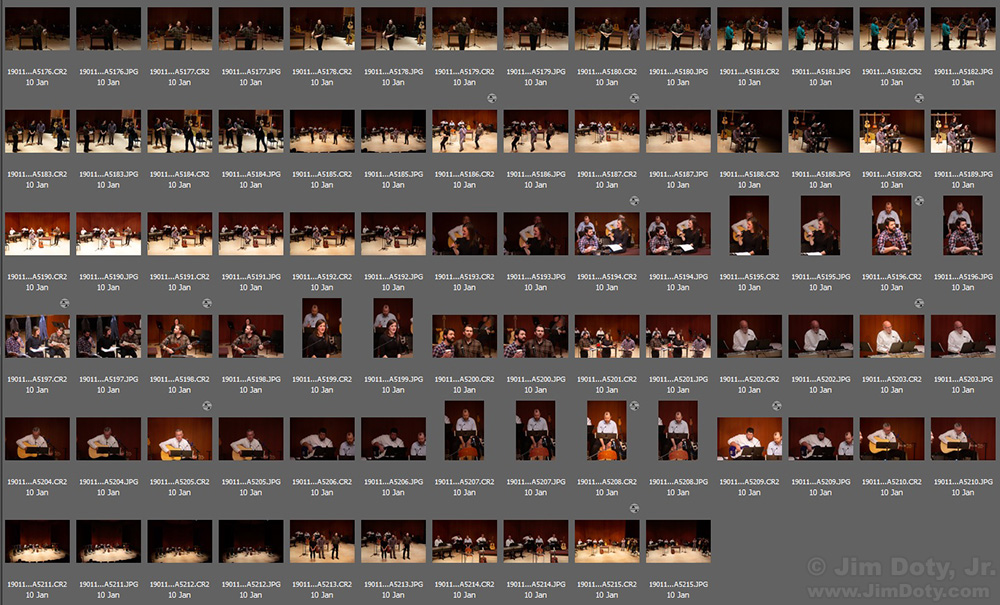
Next I downloaded the photos, renamed them, and keyworded the files. There were already a bunch of photos on the memory card before I went to see And A Guitar, so it took a while.
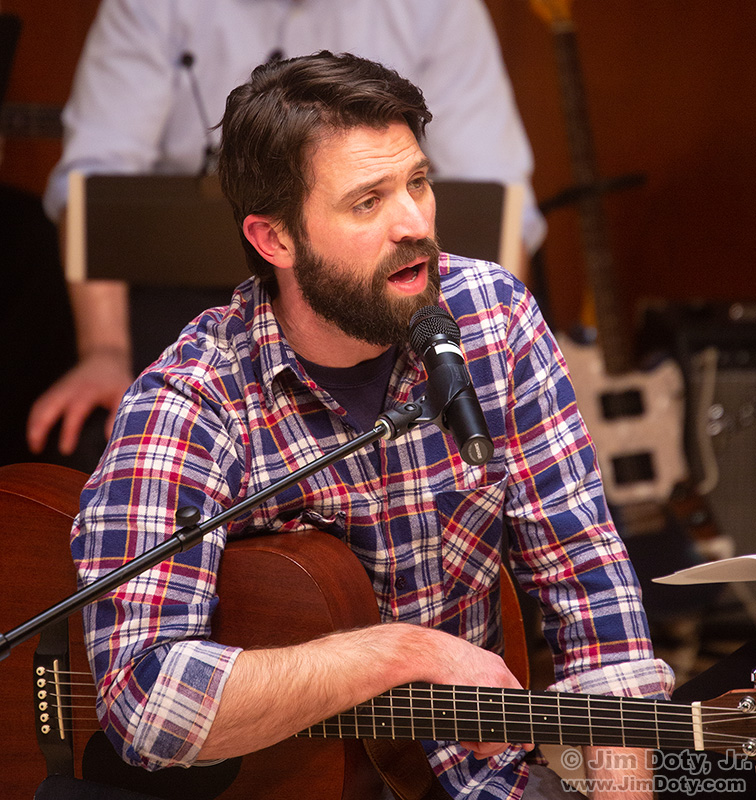
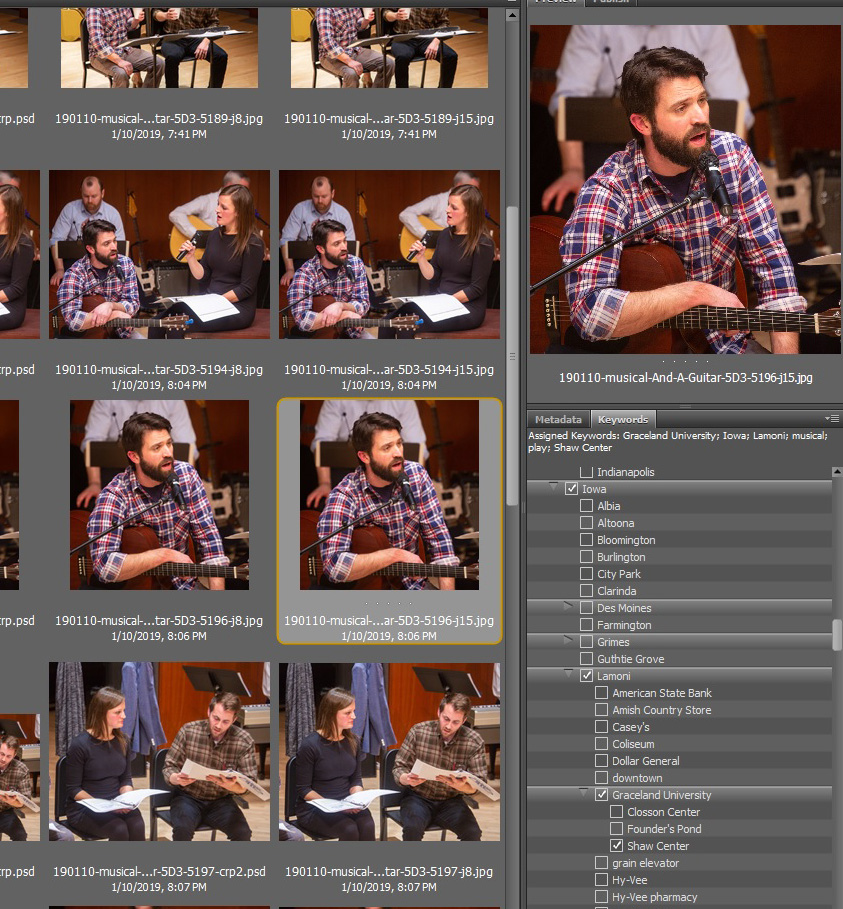
I use Adobe Bridge to rename and keyword files. I keep the original file number at the end of the file. At the beginning I have the date the file was created, then a description of the event, and the camera I used. This file name for this photo used in my article is: 190110-musical-And-A-Guitar-5D3-5196. The photo was created 2019, January 10 (190110). The event is a musical named And A Guitar. The camera is a Canon 5D Mark III (5D3). 5196 is the original file number right out of the camera.
Why Keywording is Important
Keywording is important. Keywords allow digital asset management (DAM) software to search your photo library and find photos based on their assigned keywords. So you can search for every photo with the keyword “musical” or every photo with the keyword “Lamoni”, or only photos of musicals taken in Lamoni.
I have a preset list of keywords. Location keywords (states, cities, national parks), event keywords (play, musical, birthday) , wildlife keywords (elk, squirrels), family keywords (with names), and several other categories. With keywords you can look for every elk photo you have ever taken, every photo you have ever taken in Colorado, or only elk photos taken in Colorado. The catch is you need to keyword your photos when you download them and then add the photos to your library.
I worked on the downloading, renaming and keywording the photos on my memory card from 8:30 – 9:30, a total of one hour. If I only had the And A Guitar images to download, rename, and keyword, it would have taken more like 15-20 minutes.
DAM Software
The most popular DAM program for photographers is Adobe Lightroom. You can use it to download, rename, and add keywords to your photos. You can also use Lightroom to process your images, adjusting the exposure, white balance, saturation, and other image characteristics. For many photographers, Lightroom is the only software they need.
Image Processing
I went through all of the photos and picked the ones I wanted to use in the article. I opened each one and processed it with Adobe Camera Raw (in Photoshop) for the best white balance and color. FYI: Adobe Camera Raw comes with Photoshop Elements, Adobe Photoshop, and Adobe Lightroom. I removed the digital noise, saved the master corrected files, then cropped the images that needed to be cropped, and resized all the article photos for the web. Each time I finished a photo, I dropped it into my article on my photo blog and re-saved the draft. That took from 9:30 to about 11:00 pm, a total of 1 1/2 hours.
Editing, Tweaking and Publishing the Article
With all of my photos dropped into the article, I read through everything and made some changes in the text and moved some photos around. At 11:11 am I liked how things looked and hit the PUBLISH button.
I walked away from the article and let it sit for a while. I came back at 11:32 and read through it again, made some minor tweaks and published it again.
Total time: 5 1/2 hours.
Links
“And A Guitar“: Go for the Music, Stay for the Story
ACR and RAW: Two of the Best Things You Can Do For Your Images