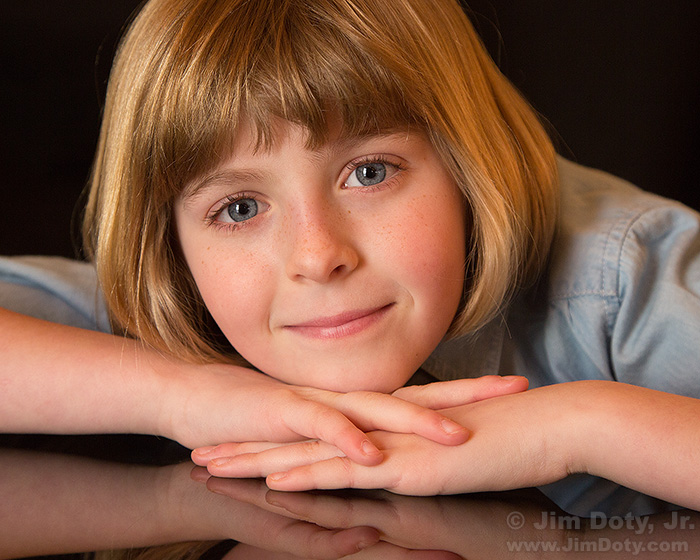
Why set a custom white balance? The answer is simple. To get the best, most accurate colors your camera is capable of producing. It is especially important when photographing people if you want beautiful, accurate skin tones. In this article I give you some shooting tips, answer common questions, and I cover the situations when it is preferable not do a custom white balance.
Setting a Custom White Balance for Indoor Events
The key to setting a custom white balance at an event is to decide where the most important things are going to happen. At a church service, that is easy. The most important visual stuff happens up front.
Recently I walked up to the front of the church in Bloomington Iowa before the service began. I put a collapsible, 18% gray card on a blue chair and took a picture of it. I used that picture of the gray card to set a custom white balance. I show you exactly how to do that in this article (also in the links section below). I metered the gray card again and took another picture of it to make to make sure it was a neutral gray. Then I took a picture of the chair as an added color check.

A curious person who watched the whole thing asked me why I took pictures of the gray object. It is a question I get fairly often when I pull out a gray card in a place that isn’t used to seeing me use one, and most non-photographers don’t know what a gray card is.
I said “The photo of the gray card is the secret to beautiful, accurate skin tones.”
That piqued his curiosity even more. He asked me how taking a picture did that. I showed him the “before” photo of the gray card and how it was tinted yellow-green. I told him I used that photo and said to the camera, “Make this gray”. Then I showed him the “after” picture of the gray card looking a true neutral gray. Then I told him by having the camera color correct for the yellow-green color cast in the first photo, the camera will color correct for the same yellow-green color cast in all the other photos I would take that day, giving me beautiful, accurate skin tones instead of yellow-green skin.
What Is A Color Cast?

Almost any time you take a photo inside, there is some kind of color cast. A color cast is a shift in the color of the light from neutral (like outside on a sunny day) to some other color like yellow or green. Sometimes you don’t notice the color shift. The gray card at the Bloomington church looked gray as it sat on the blue chair. It wasn’t until I took the photo that the yellow-green color cast was obvious.
Sometimes the color shift is obvious to your unaided eyes. Step outside on a winter day long after the sun has set and you can see the snow looks blue. But some of the time, and especially indoors, your brain will auto correct for the color shift of the light. You can test this yourself.
You need a room with white walls that has an outside window and is lit by tungsten light bulbs. Stand in the room at dusk. The walls will look white. Your brain is auto correcting for the yellow tint of the light bulbs.
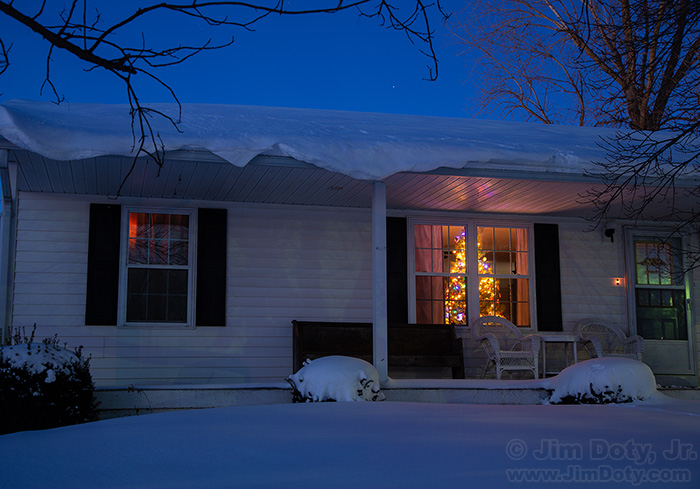
Go outside and get far enough away from the house that you can see the dark blue sky and see the window at the same time. The room will now look yellow-amber.
You can test this with your camera too. Go back inside the room, set your camera to the daylight preset (the sun icon) and take a picture of a white wall. It will look yellow. Set your camera to tungsten preset (the light bulb icon) and the wall will look white.
The purpose of setting a custom white balance is to tell your camera to compensate for the color shift in the light.

Thanks to setting a custom white balance before the worship service began, the camera corrected for the color shift in the room. All morning long it gave me accurate skin tones of everyone who was up front.
As long as the light didn’t change and the person I was photographing was close to the front of the room, I got accurate skin tones that were true to each person’s skin. All of this was important for capturing the events of the day. You can see more photos from this Sunday morning service here.
From a technical point of view, when you set a custom white balance, you are making sure the “color temperature” of the camera is matched to the “color temperature” (color shift) of the light falling on your subject. That is the secret to accurate colors and accurate skin tones.
Where To Point the Gray Card
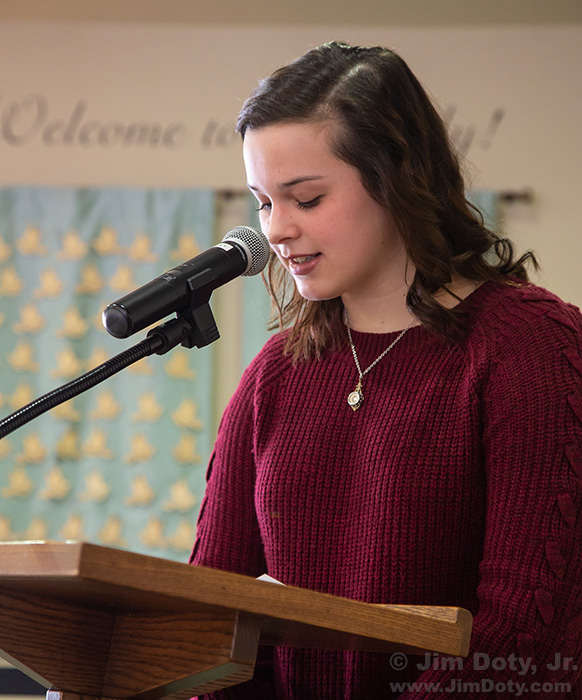
The angle of the gray card is important when you photograph it to set a custom white balance. It needs to face the most important light source illuminating your subject. The most important light source is not always the brightest light source. I put the gray card on the chair so it was facing the room and the ceiling lights, not the much brighter, nearby outside windows. Most of the light on people’s faces would come from the room lights, not the windows.
As you can see in the photos of the people who were up front, there is a bright highlight on the right side of their faces (camera left) which is slightly bluer in tone than the light on the front of their faces. If I would have pointed the gray card at the windows, the narrow highlight would be normal in tone and the side of their faces that was toward the camera would be too yellow. So point your gray card at the most important light source before you take a picture of it.
The gray card is also a helpful for metering which is the topic of the metering article in the links section below.

One comment above is worth elaborating on: “As long as the light didn’t change and the person I was photographing was close to the front of the room . . .” The light in the sanctuary was a mixture of lights in the ceiling and daylight coming in from outside. If someone was farther from the outside windows, the proportion of outside light was reduced and the color temperature of the light changed a bit. If you are photographing an event in a room with mixed indoor and outdoor light, put your gray card where the most important stuff will be happening. That is why I photographed the gray card sitting in a chair up front.
If the outside light had changed by becoming more or less cloudy, that could have changed the color temperature too. Fortunately for me, the outside light didn’t change. Once the service started it would be too disruptive to go up front and take another gray card picture to reset the white balance. However, there is a work around for re-setting the white balance in the middle of an event. You can use something white.
Using Something White As A Substitute Gray Card
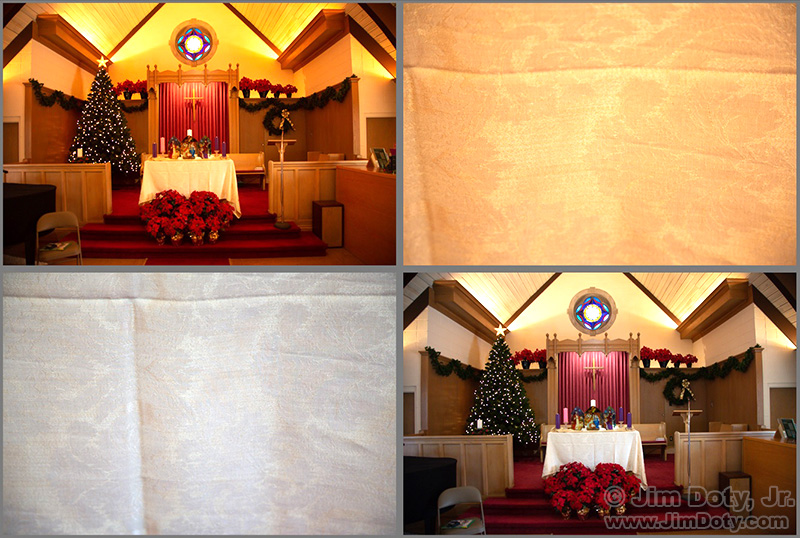
The light in this room is yellow-amber in color (upper left) due to the tungsten lights. I zoomed in on the white cloth covering the table in the center of the rostrum and took a picture (upper right). I used that photo to set a custom white balance and photographed the white cloth again (lower left). Now I had the correct white balance for the colors in the room (lower right). If there is something white where the action is (like a piece of cloth, or a white wall), put on a long lens, zoom in on the white object so it fills the frame, take a picture, and use that picture to set a custom white balance.
When do I set a custom white balance? Almost any time I am photographing people indoors, at an event, in my studio, or outside.
Setting A Custom White Balance in the Studio
The principle is the same as shooting an event, but simpler. When you are doing a photo shoot you can re-set the custom white balance any time you want without interrupting some kind of event.
Most studio photo shoots use flash, tungsten lights, or window light. If you are using flash, use the Flash white balance preset.
If you are using tungsten lights or window light, you will need to do a custom white balance. It is quick and simple.
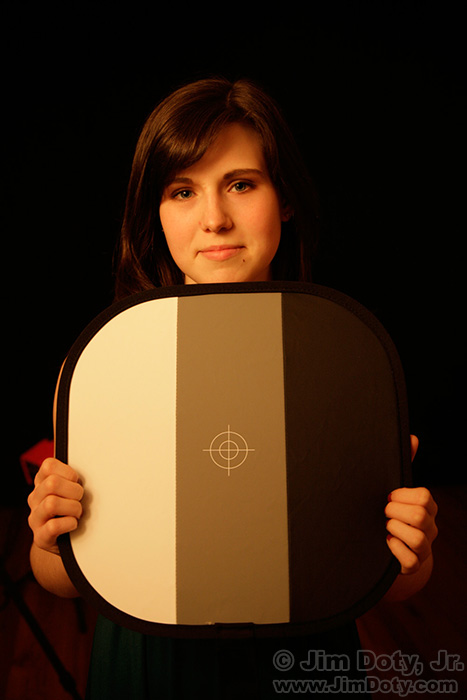
Once you have your subject in the right position and the lights where you want them, hand your gray card to your subject and take a picture of the gray card. Jennifer is holding a calibration target which is just a fancy gray card that also has white and black panels. Although you should only photograph the gray card, I also took a photo that included Jennifer so you can see how everything is tinted yellow-amber by the tungsten lights.
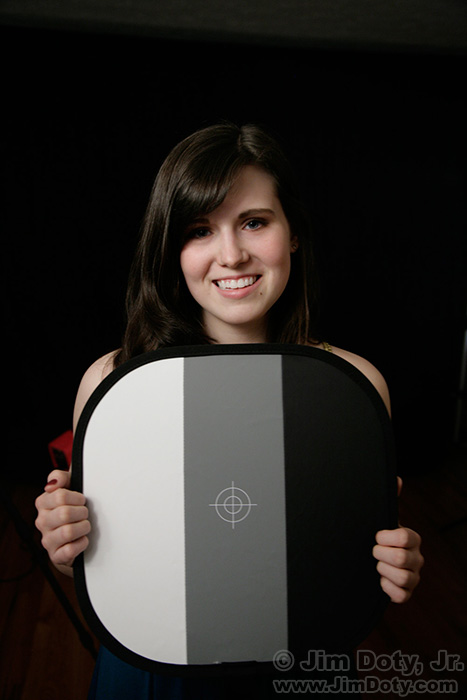
After you use the first picture of the gray card to set a custom white balance, take another picture of the gray card to make sure everything looks right.
Setting A Custom White Balance Outdoors
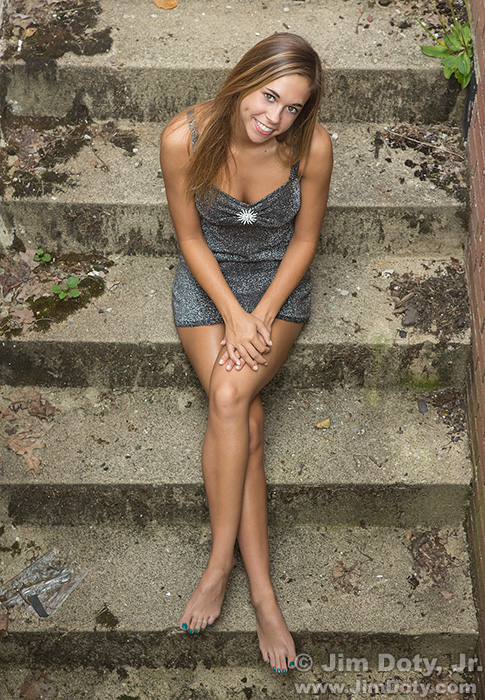
Getting the white balance right is also important when photographing people outside. If yellow and green color casts are the bane of indoor photographers, a bluish color cast is often the bane of outdoor photographers. I photographed Kristin on a sunny day in open shade. Open shade on a sunny day has a cool, bluish color temperature because the light source is the blue sky. You end up with bluish skin tones. To get normal skin tones you need to correct for that, either by setting a custom white balance ahead of time (which is faster and more accurate), or after the fact on the computer.
What About White Balance Presets?

Can you use the preset white balance settings on the camera, like Tungsten for indoor light bulbs, or Shade when you are outside in the shade? Yes you can, and it will improve the color accuracy of your images. But in my experience, the presets on the camera are not usually as accurate as setting a custom white balance. It is not unusual for the light to be somewhere in between daylight and shade.
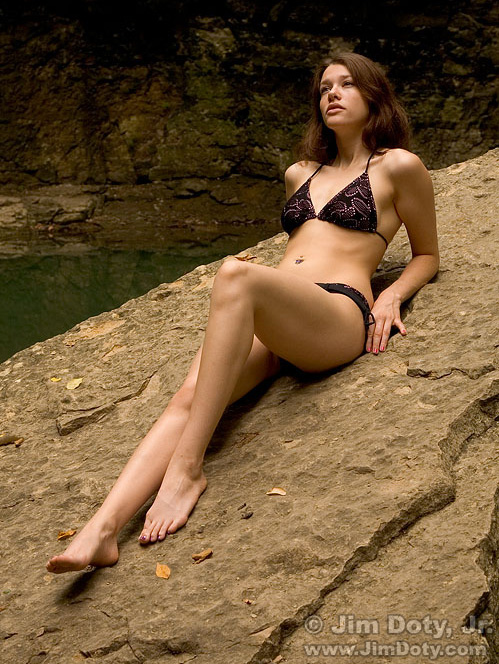
The color of the light on cloudy days is even more unpredictable than shooting in open shade. With a thin cloud layer, the light can be very close to daylight. The thicker the clouds get, the bluer the light gets. The color temperature can be all over the place. It can change while you are shooting. The Cloudy preset on your camera is ok in a pinch, but a custom white balance is better. If the light changes, take another picture of the gray card and use it to set the custom white balance again.
On cloudy days, or when your subject is in the shade on a sunny day, if you want the most accurate colors and the best skin tones, setting a custom white balance is the way to go.
Custom White Balance and Flowers

I also set a custom white balance when doing closeups of flowers. With some creative exceptions, I want the most accurate flower colors possible. This is especially true when flowers are in the shade and take on a blue cast. With some blue flowers, that might be an advantage, but with most flowers the blue cast isn’t helpful.
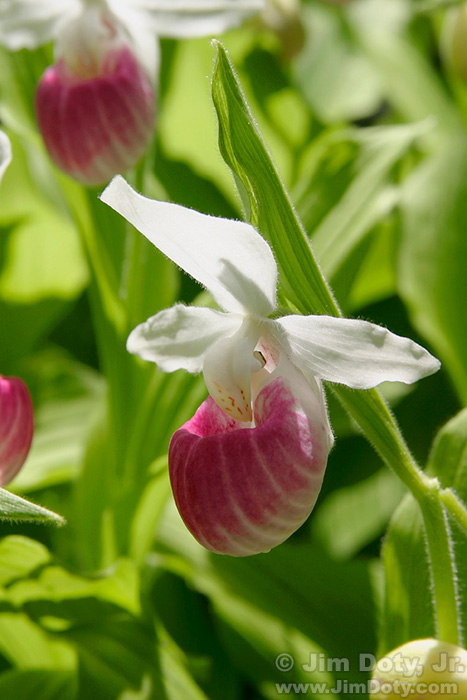
If the flowers are in sunlight, I use the Daylight white balance preset. No need to do a custom white balance.
White Balance for Landscapes
When I am shooting grand landscapes, my camera is almost always set to the Daylight white balance preset.
What About Using Adobe Camera Raw to Change the White Balance?
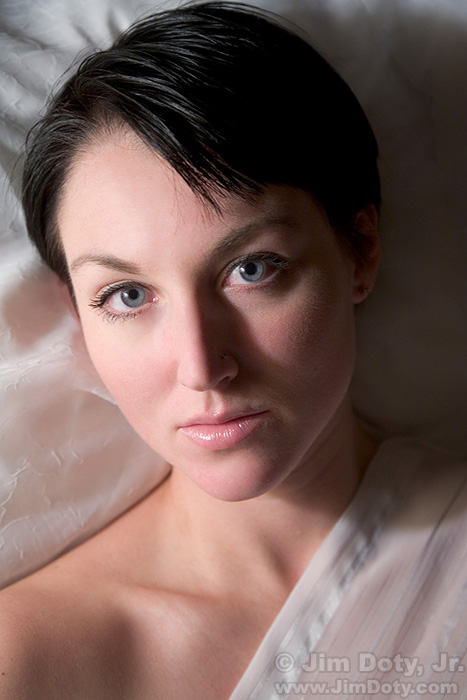
I get this questions a lot. “Instead of setting a custom white balance, can you shoot RAW files and color correct the images afterwards using Adobe Camera Raw (ACR)?” Yes you can do that. I do it too. It works and it almost always works quite well, especially if there is something white in the scene that you can click on with the white eyedropper in ACR. But if you are taking several pictures in the same light, setting a custom white balance is faster. And if there is nothing white in the scene, setting a custom white balance is almost always more accurate than fixing it after the fact with ACR. Don’t get me wrong, I shoot RAW all the time, and I use ACR a lot to adjust contrast, vibrance, and other settings, but for people, a custom white balance is usually the best way to get the most accurate colors. Then tweak the ACR sliders (White, Black, Highlights, Shadows, Vibrance, and others) all you want.
Sometimes You Don’t Have Time

This civil war actor was on his horse in the shade on a sunny day. When I spotted him he was about to ride away. There was no time to set a custom white balance. Sometimes you just have to seize the moment and fix the color later. That’s when shooting RAW files and adjusting them with Adobe Camera Raw comes to the rescue.
Where to Get Adobe Camera Raw
ACR is included with Photoshop Elements, Adobe Photoshop, and Adobe Lightroom. ACR used to be a $100 add on. Now it comes with the Adobe software with no extra charge. It is an excellent RAW image processor. More about ACR in the links section below.
Sometimes You Don’t Want Accurate Skin Tones
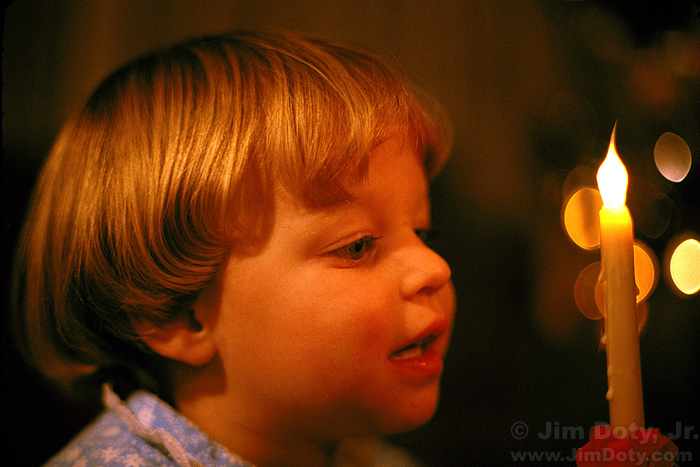
There are exceptions to all guidelines in photography. Sometimes you don’t want accurate skin tones. For this photo of Janae I wanted warm skin tones, not accurate skin tones. Daylight slide film (the same as using the Daylight setting on a digital camera) captured the warm glow I was after.
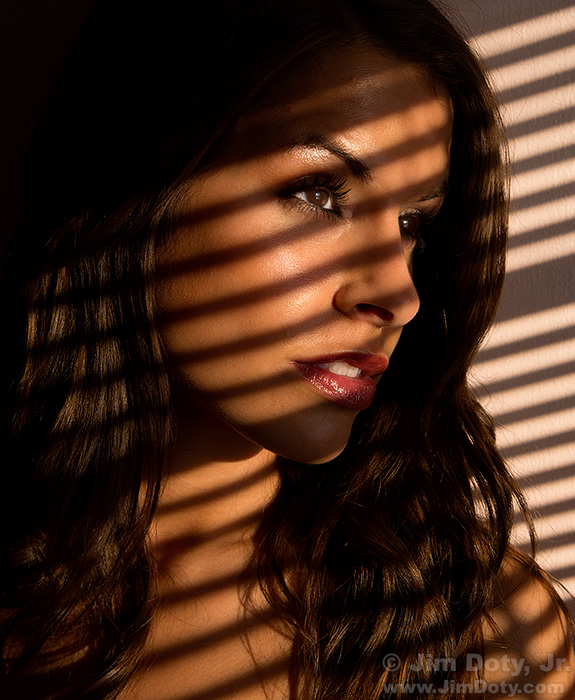
The sun was low in the sky when I did this window blind shadows portrait of Kristina. I wanted the warm light of the setting sun to create warm skin tones so I chose the Daylight white balance preset. It gave me nice warm skin tones. To see Kristina’s normal, accurate skin tones, look at the next photo.

For this portrait of Kristina outside in open shade, I wanted accurate skin tones. Setting a custom white balance gave me what I wanted.
My Favorite Gray Card
I have gray cards in rigid cardboard and plastic versions, but my favorite gray card for setting a custom white balance (and metering) is made of collapsible fabric. It springs opens to about 12 inches across to use and closes down to about 4 inches across and fits in a zippered case to go in your camera bag. It is much easier to fill the frame with a 12 inch gray card than with the typical 4×6 inch gray card that is sold in most camera stores. When setting a custom white balance you don’t want the camera to see anything but the gray card when you are taking a picture of the gray card. You can order one from Amazon at the link below.
If you have never set a custom white balance before, read this article to learn how.
Links
How To Set A Custom White Balance on Your Digital Camera
Setting a Custom White Balance Will Save You a Lot of Time
Incident Light Metering on the Cheap: How to Use an 18% Gray Card
ACR and RAW: Two of the Best Things You Can Do For Your Images
Purchase Link
18% Gray Card with Focusing Target, (collapsible fabric) at Amazon.com
