
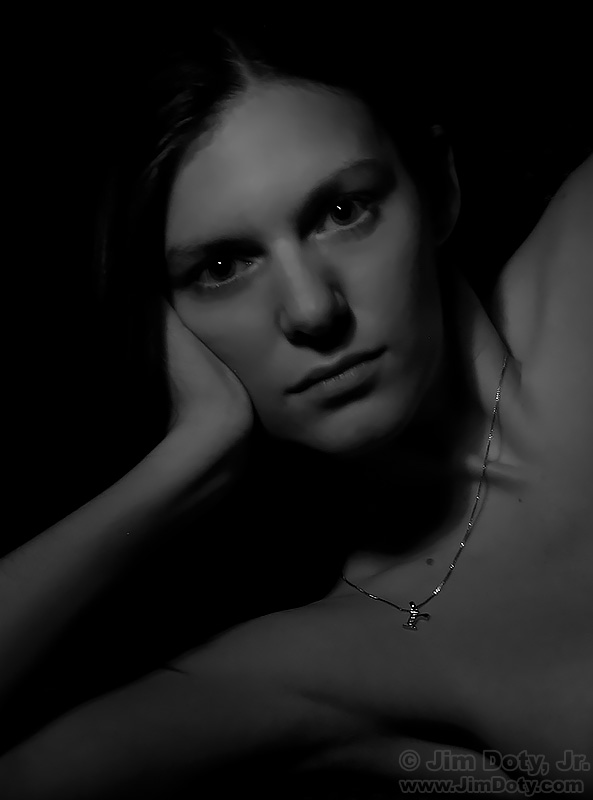
Painting with light is an interesting technique that gives you a different kind of look from using a flash unit or ambient light. As with other kinds of light you can make your subject as light or dark as you want. For these images I went with a darker, low key look.
All you need is a camera with manual settings, a tripod, a locking cable release, a room you can make totally dark, and a flashlight. A flashlight that isn’t very bright is preferable because it give you more time to paint, and therefore more control. A flashlight that gives you 15 to 30 seconds of painting time without over exposing your subject is ideal. I used a small flashlight with an adjustable beam. I kept the beam narrow enough to light mostly Rachel without lighting too much of the background.
Set your camera to capture RAW files (or RAW + JPEG files) at the largest file size possible. RAW files give you more latitude when you process your images. Choose a medium aperture like f/8 or f/11 and a low ISO like ISO 100 or 200. Set the shutter on Bulb.
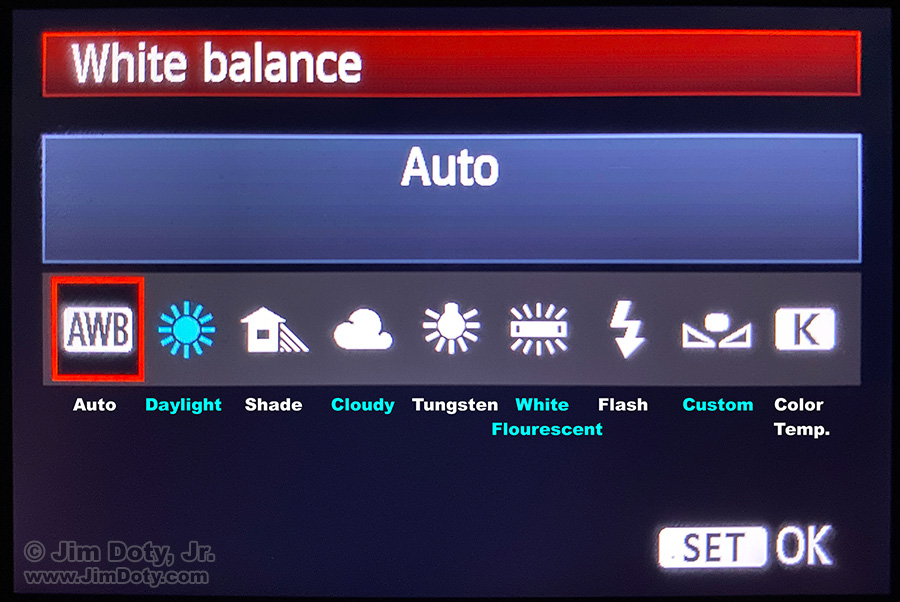
White Balance Settings
Flashlights with a tungsten bulb have a yellow tint to the color. Some LED bulbs look a bit bluish. I suggest you start with the white balance set to Daylight. If your first few photos look too yellowish, switch the white balance setting to Tungsten. If your first few photos look too bluish, try the Cloudy or Shade white balance setting.
Put your camera on the tripod and attach the locking cable release. Work with your subject to choose the poses you will use. You want poses that your subject can hold for 20-30 seconds without moving.
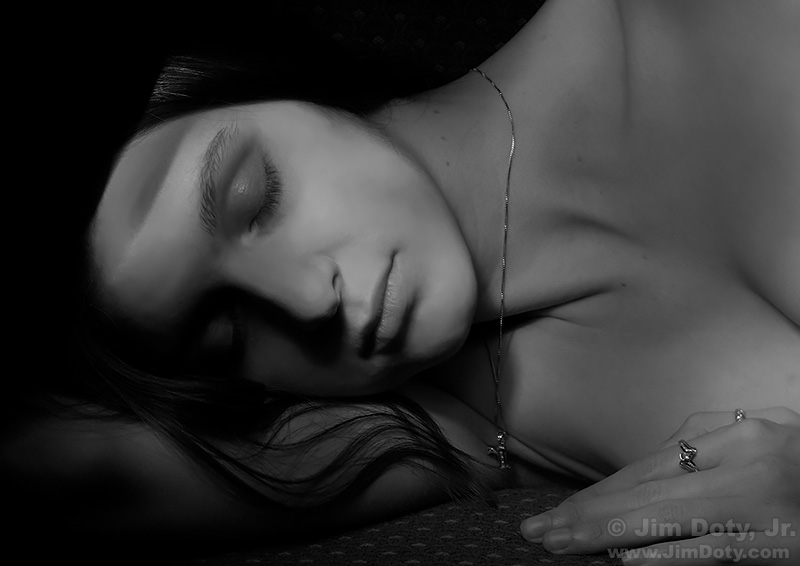
Rachel painted with light.
With your subject in the first pose, focus on your subject’s eyes. Turn off the room light so you are in total darkness, press the cable release button to open the shutter, and lock the cable release to keep the shutter open.
Ask your subject to hold their breath, turn on the flashlight and move the beam of the flashlight back and forth several times over your subject to paint them with light. Use smooth, even motions. Turn the flashlight off and tell your subject they can breathe. Check the image. Adjust the white balance if necessary. If your subject is too dark, paint longer the next time. If your subject is too light, paint for a shorter period of time. You will need to experiment a bit to get the results that you want. The more you do this the better you will get.
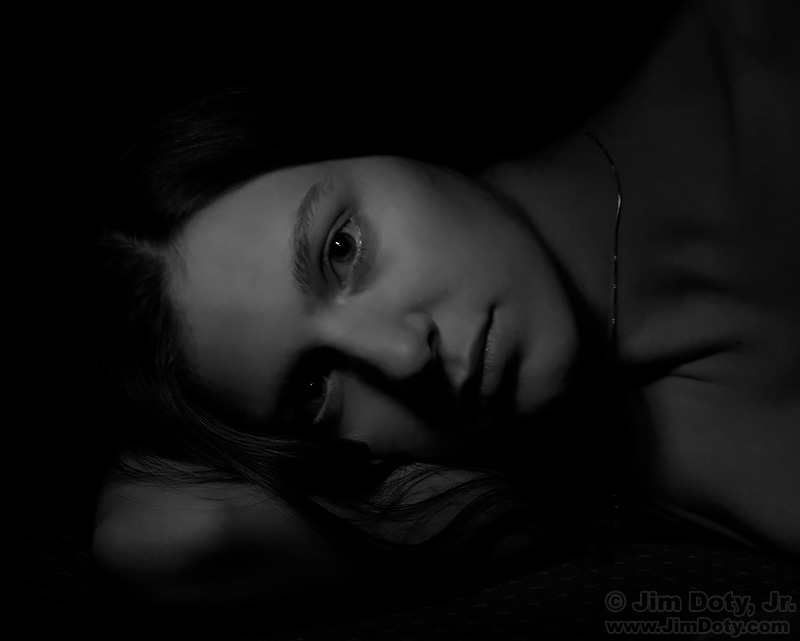
Rachel painted with light.
Once you have the image you want, turn on the room light, move on to the next pose, re-focus on your subject, turn the room light off and create more images.
Be sure to experiment with where your flashlight is located. For the image immediately above, the flashlight was right above Rachel and pointed down. For the other two images above, the flashlight was above and somewhat to the left of the camera position.
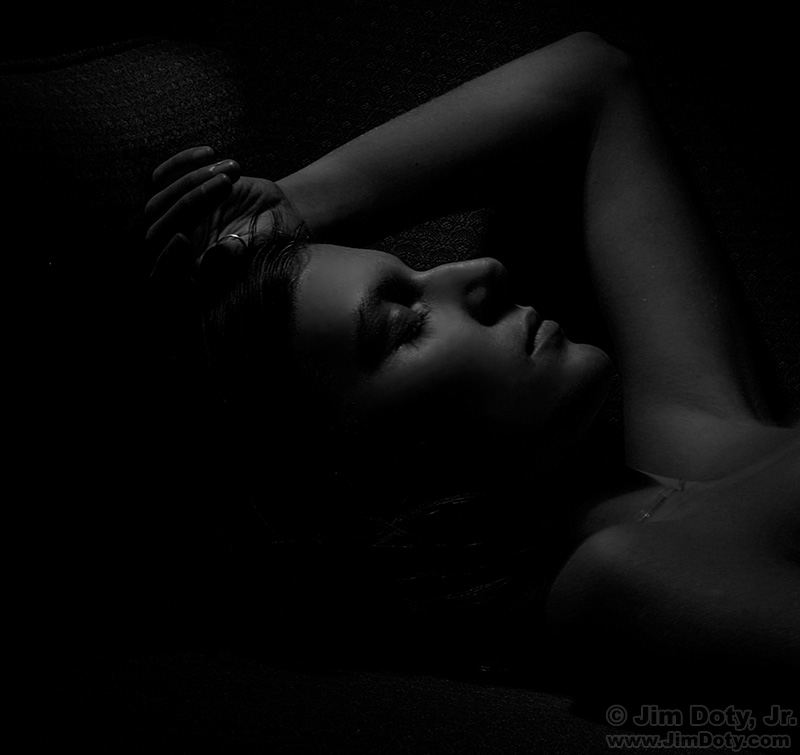
Rachel painted with light.
Don’t be discouraged if things go wrong, as they clearly did with this image. I somehow managed to get weird shadows on Rachel’s forehead and the light is uneven. This was early in the photo shoot and things got much better as we went along.
Photo data: Canon 10D, Canon 28-135mm lens, aperture f/11, ISO 100, shutter speed around 20 seconds.
Link