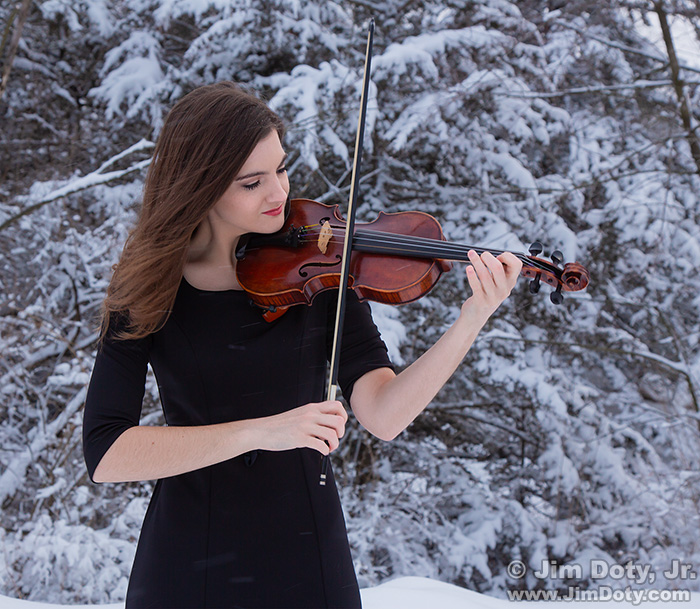
It was my happy privilege to do winter portraits of Beth Presler who is a superb violinist. This article has suggestions for photographing any musician on a cold, snowy winter day.
This is a companion article to How To Work With A Model (Or Anybody Else) When The Windchill is 4° and builds on the concepts in that article. If you haven’t read that article already, you should read it first.
Cold and the Instrument
Like cameras, you can ruin an instrument if you take it from cold conditions into a warm room or car. Wooden instruments are especially vulnerable. Put a cold instrument in its case, shut the case and then bring it inside. Allow the case and instrument to come up to room temperature for one to two hours before you open the case. As I said in the companion article, this also applies to your camera.
Cold and the Musician
The temperature was 31 degrees when we started and at times the wind was 28 mph so the wind chill was 17 degrees. When it is that cold my general rule of thumb is to have a short 2 minute shooting session, and then take a break in the car to warm up. Then another two minute shooting session followed by another break in the car to warm up. You keep repeating that process until you are done. Taking a break in a car means a car that doesn’t have the heat cranked up, or you will risk ruining the musical instrument and your camera. But it does mean getting in the car out of the wind and having a coat or blanket or cup of hot chocolate or whatever else you need to warm up.
To minimize the time the musician is out of the car, you should be out of the car to set the camera meter and setting the white balance before the musician gets out of the car.
If your shooting breaks are inside a heated building, leave the instrument and your camera gear outside the door during your breaks, for the reasons given above. Don’t risk ruining the musical instrument or your camera.
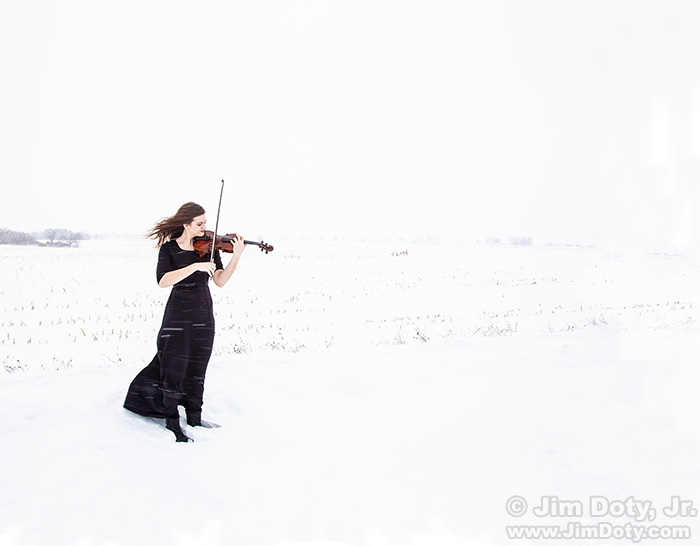
I don’t look at a clock to decide when two minutes is up. I just have a feel for when it is time to stop for a warm up break. Curious as to how long our shooting sessions actually were, I checked the metadata for the photos to check the beginning and end of each shooting session.
4:12:32 – 4:14:43 – 2 minutes, 11 seconds
4:16:51 – 4:17:45 – 54 seconds
4:36:55 – 4:37:17 – 22 seconds
4:45:53 – 4:47:15 – 1 minute, 22 seconds
4:53:51 – 4:56:03 – 2 minutes, 12 seconds
5:02:36 – 5:03:57 – 1 minute, 21 seconds
We were actually out in the cold a little longer than this because the photo times do not include the time it took to walk to and from the car.
Some of our locations were a bit protected from the wind so they were the longer sessions. At one location we were in an open corn field (photo above) and the wind was just howling, so that was the shortest session and, as it turned out due to the ferocious wind, the least productive.
Light
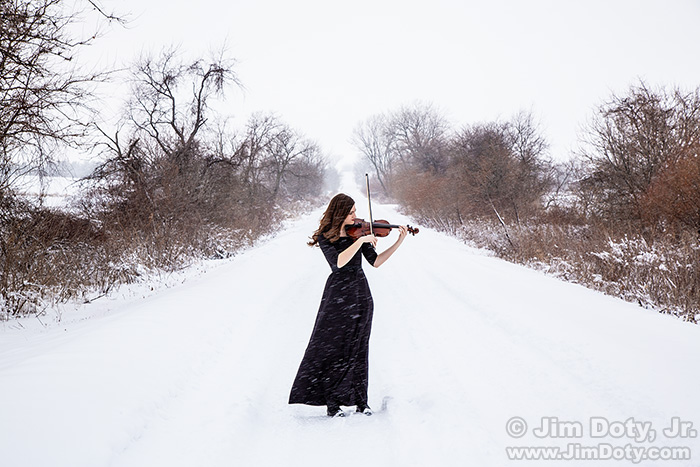
I usually prefer a cloudy bright day with no shadows because it gives you nice even light, no matter which direction the subject is facing.
Composition
For some photos you should back up, zoom out, or both and take in more of the landscape. For others you should zoom in, step closer, or both and get a closer, tighter image of your subject. Depending on your location, you should move around your subject to change the background.
Playing the Instrument
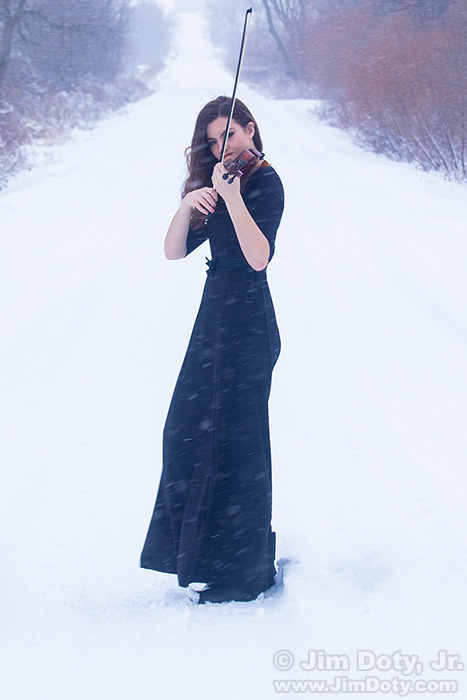
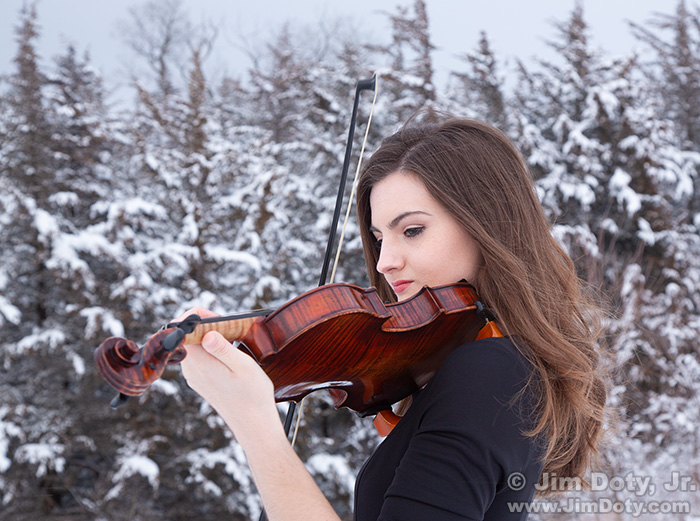
Have your musician actually play the instrument, not just pretend to play. It just looks better and more natural. Beth played during our shooting sessions so she is actually playing in these images. The nice thing about having a musician play is they don’t have to worry about posing. Playing is what they do! Have them play as you shoot.
Shooting Angles
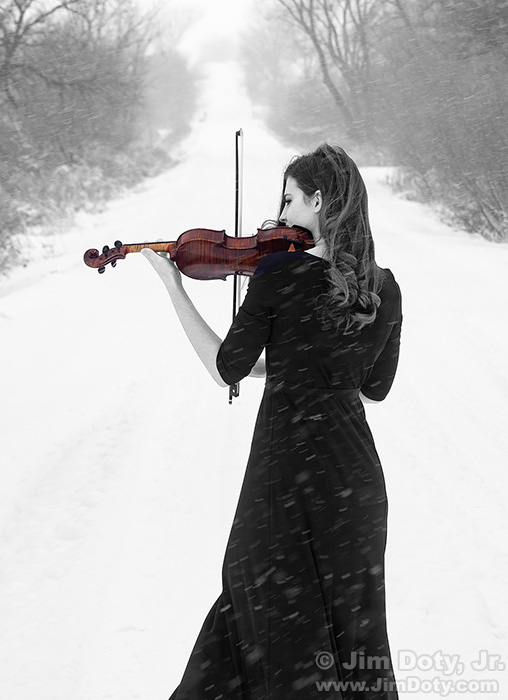
It is a good idea to photograph a musician from several different angles. For a violinist I like a front view (the scroll of the violin to camera right), the scroll of the violin pointed at the camera, a back view (the scroll pointed to camera left), and various angles in between. I would have Beth play a while, then turn to a different angle and play some more as you can see from the road photos.
Color and Black & White
I always try converting some of the images to black & white to see what I prefer. I liked this image in black & white, but then I thought it would be nice to have just the violin in color. That ended up being my favorite version.
Metering in the Snow
Camera meters are designed to make everything “medium toned”, which in the black and white world is “middle gray”. That is why you see so many winter photos on social media with gray snow. The secret to metering snow is to set your camera to the manual metering mode, point your camera at a patch of snow (don’t include anything but snow), check your camera’s exposure compensation dial and dial in a reading between + 1 1/2 and + 2. That will give you nice, bright snow.
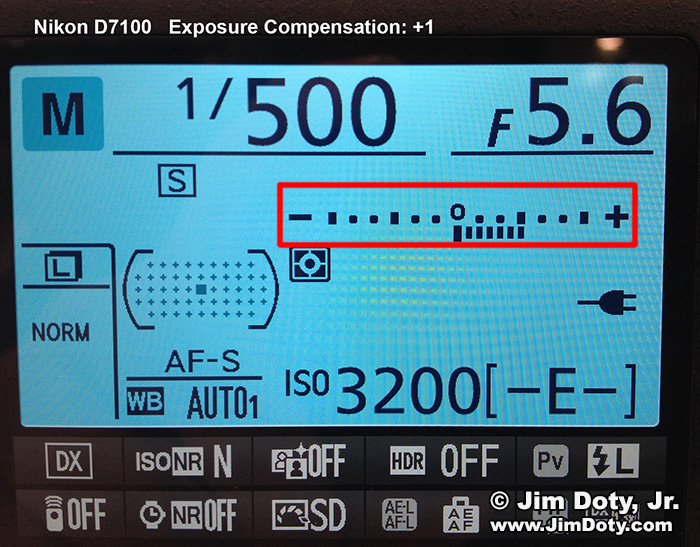
If you haven’t used the exposure compensation dial before, get out your camera’s manual to figure out how to use it. For more detailed information, read Metering People in the Snow.
Choosing an Instrument
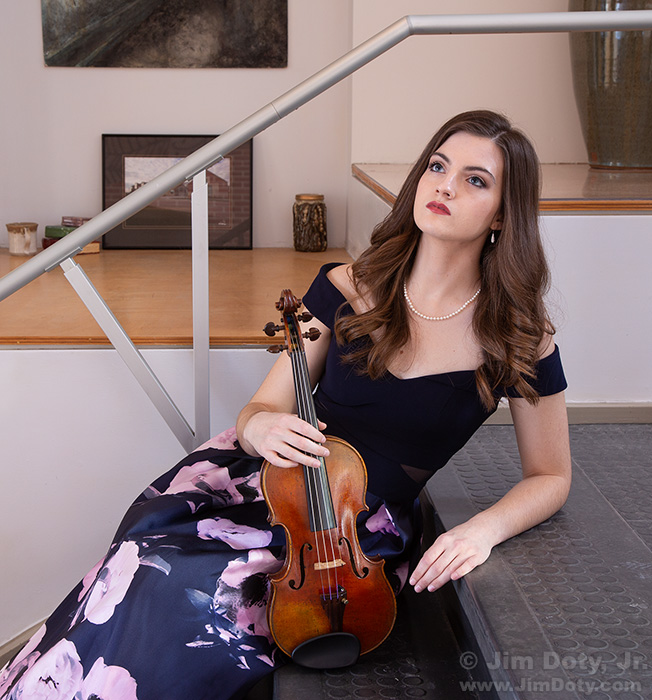
You probably won’t have this option, but if you do, take advantage of it. The best sounding instrument may not be the most visually interesting. I asked Jack Ergo, the orchestra director, to pick a violin with a lot of visual character. He did. Look at the violin photo above with the striations in the color. Since you can’t hear the violin in these still photos, the sound quality between a good instrument and a great instrument doesn’t matter. The color does.
Links
How To Work With A Model (Or Anybody Else) When The Windchill is 4°
How to Use Your Camera’s Exposure Compensation Scale
Your Camera Loves “Middle Gray” And Why That is Important
How To Set A Custom White Balance on Your Digital Camera
