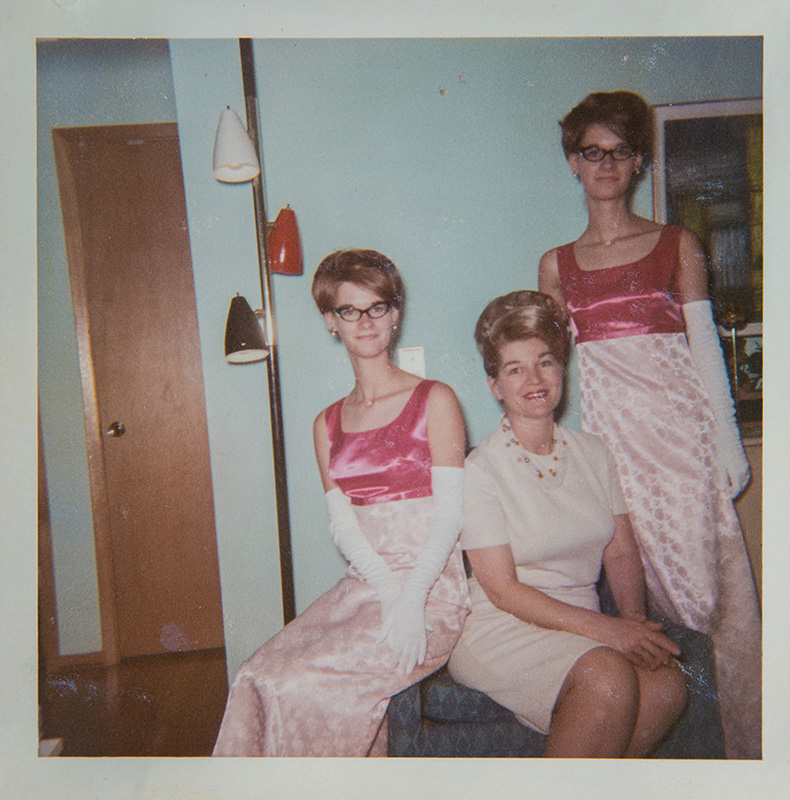
At a family reunion several years ago I decided to make digital copies of some old family photo albums. I did one digital picture of each page (there were several photos on each page). When I got back home I digitally separated the individual photos that were on each page. This particular image is a family favorite. I decided this image would be a good test of Topaz Gigapixel AI which enlarges, and hopefully improves small photos. The original photographic print also has a lot of damage which created some additional problems.
To see a larger version of all the images that follow, click on each individual image.
First: Topaz Gigapixel AI
The digital file of this photo is 987 x 1000 pixels which prints out at a little bigger than 3 x 3 inches. Not very big. After I ran it through Gigapixel AI it was 3948 x 4000 pixels which prints out at a little bigger than 13 x 13 inches, a nice sized print. But how good is the image quality?
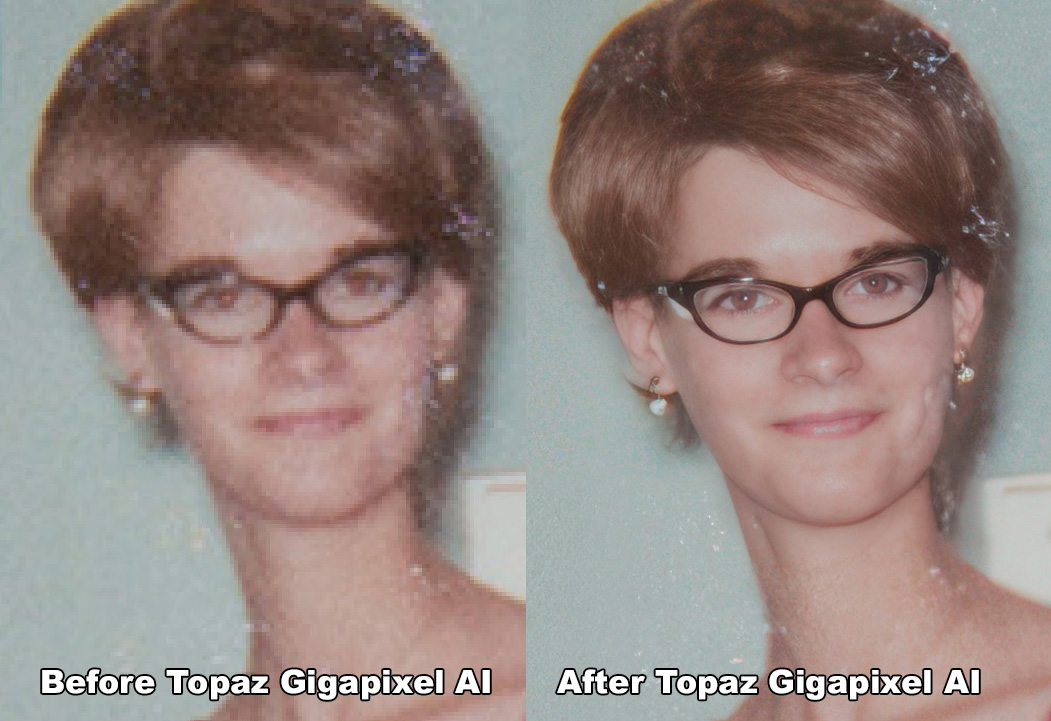
So you can see the actual results, I did a side-by side comparison of face in the middle of the photo.
You can see the results. The difference is obvious. The before digital file is so small that it pixelates when shown at the same size as the after file. There are some problems. On the after image there is a bit of halo around the hair. Unfortunately, the damage to the original print is also obvious. Topaz does not retouch images.
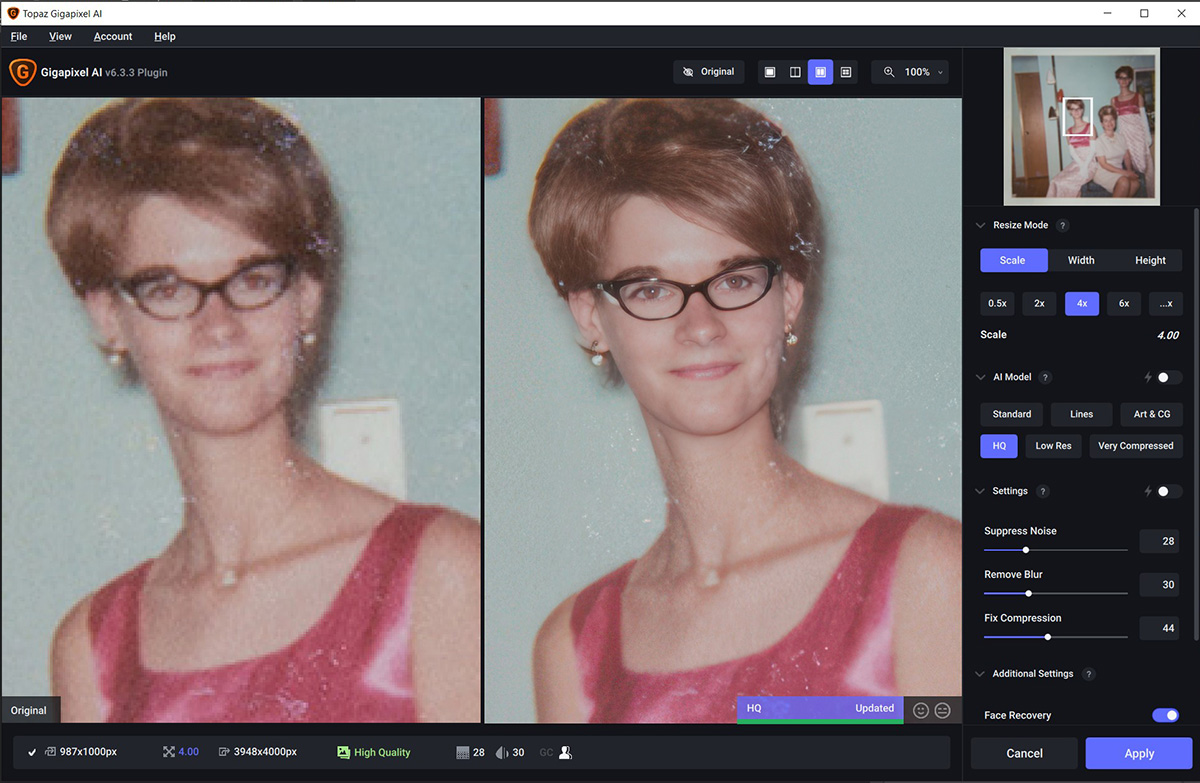
As with all software, the settings make a huge difference between great and lousy results. Experiment. In this screen capture you can see the settings I used for this photo. In addition to choosing between Standard, Lines, Art & CG, HQ, Low Res, and Very Compressed, (for this image I chose HQ). Where you set the sliders matters. If you drag them up too high you can get weird, plastic looking images. The Topaz site has before and after images you can check out, and you can see the settings they used.
Second: Adobe Photoshop
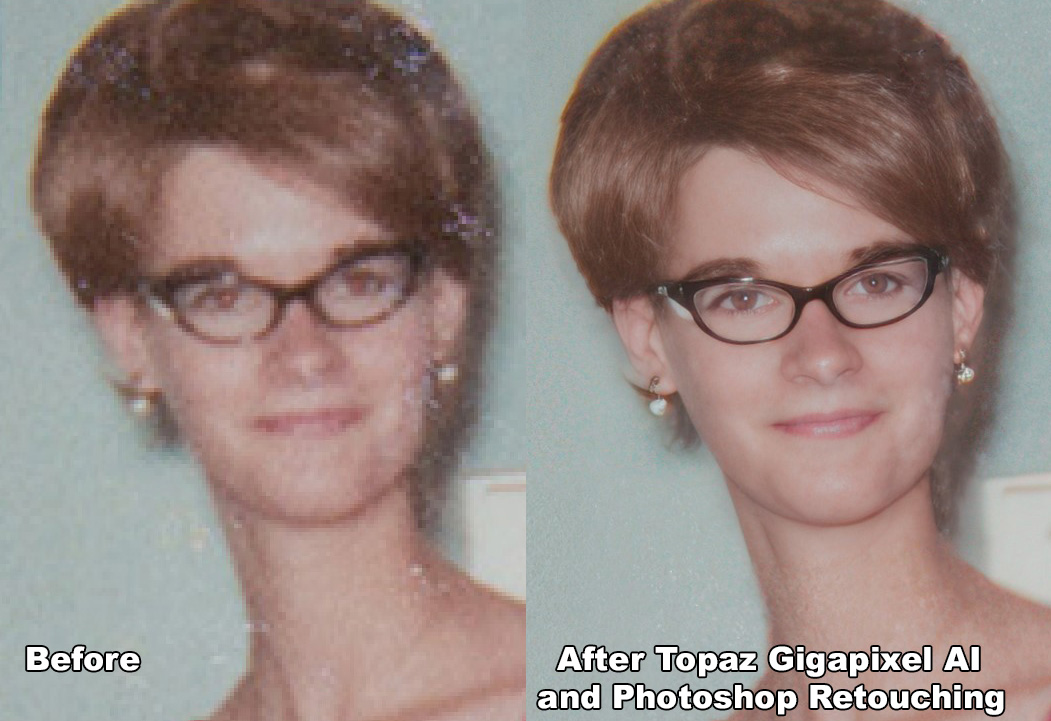
Now, about the damage to the original print which is more obvious in the enlarged file.
After Topaz did its thing I used Photoshop to retouch the damage from the original print. On the left is the original digital file. On the right is the result of using Topaz and then Photoshop.
Is this enlarged and corrected image perfect. No. But it is so much better than the original.
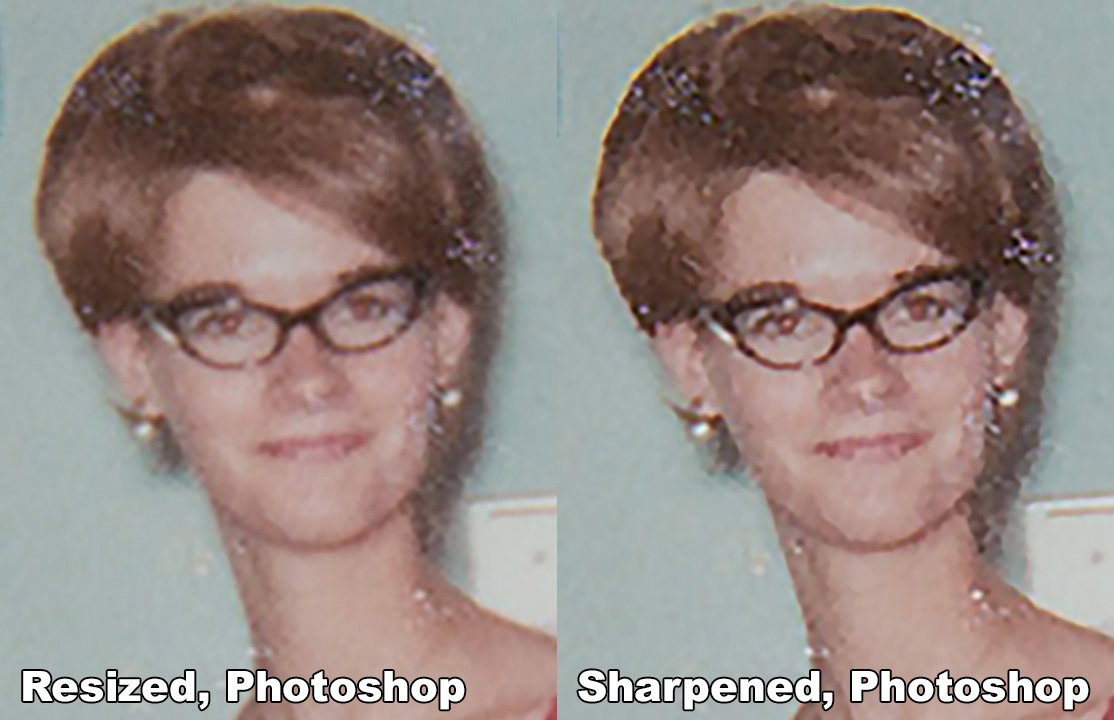
Why not try to do all of this with Photoshop? I did.

