A lot of photographers have discovered their almost sharp lens was actually a very sharp lens once they tweaked the micro-adjustment settings. You will get sharper images if you adjust the settings for your specific camera and lens combinations. You do this using the micro-adjustment settings in the camera menu along with a lens calibration tool which you can buy or make yourself.
Re-posted and updated November 22, 2023.
Why Do You Need a Lens Calibration Tool?
It is a fact of life that camera bodies and lenses don’t always play well together. Most camera and lens combinations suffer from a bit of front or back focus, meaning the lens doesn’t focus accurately on the subject. This is most obvious when using long lenses and wide apertures. Most camera and long lens combinations can benefit from some focus tweaking. You also need a camera body that has micro-adjustments in the menu system.
If you are using normal to wide angle lenses at medium to small aperture settings (f/8 to f/16), front or back focus doesn’t matter because you have plenty of depth of field to cover for any focusing errors. but if you are using longer lenses at wider apertures to focus wildlife or sports, front or back focus can cost you much needed sharpness in your images.
The good news is you can make your own lens calibration tool, or buy one in prices ranging from $6 – $65.
To use a calibration tool, set up your camera on a tripod so the sensor plane in your camera is parallel to the autofocus target of the lens calibration tool. With most calibration tools (read the directions that come with the tool) the camera sensor plane needs to be at a distance of 25 times the lens focal length from the calibration tool. For a 300mm lens that is between 24 and 25 feet. For a 200mm lens that would be about 16 feet and a few inches. Autofocus on the target. Once the lens has focused turn off the autofocus. Use mirror lockup and a self timer to eliminate vibrations and take a picture. Open the photo on your computer and look at the image at 100% (actual pixels) magnification. Check out the sharpness of the lines on the angled ruler. If the zero line (the line that is even with the focus target) is the sharpest, the camera and lens combination is good to go. If one of the other ruler lines is sharpest, your camera/lens combination is front or back focusing. You will need to go in to the camera’s menu system, make a change to the micro-adjustment for that lens. Then repeat the whole process again to take another picture. Check out the photo again. You keep this up until the zero line is the sharpest line.
This process will go a lot faster if your camera is tethered to a computer so you can get an instant look at the photo. Or use CamRanger to wirelessly send the photos to your computer. Either way, you won’t have to be constantly download your memory card to a computer.
With zoom lenses you do this at both the longest and shortest focal lengths. Your camera stores each lens and its micro-adjustment settings in its memory. If you have more than one camera body, you will need to test your lenses on each body.
Quick and Dirty Focus Test
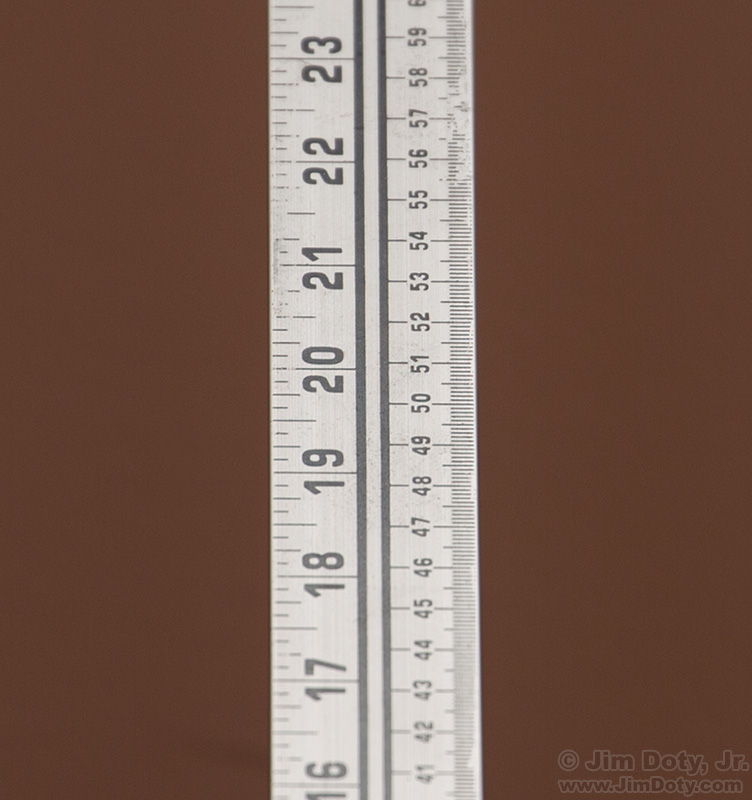
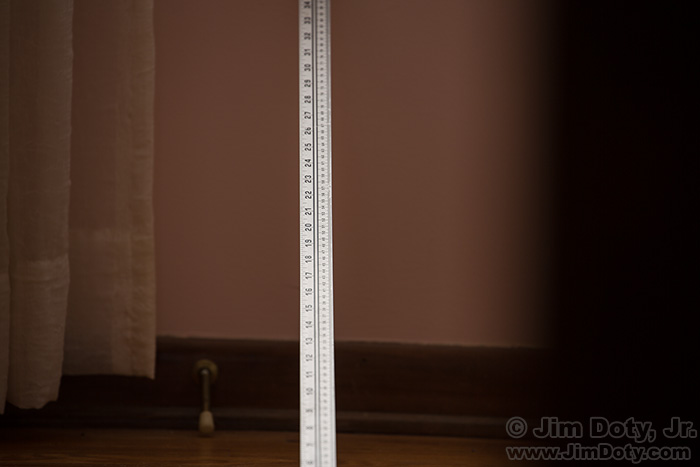 For a quick and dirty test to see if you camera/lens combination is way off, lean a meter stick against a wall at a pretty severe angle (like 15-20°), pick a focus point like 50 cm and take a picture.
Open the image in your favorite software and look at it at 100% magnification with no sharpening. Your focus point, 50 cm, should be the sharpest line. If it isn’t, your camera/lens combination is significantly off. The problem with this quick and dirty test is it isn’t precise enough to tell you if things are slightly off. In this 100% magnified view, everything close to 50 cm looks sharp too. It is not until you get a couple of cm away that things start to look blurry. To insure your camera and lens are properly set, it is helpful to have a more precise tool.
Do-It-Yourself Lens Calibration Tool
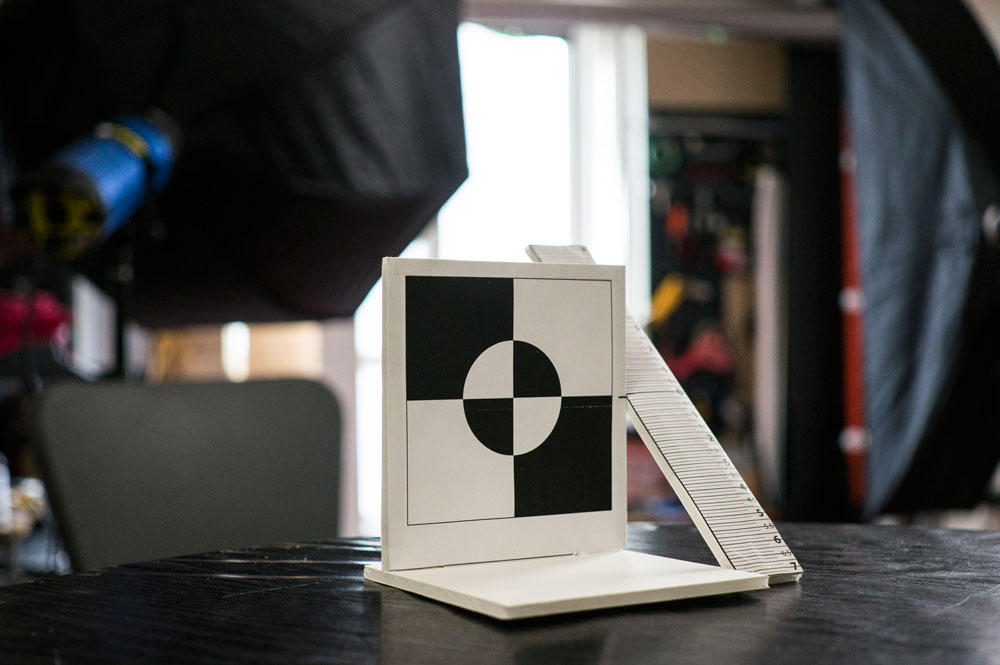
The best do it yourself version I have been able to find is the GhettoCAL by David Liang. Download the PDF template, print it out, tape it to some foam core, cut out the pieces and put it together. Instructions with a link to the PDF are in this article at PetaPixel. For the cost of a small (8.5 x 11 inch) piece of foam core and a little bit of time, you can test your long lenses. This won’t be as sturdy as the best of the commercial tools, but it will do an excellent job if you put it together carefully. The most important thing is to make sure the zero line is in the same exact plane as the autofocus target.
Commercial Lens Calibration Tools
If you aren’t the DIY type, you can buy commercial lens calibration tools. The best tools have a large target for focusing, just like the GhettoCAL, and an angled ruler where you check the focus.
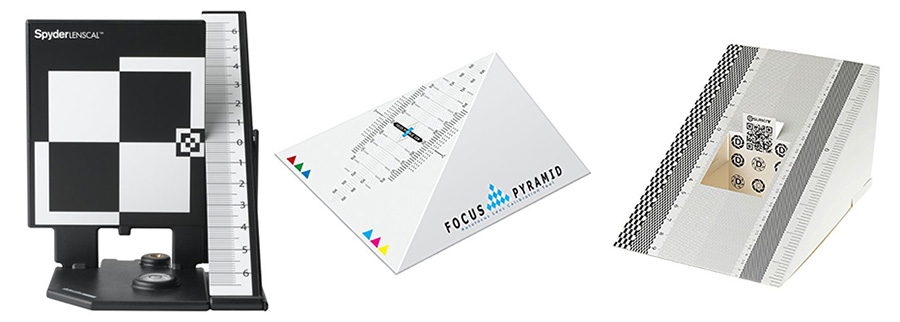
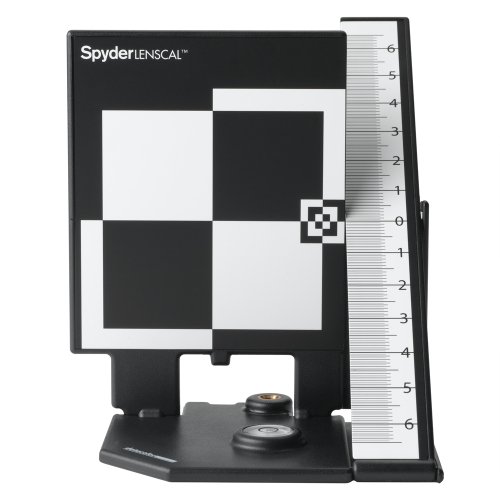
The commercial tool I recommend most highly is the Datacolor SpiderLensCal. It is also the most expensive at $63 as of the date of this article. I recommend it because it has a large focus target, it is well made, it is constructed out of plastic, and it sets up and collapses easily.
This is why the large focus target is important. Some tools don’t have a large focus target so you don’t know for sure where the lens is focusing. You can use less expensive tools but it takes more time and you need to be much more meticulous in your testing to make sure your lens focused on the right focus point on the target.
The Datacolor SpiderLensCal is made out of plastic, not card stock, so the parts won’t sag over time, the parts are hinged and easy to set up and collapse. There is another lens calibration tool (by a different company) that is just as expensive and the manufacturer recommends not taking it apart. The reason it is more finicky to take apart and easy to break. Why not get a hinged tool that is easier to work with?
A good review of the Datacolor SpiderLensCal is here.
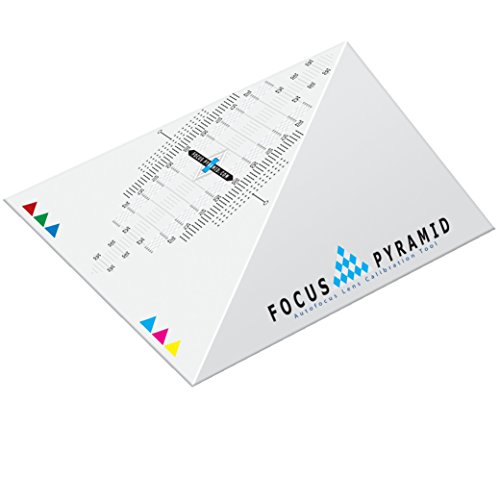
The Focus Pyramid Lens Calibration Tool ($25 as of the date of this article) does not have a big autofocus target. It is still usable but you have to be much more careful about the autofocus point.
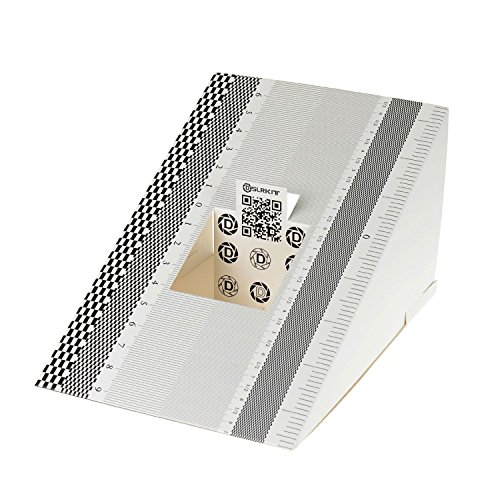
The DSLRKIT Lens Calibration Tool (only $6 as of the date of this article) is made out of card stock, not plastic like the Datacolor SpyderLensCal, so it is less durable and you will have to be gentle with it. It is quite usable but the focus target in the middle is also much smaller so you will have to be more careful about where your lens is focusing.
Whatever tool you choose or make, your lens and camera combinations will give you sharper, better images when using longer focal lengths at wider apertures.
All the the calibration tools I recommend are here and at the links below. Purchase links are to my Amazon powered photography store. You get the same great Amazon prices, speedy service, and guarantee, and you help support my web sites. Thanks!
Lens Calibration Links
Do It Yourself:
GhettoCAL: A DIY Lens Calibration Tool for Microadjustment-Enabled DSLRs
the ghettocal my diy lens calibration tool for micro adjustment enabled dslr cameras – at David Liang’s web site
Commercial:
Lens calibration tools at my photography store with the best tool in each price range
My Amazon Powered Photography Store with direct product links to Amazon.com.
CamRanger Links
Wireless Photo Transfer and Camera Control with CamRanger – My review of CamRanger
CamRanger at my Amazon powered photography store.
Review Link
Datacolor SpyderLensCal Focus Calibration Tool Review – at The Digital Picture
Series Link
This is one in a series of articles that will guide you to the best of all things photographic. The rest of the series is here: Buyer’s Guide: Recommendations For The Best Photography Equipment, Software, Books, Magazines, DVDs, Online Photo Labs and More.

