
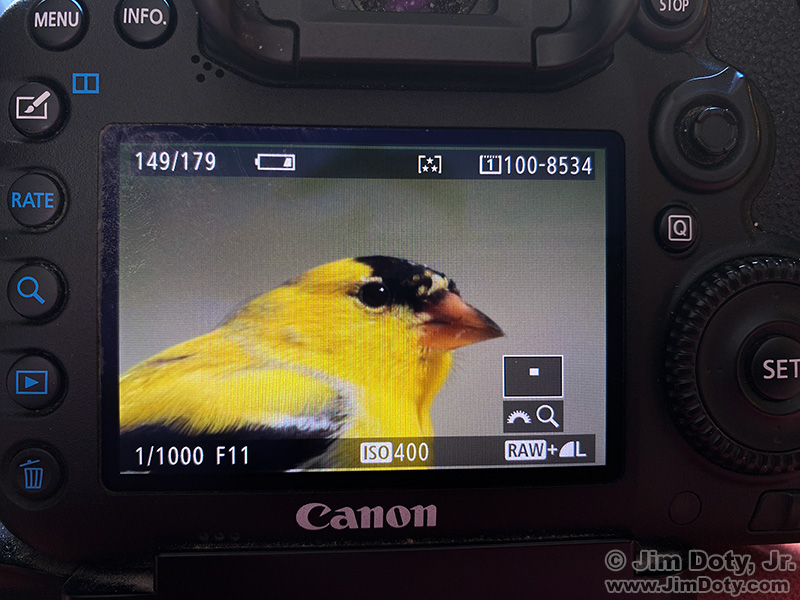
Goldfinch, camera LCD. iPhone photo.
Sometimes I click the shutter and it might be one of my better photos. After the action dies down I go back to that photo and zoom in on the back of the camera for a better look. In this case of this Goldfinch this morning, I wanted to be sure the catch light in the eye was sharp. It was so, I pushed the RATE button (left side of the camera) three times. At the top of the photo screen you can see three little stars in brackets.
When I download the photos with Adobe Bridge (which is excellent software and it is a free download), I can click on the three star icon and Bridge will show me just the three star rated images.
In Bridge you can rate photos from 1 star up to 5 stars (or no stars). I don’t need that much complication. With rare exceptions, photos either get 3 stars (my favorites) or no stars.
Usually I don’t give photos stars until right after I download them. A while back I showed you how the photos from the shoot with Beth were marked using Bridge to show both her favorites and my favorites, and know which were which. But sometimes I rate a photo in the camera not long after I shoot it.
As you can see in the upper left corner of the LCD screen, this is photo 149 out of 179 total photos on this memory card. That is how many photos I have taken on this card since April 10.
Renaming Digital Files
This Goldfinch is file number 8534. It was created by the camera. I will use Adobe Bridge to rename the photos. Bridge will automatically add the 6 digit date (yymmdd) and camera name to every photo with one simple mouse click. It will also add a description to all of the photos. The file name for this photo will be: 230421-goldfinch-7D2-8534.
Why do I add the camera name? Only because I use two cameras. Sometimes on the same day I have photos from two cameras with the same 4 digit file numbers. I don’t want my computer to toss one of the photos thinking it is an unnecessary duplicate. For example, one day in Rocky Mountain National Park I had photos on two cameras with the same 4 digit file numbers. When I downloaded and re-named them, one pair with identical 4 digit file numbers ended up with names something like this:
141003-RMNP-5D3-2907
141003-RMNP-7D2-2907
They were two entirely different photos on two cameras, taken at different times during the day, but they coincidentally had the same 4 digit file number. If you don’t rename one or both of them you run the risk of your computer deleting one of them when it periodically does its thing to tidy up your hard drive.
I told Bridge to add “RMNP” to all the file names. Then it renamed all the photos with one click of the mouse.
I keep the description in the file name (RMNP in this example) simple to make re-naming fast and simple. I also keyword the photos (Colorado, RMNP, Bear Lake, elk, or whatever), but that is a topic for another day.

Beth
After a recent photo shoot with Beth, the description in the file name was simply “Beth”. Not “Beth-pew”, “Beth-Kellerton”, “Beth-window”, “Beth-rose-petals”, or “Beth-lace”. I just typed in “Beth”, clicked once, and Bridge added the date, Beth, and camera, to every photo and kept the original 4 digit file number. All the photos of Beth were re-named the way I wanted them in a couple of seconds.

Beth
The file name for this photo of Beth is: 230328-Beth-5D3-8009. That means: March 28, 2023, Beth, Canon 5D Mark III, and the original 4 digit file number created by the camera.

Beth
I decided long ago I wanted all of my photos to sort chronologically. That is why my digital file names all begin with YYMMDD. That is a personal choice. Some photographers rename their digital photos to sort by subject (birds, flowers, trees, mammals), by location (Colorado, Nevada, Utah), or by person, (Christie, Naomi, Cindy).
So a subject file name might look like: Bird-finch-goldfinch-date-location-file number.
A location file name might look like: CO-RMNP-elk-date-file number.
A person based file name might look like: Crawford-Cindy-Aruba-date-file number.
You can choose whatever system you want, but if you have more than a few thousand digital photos, you need a system. That way you can quickly find what you want to find.
Link
How To Series: Adventures with Adobe Bridge – learn all the basics of Adobe Bridge