
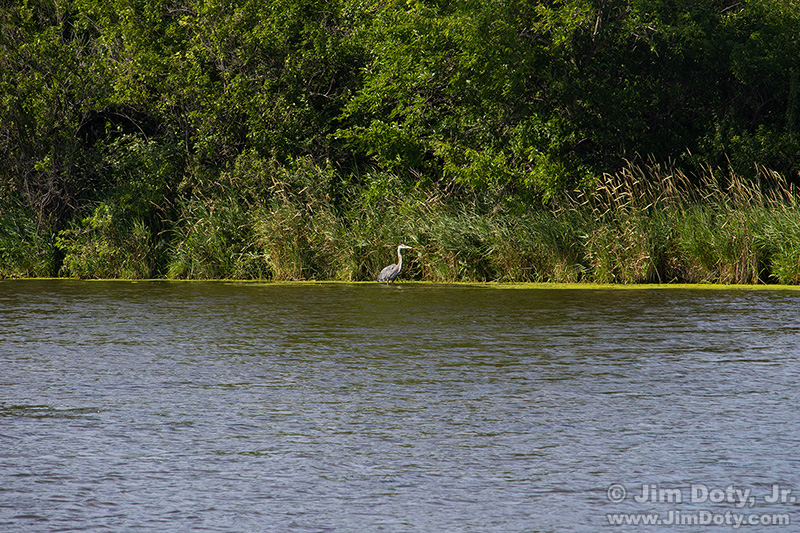
Great Blue Heron at Lake LaShane
I was driving along a country road at one of my favorite local lakes and spotted a Great Blue Heron straight north of me near the shoreline. I got the crazy idea to do comparison photos between my DSLR and my iPhone. The heron was too far away to get a high quality image with either camera, but I decided to do it anyway. I also wanted to check on the quality of the iPhone’s built in digital zoom versus cropping the original image and resizing it later in the computer.
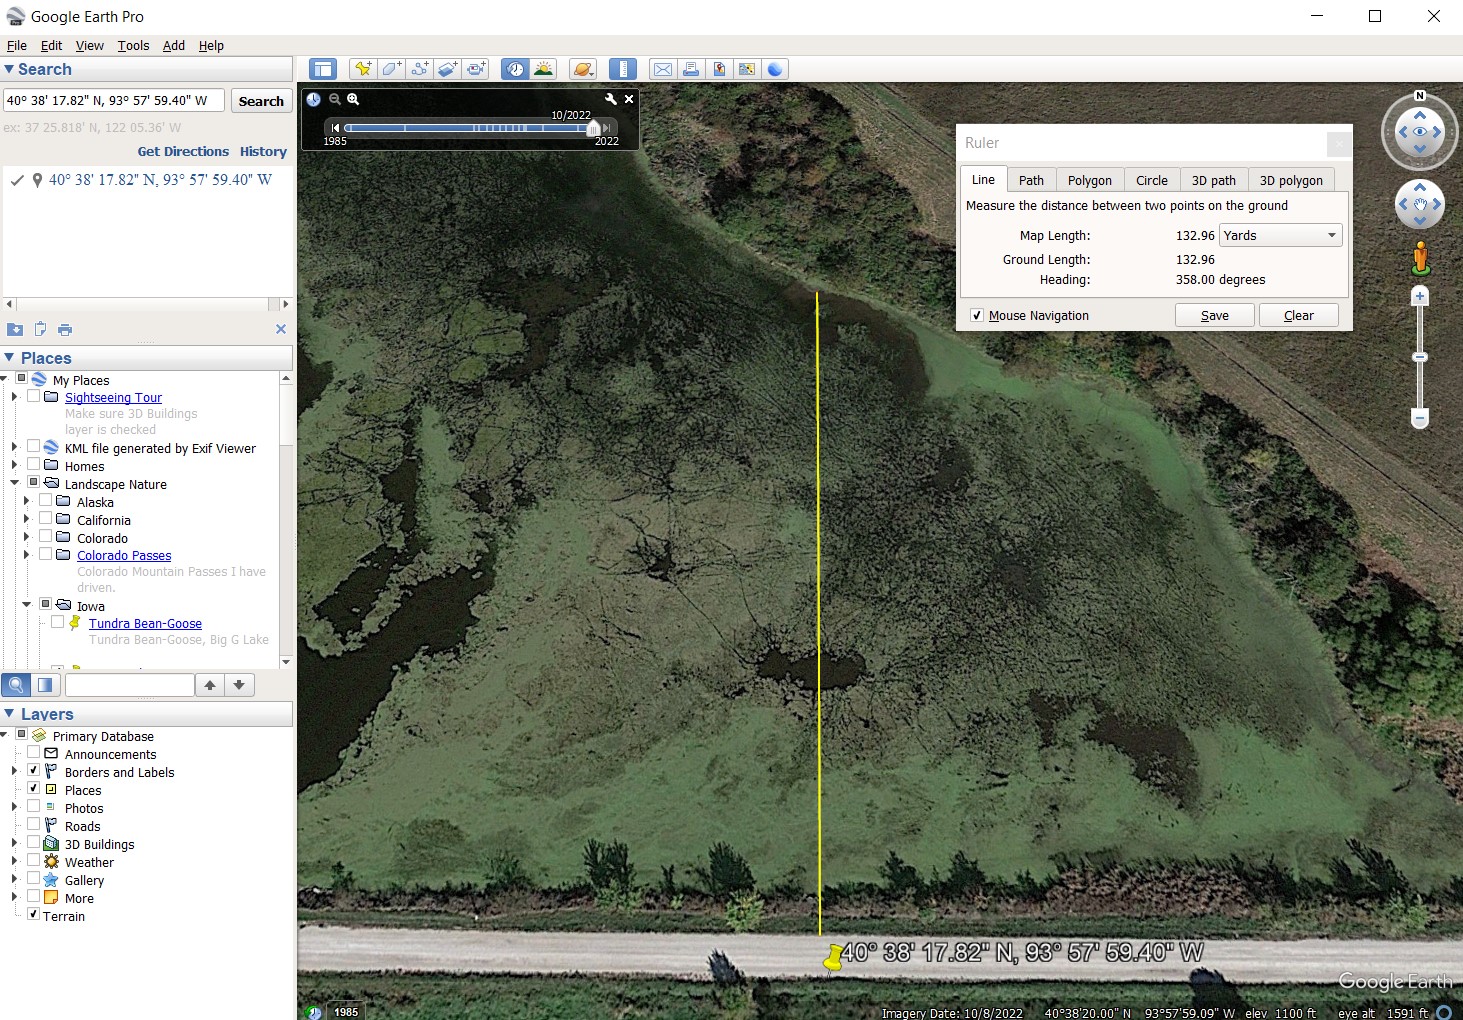
Google Earth Pro, Photo location at Lake LaShane. Click the image to see a larger version.
To check the distance from my location on the north side of the county road to the heron, I used Google Earth Pro. Using the ruler tool, I drew a line from the GPS coordinates for my iPhone photos to the heron location near the shoreline north of my location. Google Earth Pro came up with 132.96 yards, so I rounded that off to 130 yards for the title of this article.
Now for some comparison photos.
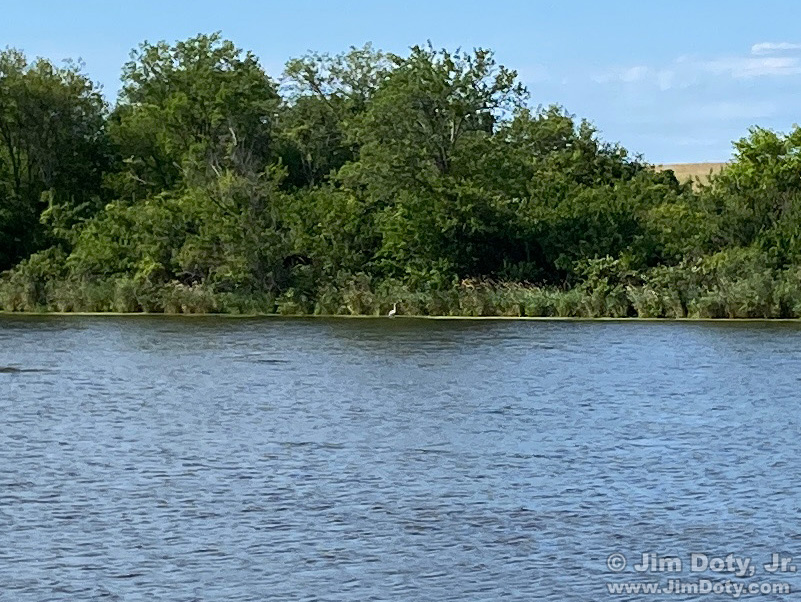
Great Blue Heron, Canon SL3 with a 55-250mm lens
This image (immediately above) is the full frame of the heron image resized for the web. This is what I saw through the viewfinder at a focal length of 250mm as I clicked the shutter. We will zoom in on this image later.
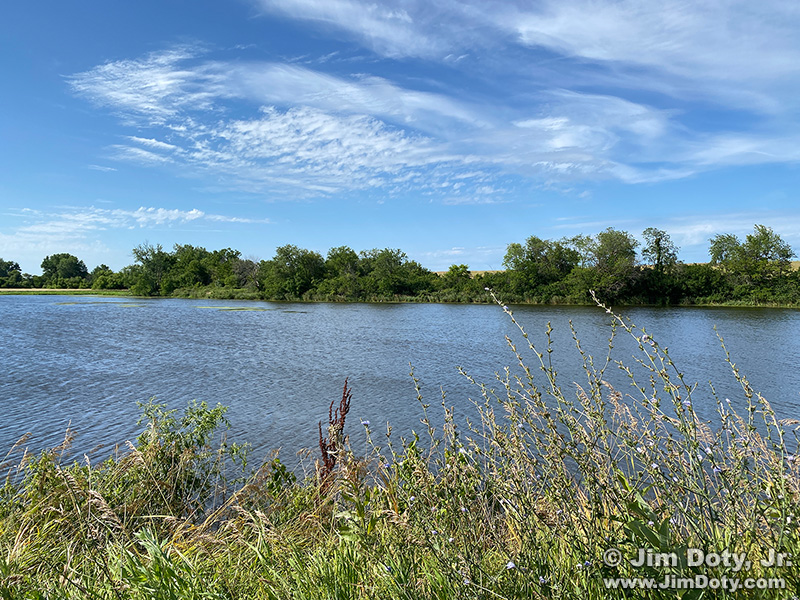
Great Blue Heron, iPhone 11.
This is the full iPhone image, resized for the web. The Great Blue Heron is barely visible. We will zoom in later.
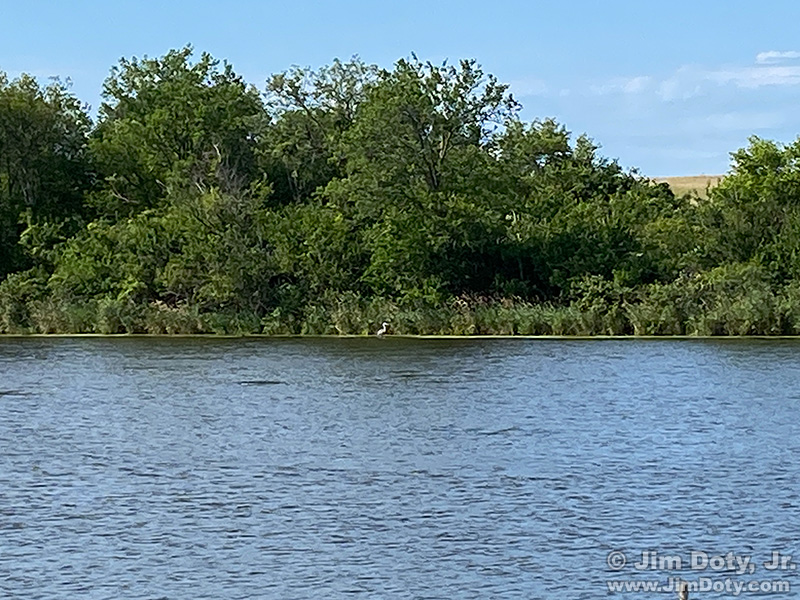
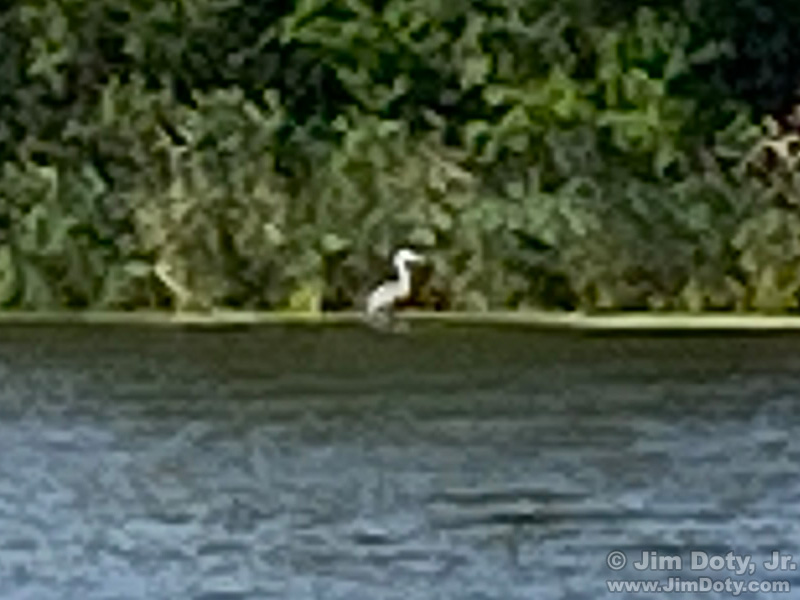
Great Blue Heron, iPhone 11, maximum zoom.
The iPhone 11 allows you to zoom in before taking a picture. I used the maximum built in digital zoom setting to take this picture. With the zoom setting you can tell it is a heron.
Now we are going to look at the center of all these images at 100% (actual pixels) magnification. 100% magnification is what you get when you zoom in on an image on your computer monitor until one pixel of the image is shown by one pixel on your monitor. Photographers will do this to see how good the image really is. At 100% magnification you can’t see the whole image all at once on your monitor, so you scroll around to see the various parts of the image. I will show you the center of all three images at 100% magnification so you can see how the heron looks.
Great Blue Heron, iPhone, 100% magnification.
This is the center of the first iPhone image at 100% magnification. At least you can get a rough idea what the bird looks like.
Great Blue Heron, iPhone with maximum camera zoom, 100% magnification.
This is the second iPhone image where I used the maximum zoom available on the iPhone. You can see the shape of the bird but no details. This is kind of a mess.
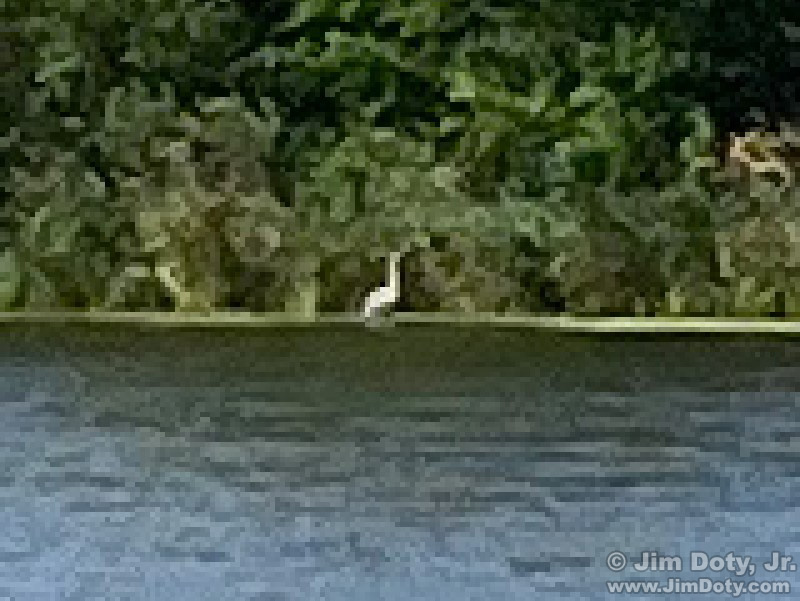
Great Blue Heron, iPhone, no camera zoom, 500% magnification.
For the sake of comparison, this is the original iPhone image with no zooming used in the camera. Instead I used 500% magnification in the computer to increase the resolution of the image to match the zoomed iPhone photo. Both photos are a pixelated mess. However, using the phone’s digital zoom does result in a somewhat better image as you can see by comparing both images above. Given a choice between zooming with the iPhone, and cropping the original unzoomed image and increasing the resolution later, the “in camera” zoom is the better option.
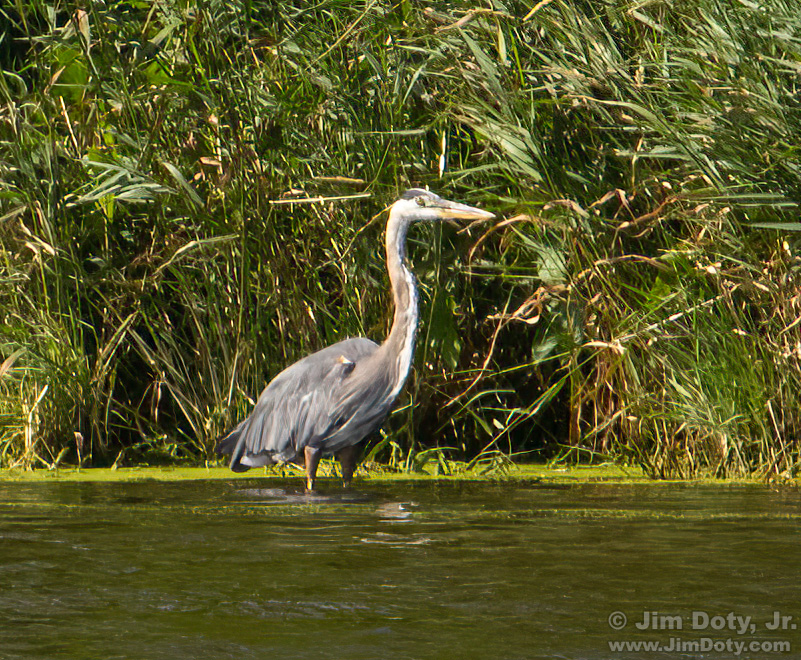
Great Blue Heron, Canon SL3, 55-250mm lens, 100% magnification.
This is the center of the DSLR image at 100%, “actual pixels” magnification. This is way better than either iPhone image. But it is not a totally sharp image either. 130 yards is just too far away to capture a high quality image with my 55-250mm lens. As every wildlife photographer knows, every lens has it limits.
It is no surprise that the DSLR and zoom lens would do much better than the iPhone. The surprise is that the photo zoomed in the iPhone is better than taking the uncropped photo and cropping it later in the computer and resizing it. At least that is true for this example.