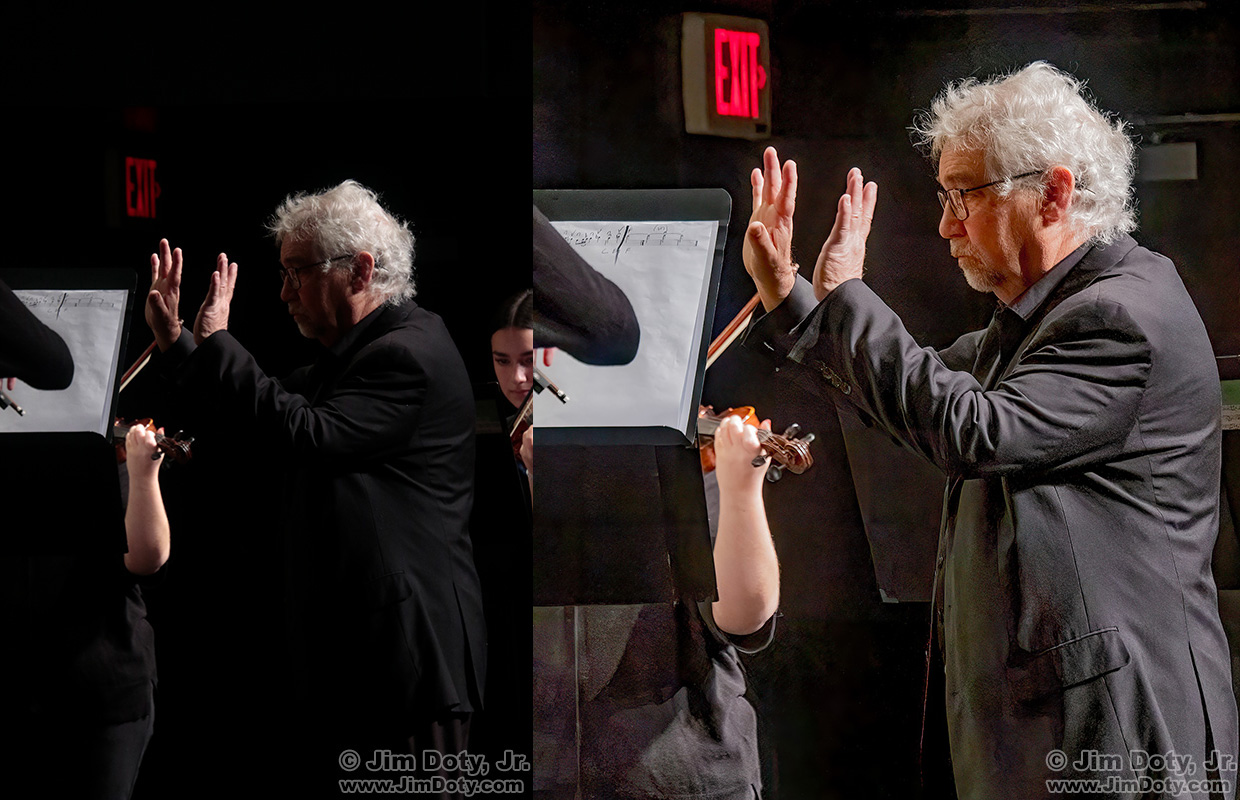
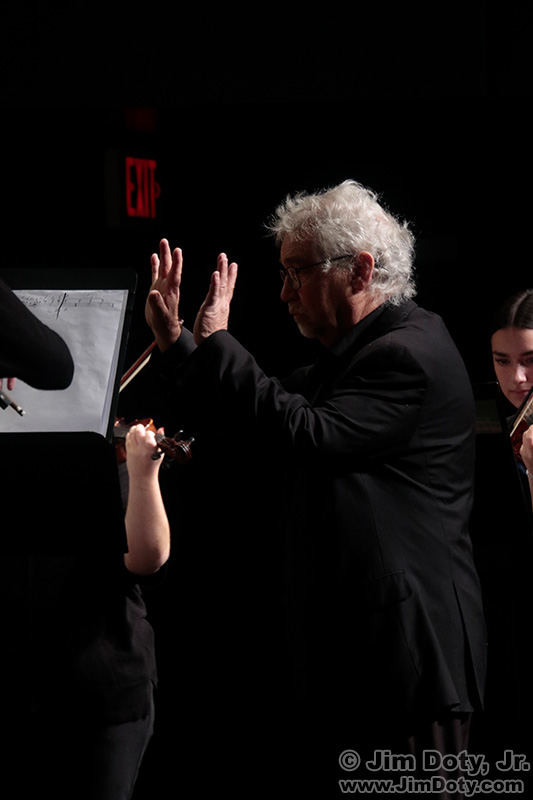
For a variety of reasons, cameras do not capture what your eyes are seeing when you click the shutter. One of the reasons is dynamic range. Your eyes see a remarkable range of tones from black to white in a wide variety of lighting conditions. Your camera has a much more limited dynamic range. That is one of the issues with this photo.
When I was taking photos of Jack, his hair had normal tones and his face was much lighter. But to the camera his face looked much darker than what my eyes were seeing due to the limited dynamic range of a digital camera. If I changed the camera exposure so Jack’s face looked lighter (like my eyes were seeing), the camera would wash out his hair and create blown out highlights. I did not want that to happen. You can’t recover blown out white pixels with digital software. So I exposed for his hair and let his face go dark. You can use ACR software to recover darker tones in an image as long as they aren’t too dark.
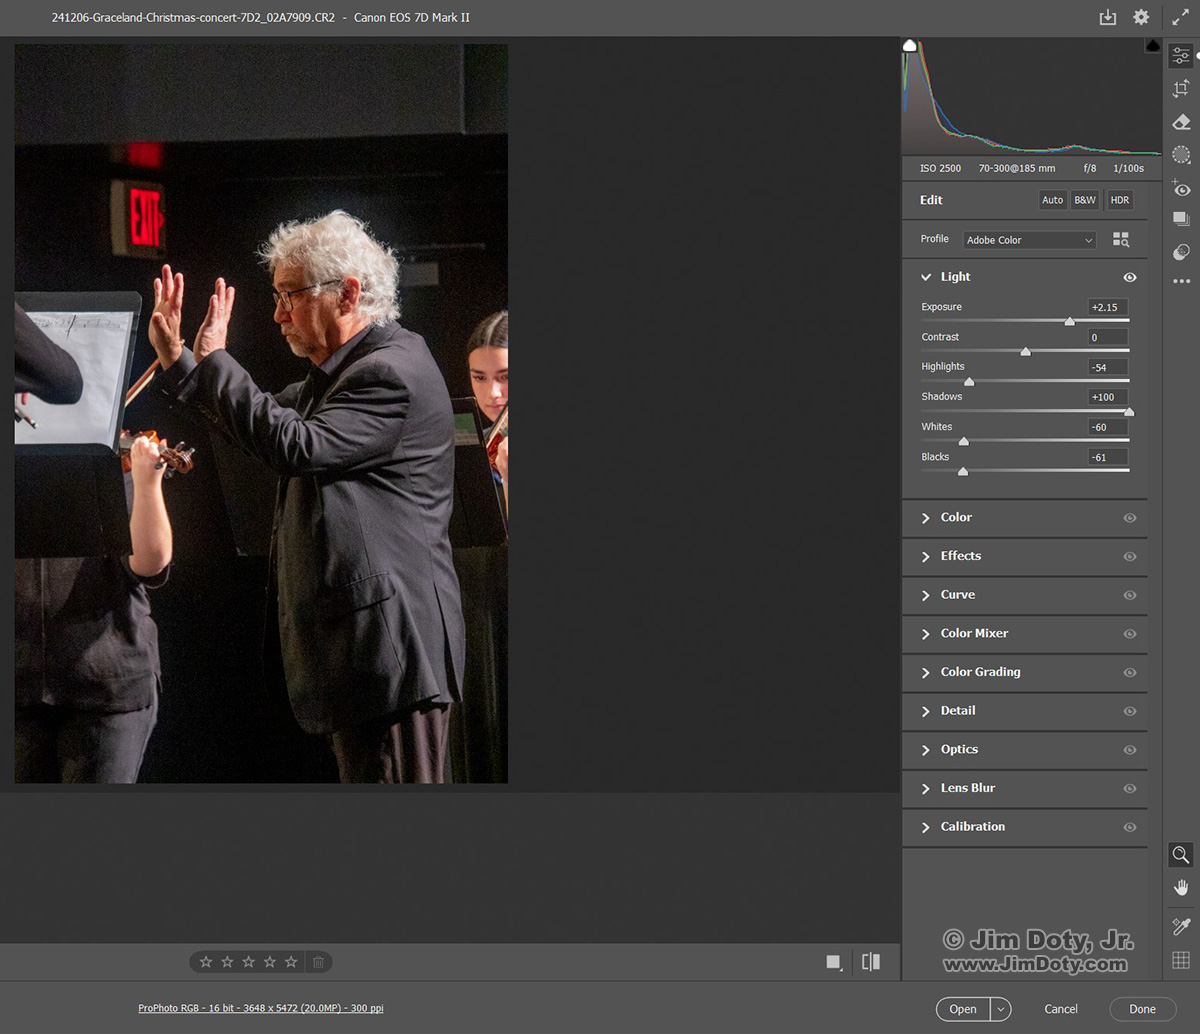
I opened the original raw file with Adobe Camera Raw (ACR). On the right you can see what I did with the sliders in the LIGHT section of ACR. To lighten Jack’s face I pulled the Exposure slider part way to the right and I dragged the Shadows slider way over to the right. That made Jack’s hair too light so I dragged the Highlights slider to the left and I dragged the Whites slider way over to the left. Dragging the Exposure slider to the right also made Jack’s suit too light, so I dragged the Blacks slider way over to the left. I now have a much better tonality version of the file that came out of the camera. Using ACR to work on this image took less than 2 minutes.
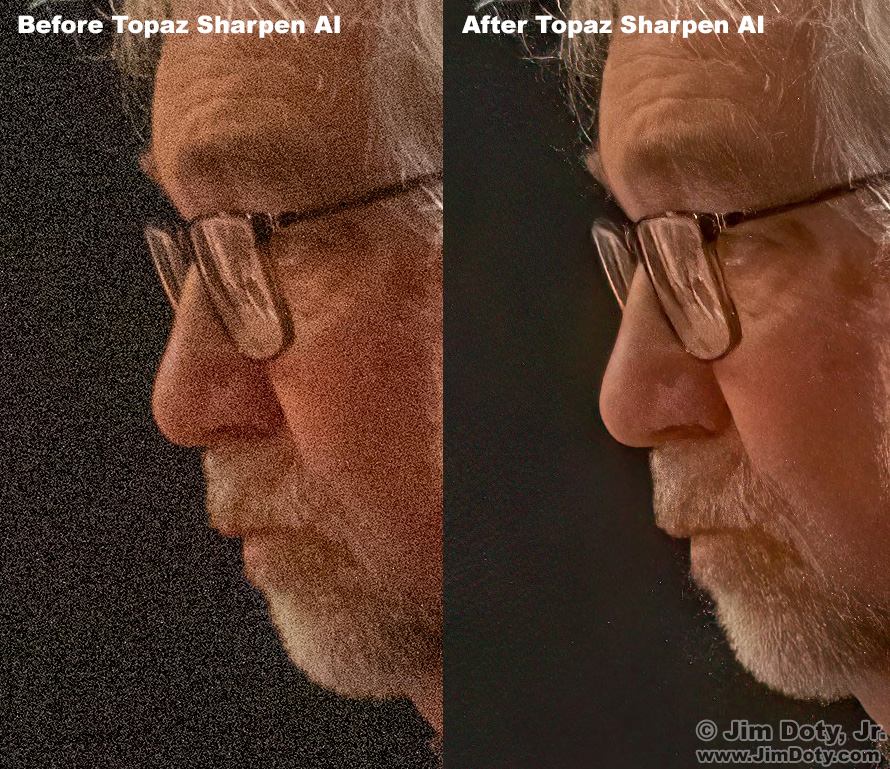
To get a usable shutter speed the camera ISO was set to 2500. That adds some digital noise to the image, and a lot of digital noise to the shadow areas, so I had to deal with the noise in the image.
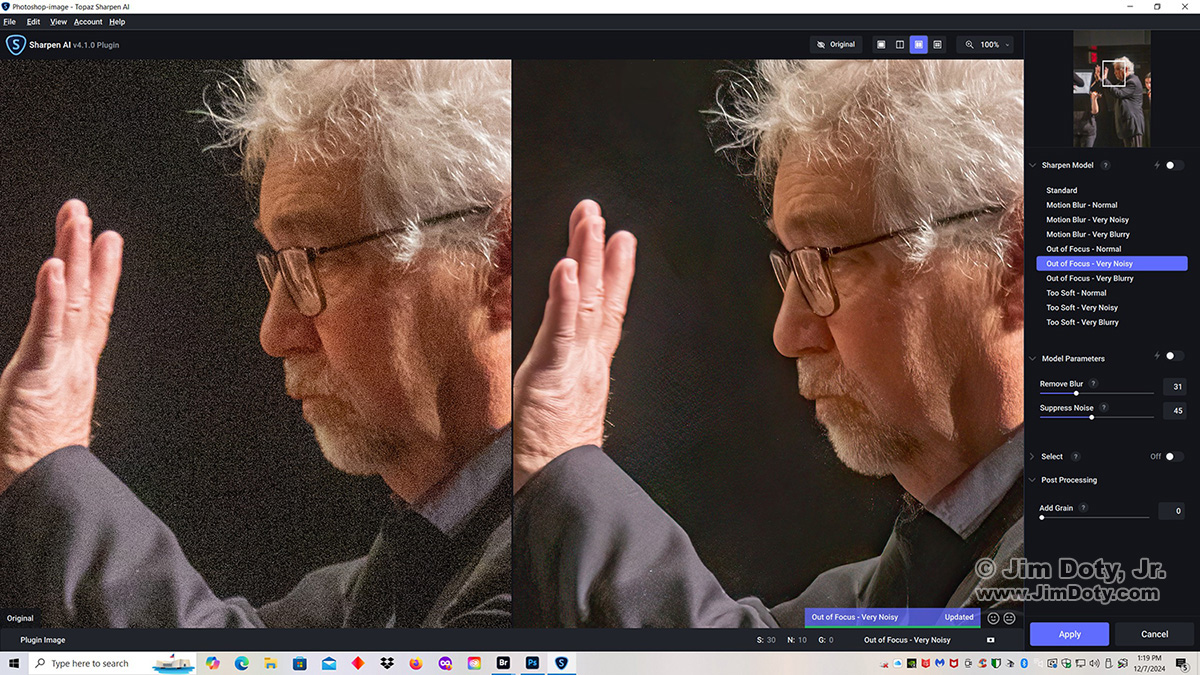
My preferred noise removal software is Topaz Sharpen AI which you can use as a Photoshop add on. In the sharpen options in Photoshop I chose Topaz. The Topaz window opened. On the right you can see the options I chose to remove the noise from the image. I tried a couple of different options before deciding on the settings I wanted to use. Total time in Topaz was about 3-4 minutes.
To give you a better idea what Topaz did, click on this image to see a side by side, 100% magnification (actual pixels) look at part of Jack’s face before and after using Topaz. What you are seeing is what it would look like if you opened both full size images on your computer and enlarged them to 100%.
While I did most of the heavy lifting with Topaz to remove the digital noise, I used the Smart Sharpen tool in Photoshop to tweak the final image.
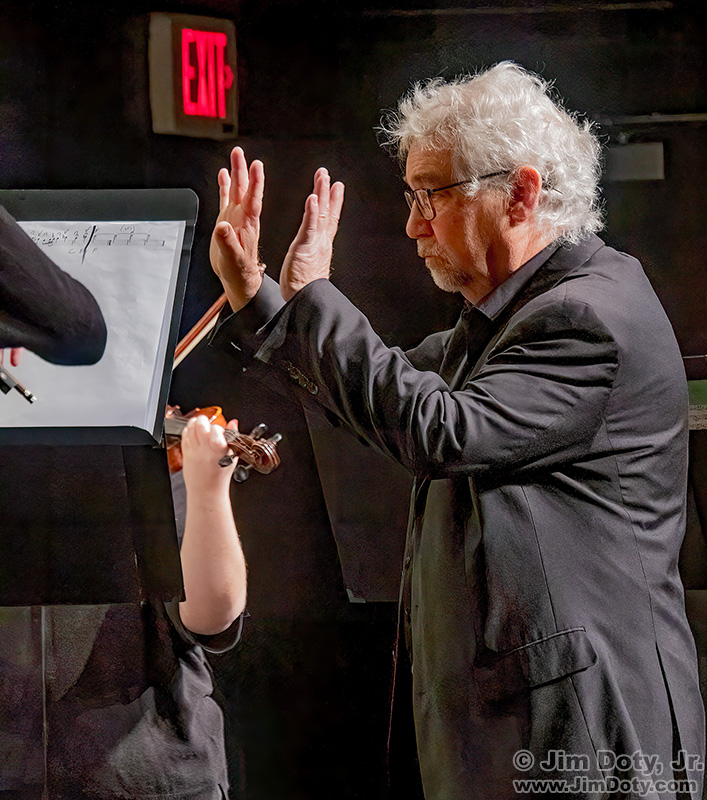
My goal when I clicked the shutter was to create an image of Jack so I cropped the image to eliminate the musician on the right. (I took a separate photo of her which you can see at the first article linked below.) I saved my final printable file and then made a web sized image for this article.
When I picked my favorite images from the two Graceland Christmas concerts, I adjusted the tonalities of many of them using ACR and I ran every favorite image through Topaz to remove the digital noise. For more information on how to use ACR, see the article at the second link below.
This is the final image, resized for the internet.
Photo Data: Canon 7D Mark II camera. Canon EF 70-300 DO IS lens at 185mm. f/8, 1/100 second, ISO 2500.
Link

