Ansel Adams, a classically trained concert pianist who became a world class landscape photographer, often said “The negative is similar to a musician’s score, and the print to the performance of that score”. Adams was right. Today we might say the digital camera file is the score and the work in the digital darkroom is the performance. The click of the shutter is an important step in the photographic process but not the end of the process.
Virtually every published photo you see in a high class magazine or book has gone through some work in the digital darkroom to optimize the file. Part of the reason for this is the weaknesses of the photographic process. No camera can capture the range of tones, light to dark, that the eye can see. No camera can perfectly capture every color with equal accuracy. So decisions have to be made before the click of the shutter, and again in post processing while interpreting the image.
Sometimes we create images in lighting conditions we don’t have total control over, so we fix that later. Or we might shoot a little loose to create more cropping possibilities later on. And sometimes we need to remove things from an image, like a piano hinge. So the optimized image we create with a computer and software becomes our performance. And like a musical performance we can interpret the image in several different ways.
We can make all or part of an image lighter or darker. We can increase or decrease contrast. We can alter color intensity or we turn an image from color into black and white. And tomorrow or next week or next year we can change it again.
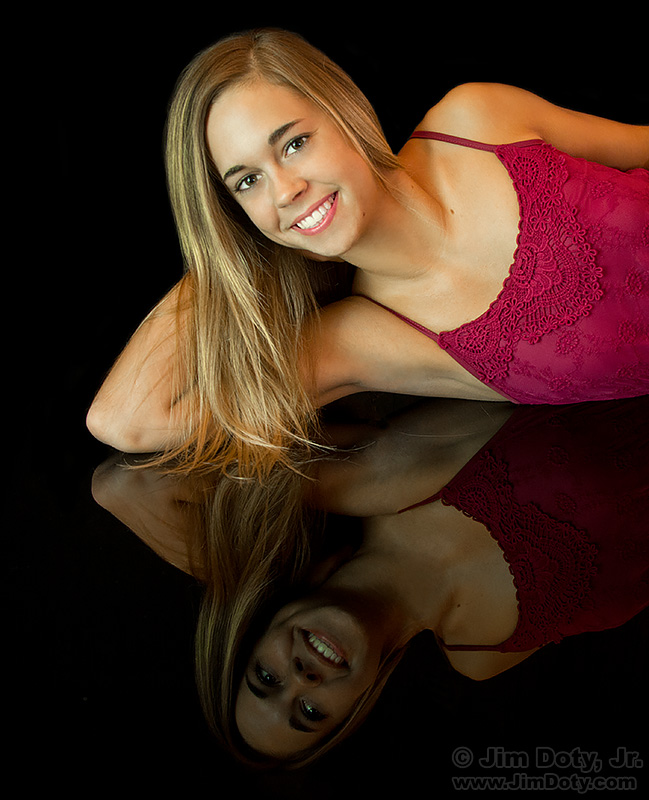
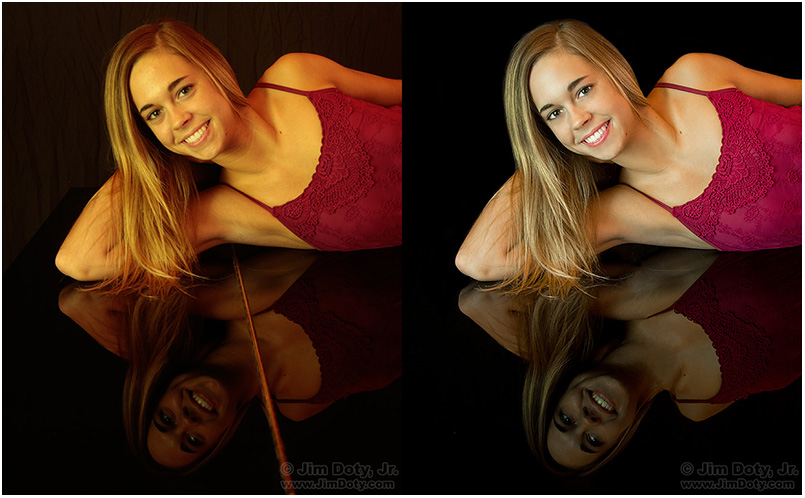
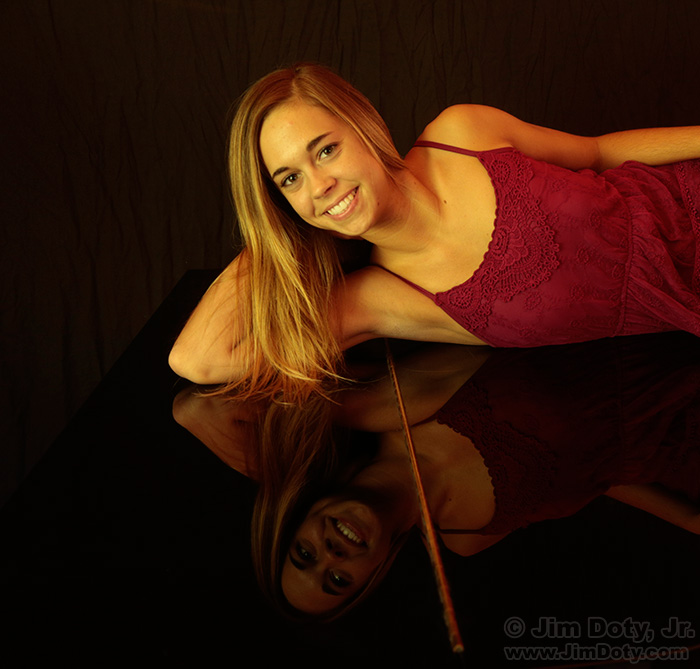
I photographed Kristin in mixed ambient lighting on top of a grand piano (which is why you see the hinge). I used Adobe Camera Raw to color correct the image. It is usually quick and simple to do (link below). Adobe Camera Raw is a powerful tool which comes with Adobe Photoshop Elements, Adobe Lightroom, and Adobe Photoshop. I used Adobe Photoshop to remove the piano hinge, darken the black backdrop, and do some retouching. This gave me the color image I wanted.
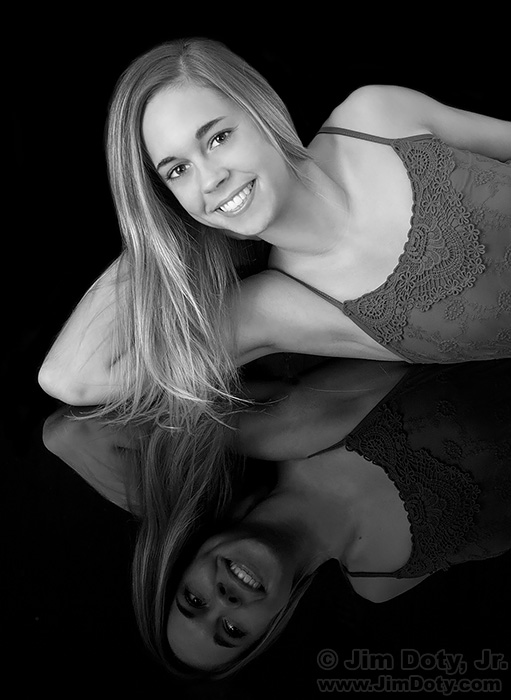
To create a back and white version I added a black and white adjustment layer using Photoshop (choosing the green filter option). I added a levels adjustment layer to increase the contrast of the black and white version and made some minor retouching changes to get the kind of black and white image I wanted.
So get out there and create the best “in camera” files you can. Then have fun interpreting your files. You can do whatever your want, after all, they are YOUR images. Have fun!
Links


