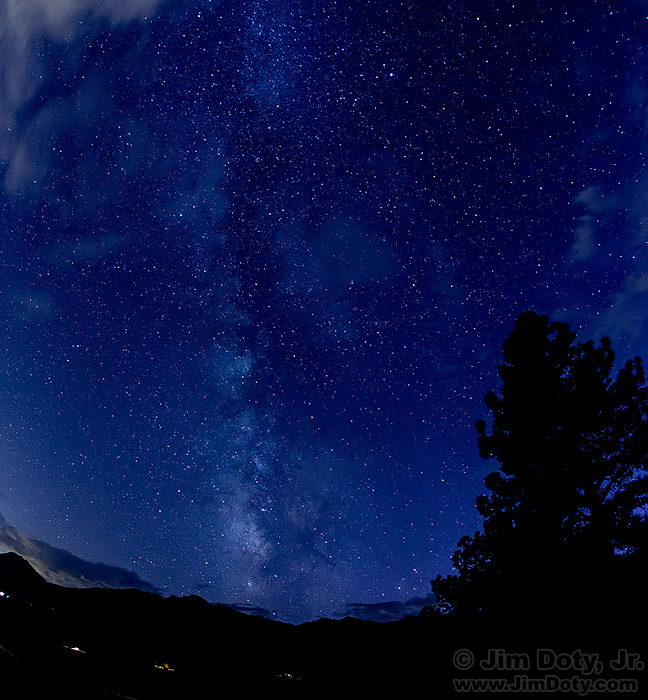
Although there is some sky glow from the cities along Colorado’s front range, you can still get some nice photos of the Milky Way from Rocky Mountain National Park.
The Milky Way begins above the mountains in the bottom center of this photo and extends upward through the thin clouds. As you look at the brightest part of the Milky Way toward the bottom of the photo, you are looking in the direction of the center of our galaxy.
I was leading a field trip for my Rocky Mountain National Park photography workshop, and we ended the day in the parking lot at the Moraine Park Visitor’s Center. It is a good location for doing photos of the night sky. There are some tall evergreens on the west end of the parking lot that you can use to frame the foreground of your photos with the mountains in the distance for a really nice horizon.
I would have preferred a clear night for photos of the Milky Way but we had a few clouds moving in.
No one on the field trip had photographed the Milky Way before, so I was guiding them through the process. All you need is a camera with a B setting or long shutter speeds, a lens (preferably wide angle), and a stable tripod.
Manually focus your lens on infinity. Autofocus won’t work. Some lenses, especially zoom lenses, focus past infinity so make sure you are focused on infinity or your stars won’t be sharp. Point your camera at the Milky Way and include some of the horizon. It is easy to find the Milky Way. Just look for the bright hazy band across the sky. You need to be well away from city lights.
One of the keys to Milky Way photography is to use high ISO settings like 3200 and 6400.
You want a long shutter speed that will still minimize star trailing, so use the “Rule of 600”:Â divide the number 600 by the focal length of your lens to get the longest safe shutter speed. For my 15 mm fisheye lens, 600 divided by 15 gives me 40 seconds as the longest safe shutter speed I can use. I went with 30 seconds. My f/2.8 lens was stopped down to f/4.5 to provide more definition of the stars out to the edges of the frame. Most lens have some optical defects that show up most toward the edges of the frame when used at their widest aperture. Stopping down about one stop helps to minimize that.
Photo Data: Canon 5D Mark III. Canon EF15mm f/2.8 fisheye lens. 30.0 sec, f/4.5, ISO 3200
Links
For more information on night and low light photography (and a whole lot more), read my book Digital Photography Exposure for Dummies. It is one of the highest rated photography books on Amazon.com. Learn more here and order it at Amazon.
Photography workshop in Rocky Mountain National Park
Rocky Mountain National Park – the official NPS web site.

