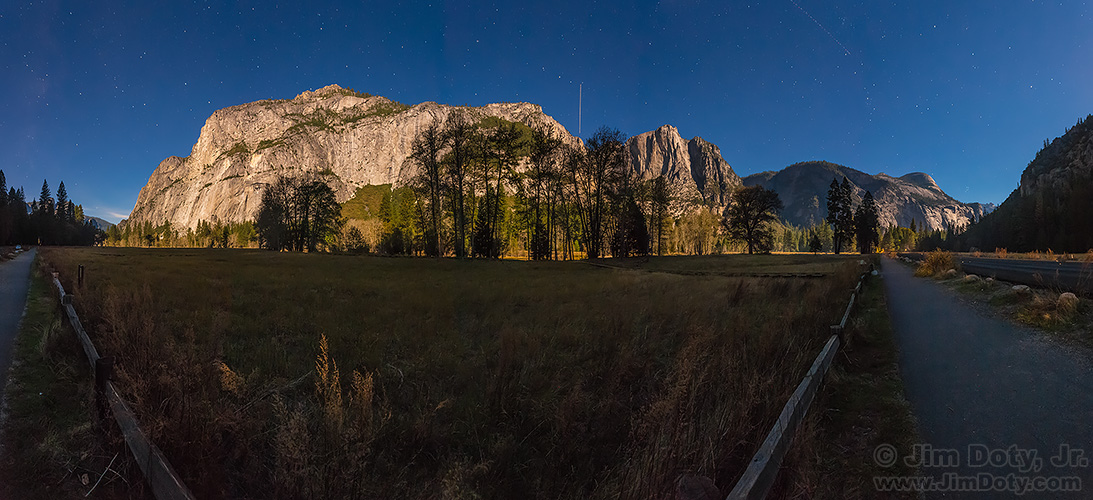
Yosemite Valley at Night with Eagle Peak, Yosemite Point, and North Dome. The vertical light near the center is one of two planes that ended up in this image. Click to see a larger version.
Night photography has its own unique charms, whether it is a dark night with no moon and thousands of crystal clear stars, or with plenty of moonlight which (if you choose) you can turn night into day. And it isn’t all that complicated to do. With the addition of the right gear, you can turn your night time vista into a panoramic photo.
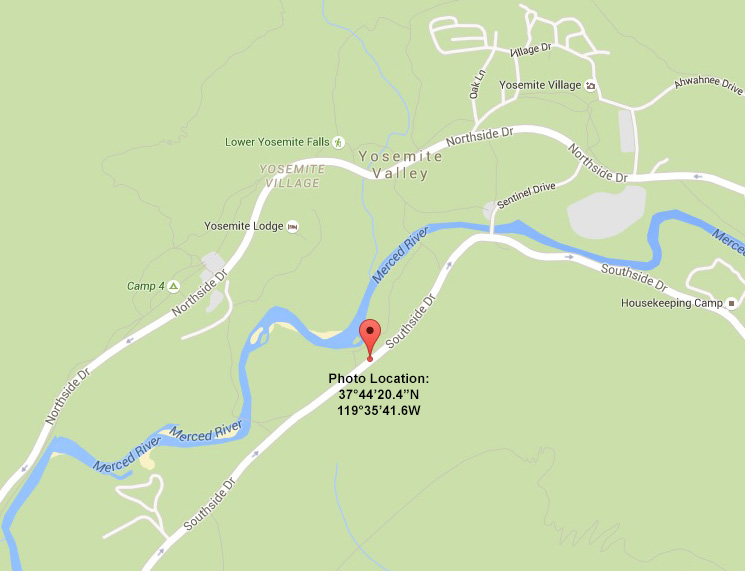
After trying to make the most of pretty tame sunset, I was wandering Yosemite valley looking for interesting subjects to photograph at night. I found a nice view of Eagle Peak, Yosemite Point, and North Dome and pulled over at the long turnout on the left side of the road. I was on Southside Drive just a short drive past the Swinging Bridge location. After taking several images it occurred to me that I could try a 180° panorama.

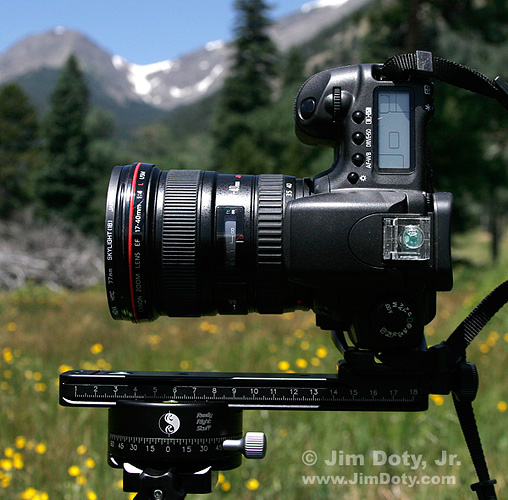
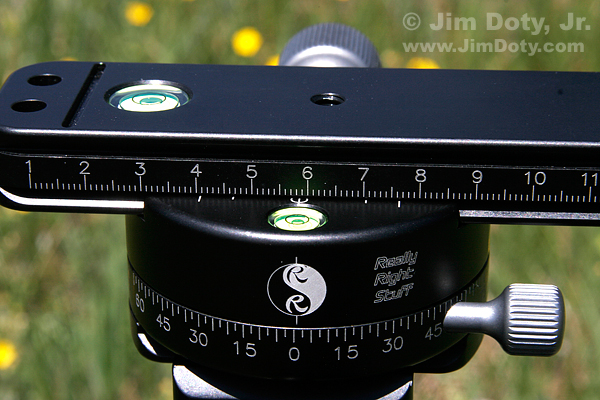
Camera mounted on Really Right Stuff pano gear: PCL-1 panning clamp and MPR-CL II nodal slide. This illustration was created in Rocky Mountain National Park several years ago.
I pulled my pano gear out of my backpack, mounted the panning clamp on the tripod head (note the degree markings beginning at zero) slid the nodal slide into the panning clamp to the 58.5 mm setting and mounted my camera vertically with a 17-40mm lens on the end of the nodal slide. This rig allows the camera and lens to rotate around the nodal point of the lens to eliminate parallax. Some photographers call this the “no parallax point” of the lens.
I have learned from experimentation that the 58.5 mm setting on the nodal slide is the proper location of the nodal point when using my 17-40mm lens at the 17mm focal length. A different model 17mm lens (even from the same manufacturer) could have a different nodal point and require a different setting on the nodal slide. More about using this rig in this article.
Next I focused the lens on infinity, which is the only tricky thing to do in night photography. It is too dark for a camera to autofocus at night, even with a full moon, and too dark to do reliably with the human eye. Most prime (single focal length) lenses stop exactly at infinity when you turn the focus ring all the way, making things very easy. But most zoom lenses focus past infinity, giving you blurry images of the stars. The secret is to focus on something at infinity during the day, look at the distance scale on your lens (if it has one), and remember where infinity is on you zoom lens. If you don’t have a distance scale on your lens, find infinity during the day and tape the focusing ring in place so it doesn’t move. To complicate things, infinity moves as you change the focal length of the lens. The best solution is to always use the lens at its widest focal length when doing night photography, and learn exactly where infinity is at that focal length.
Once your lens is manually focused on infinity, pick a wide aperture like f/4 or f/5.6, a high ISO speed like 800, 1600, or 3200, and a long shutter speed like 15 or 30 seconds. Don’t change any of these settings when doing a series of photos for a panoramic image. You can change settings in between a series. If you do a series of images at ISO 1600 and they look to light, switch to ISO 800 and do another series. I used f/.6, 30 seconds, and ISO 1600.
Using a 17mm focal length in a vertical orientation, I started with the camera facing west and rotated the camera/lens 45 degrees between each image which provided plenty of overlap. (With a 24mm focal length lens in a vertical orientation I rotate the rig 30 degrees between each image.) As a matter of habit, I go from left to right, so for this image it meant going from west to north to east. Allowing for overlap of the five individual images, my panorama covered about a 190 degree sweep of landscape from west to east.
Back on my computer I stitched the five individual RAW files together with Adobe Camera Raw. This article will tell you how.
I started the first of the 5 exposures at 8:18:28 pm. The last of the 5 exposures ended at 8:22:32 pm. At 30 seconds per exposure plus time to rotate the camera/lens in between exposures, the total elapsed time was 4 minutes and 4 seconds. Due to the movement of the stars over that period of time I was afraid the stitching software might have trouble with the stars, but they came out just fine.
So don’t quit when the sun goes down and the light fades!
Photo Data: Canon 5D Mark III. Canon EF 17-40mm f/4 lens at 17mm. Exposure for all images: 30 seconds, f/5.6, ISO 1600. Individual exposures began at: 8:18:28, 8:19:12, 8:20:11, 8:20:29, 8:22:02 PM PDT. GPS Location: 37° 44′ 20.40″N, 119° 35′ 41.58″W.
Links
Living In Panorama Heaven – Using Panorama Gear from Really Right Stuff
How to Create Panoramic Images with Adobe Camera Raw (version 9.0 or later)
To learn more about night and low light photography, read Digital Photography Exposure for Dummies, one of the highest rated photo books at Amazon.com. You can learn more here and order it from one of Amazon’s third party sellers.


