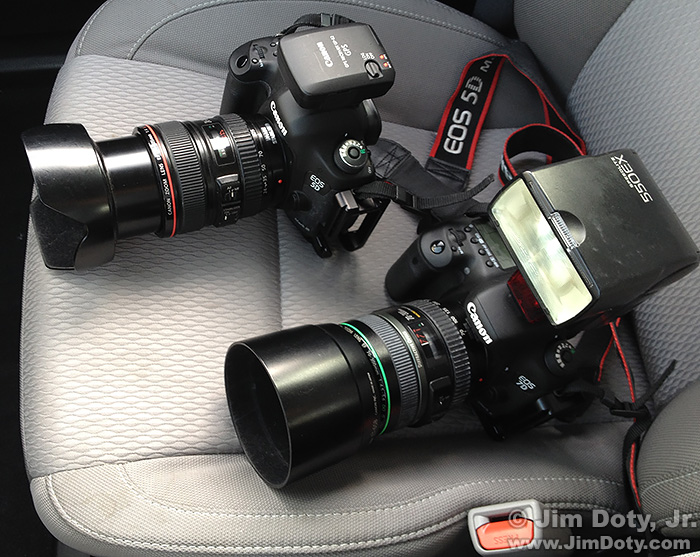
Front seat camera gear. Canon 5D Mark III with Canon EF 24-105mm f/4 lens. Canon 7D Mark II with Canon EF 70-300mm f/4.5-5.6 DO IS lens.
You probably recognize the scout motto: “Be Prepared!” It also applies to photography. When I am in a photo rich environment, especially if there is a possibility of seeing wildlife, I usually have two cameras and lenses on the front seat next to me, all ready to go.
For me that usually means a full frame camera body with a wide angle to telephoto lens and a cropped sensor camera body with a telephoto lens. When I took the above photo I was at the Don Edwards San Francisco Bay National Wildlife Refuge and I wanted to be ready for anything. I had a 24-105mm lens on my full frame body and a 70-300mm lens on the cropped sensor body so I was ready for most photo ops that might arise. The field of view crop on a cropped sensor Canon camera body means the 70-300mm lens gives me an equivalent 35mm focal length of 112-490mm. So I am covered from 24-105 and 112-490mm. I also have a backpack in the back seat with more lenses if I need them. There is a flash on the camera with the telephoto lens. In some situations where a wildlife subject is back lit, I have the flash turned on and the flash exposure compensation set to minus 1 or minus 2. That puts a catchlight in the animal’s eye.
To be prepared also means having your camera settings pre-set and ready to go. For static subjects, that means one shot autofocus. For the possibility of a subject in motion that means turning on predictive autofocus. It also means choosing the desired exposure settings in advance so the camera isn’t fooled by light or dark subjects and backgrounds. Your anticipated subject will also determine whether you have one or more autofocus points turned on.
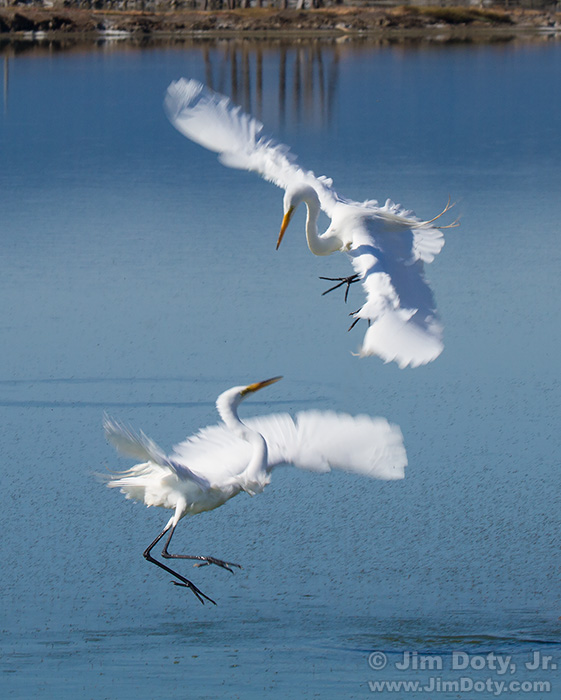
I was on the refuge road when two nearby great egrets exploded into a fight. I took four photos of the fight, the first at 9:07:52 AM and the last at 9:07:53 AM. The whole thing was over in less than two seconds. If my camera gear wasn’t ready to go with the camera settings pre-set, I would have missed the whole thing.
I learned this lesson the hard way, years ago.
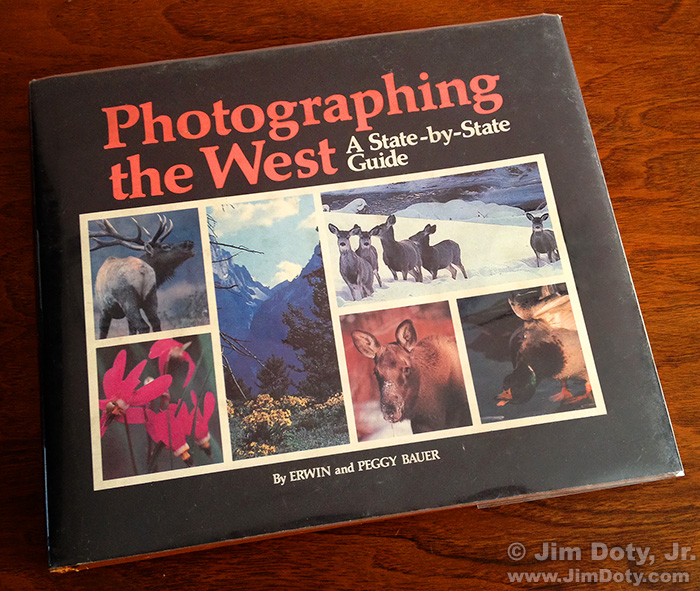
Stan, a friend of mine, and I were driving across New Mexico one afternoon. It wasn’t a photography trip but we were both avid nature photographers and had our gear with us. I had just purchased a copy of Peggy and Erwin Bauer’s Photographing the West and it was laying in the back seat near Stan and I’s camera bags. It is an excellent book and I use ideas from this book in my nature photography workshops.
Stan grabbed the book and started thumbing through it, admiring the photos, and reading sections of text here and there.
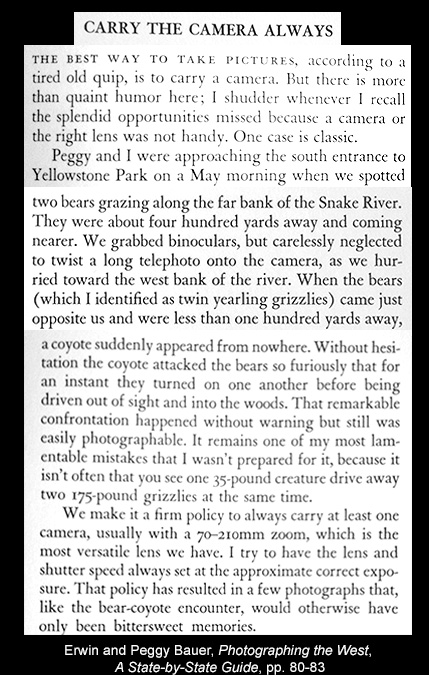
He found a story where the Bauer’s missed a chance to photograph a coyote attacking two grizzly bears because they didn’t have a camera with the right lens ready to go. Their point is to always have a camera and lens ready to go. Stan and I thought that was good advice, but neither of us got a camera and lens out of our bags.
Later that afternoon a coyote ran across the road in front of us, stopped, and looked at us. We stopped and watched. After a few seconds the coyote ran off. If we would have had cameras and lenses in the back seat ready to go, we would have captured an image of the coyote. But we just stared at the coyote, remembered the advice from the book and verbally kicked ourselves for not being ready. But we still didn’t get out our gear. After all, how remote were the odds that would happen again?
Just before sunset, another coyote ran across the road in front of us, stopped in the grass near the road and looked our way. He was backlit by the sun, hair shining in the golden light. We stopped and watched, no time to get out our gear. It was a magnificent sight. In a few seconds the coyote was gone. After a while one of us broke the silence and said “We aren’t very bright.”
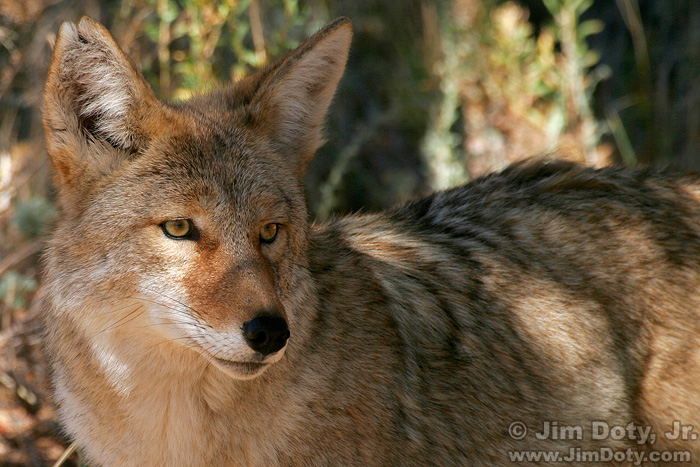
It was 10 plus years before I had another chance at a coyote close to the side of the road, this one in Colorado. I had learned my lesson and I was ready. I picked up the camera, pointed it out the car window and clicked the shutter.
So what if you don’t have two cameras? The opportunities that are most likely to escape you will usually be wildlife, so put a long lens on your camera. If something happens that you need a wide angle or normal focal length lens, it will usually be a scenic opportunity which won’t disappear in seconds so you will have time to change lenses.Take the photo, change back to your long lens and head on down the road.
It is still a good idea to have a backup camera. When I am carrying one DLSR instead of two, I keep a point-and-and shoot camera with a wide angle to telephoto lens in a small belt pack. An inexpensive point-and-shoot camera is a better back camera than no back up at all. Even a smart phone can serve as a backup camera. But you should have a long lens on your primary camera when wildlife photography is a possibility.
If I am traveling with another photographer, our gear is in the back seat, out of the bags, ready to grab and take pictures.
Link
Field of View Crop In Digital SLRs
Nature Photography Books: The Three Essentials. If you only read three nature photography books, put these on your “must read†list.

